How to Paint Tissue Paper Pom-Poms
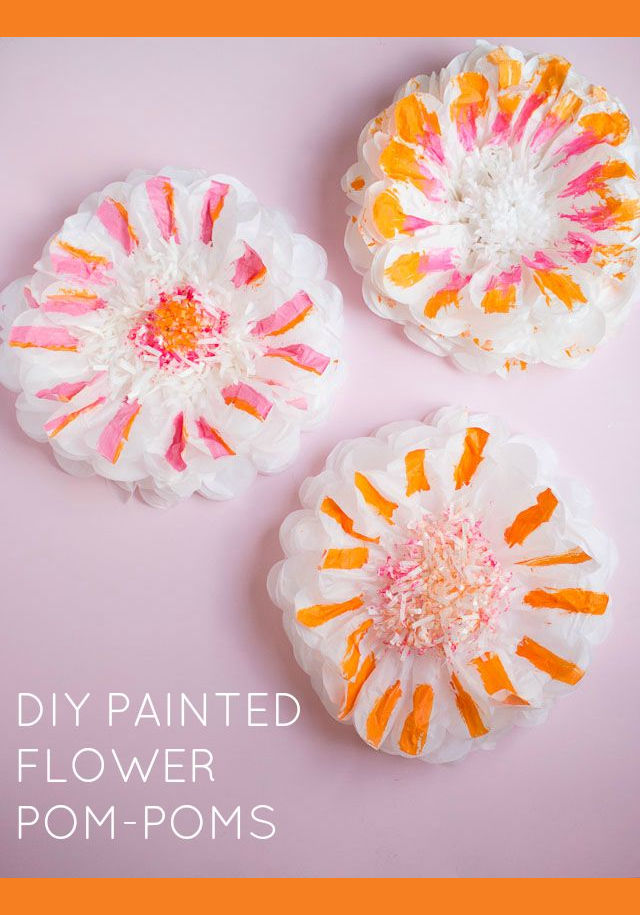
How to Paint Tissue Paper Pom-Poms
This post contains affiliate links. See our full disclosure.
When the folks at Martha Stewart sent me a package of their white flower pom-poms I couldn’t wait to try them out! Their kits allow you to turn sheets of tissue paper into these gorgeous intricate flowers with just a few accordion folds and some fluffing up. They are kind of addicting to make – once you make one, you’ll want to make more. Thankfully the kit comes with 5! 😉
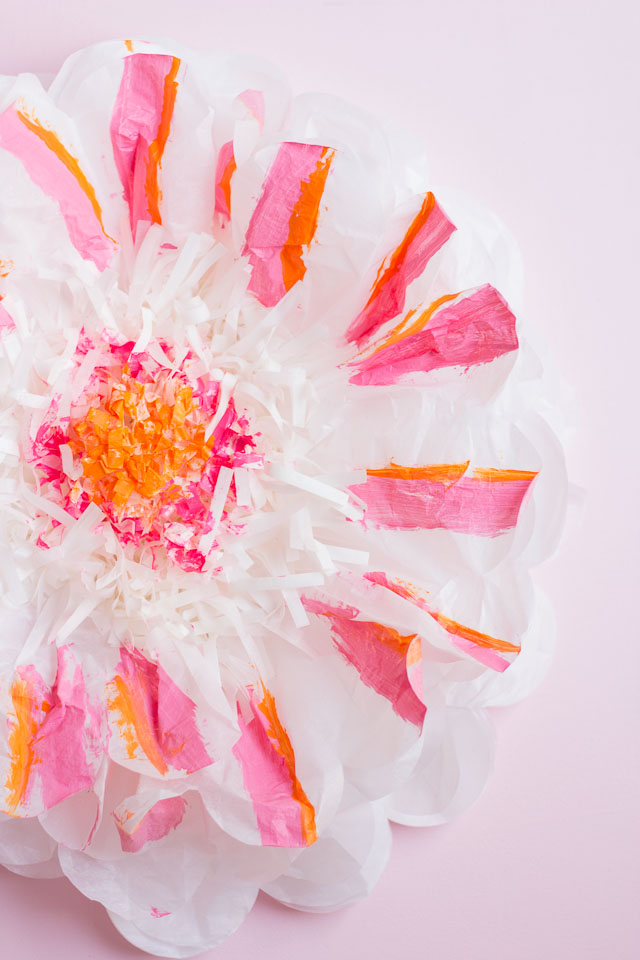
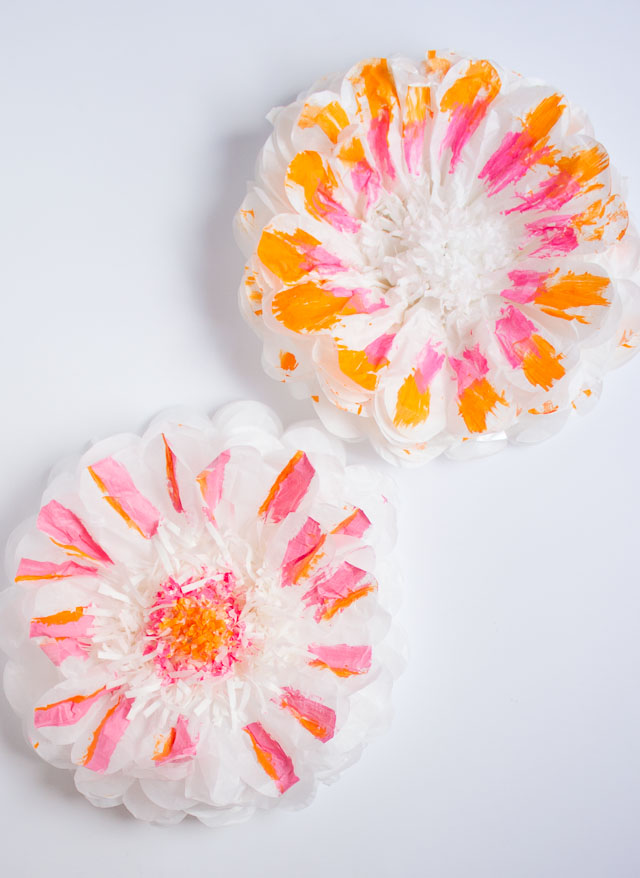
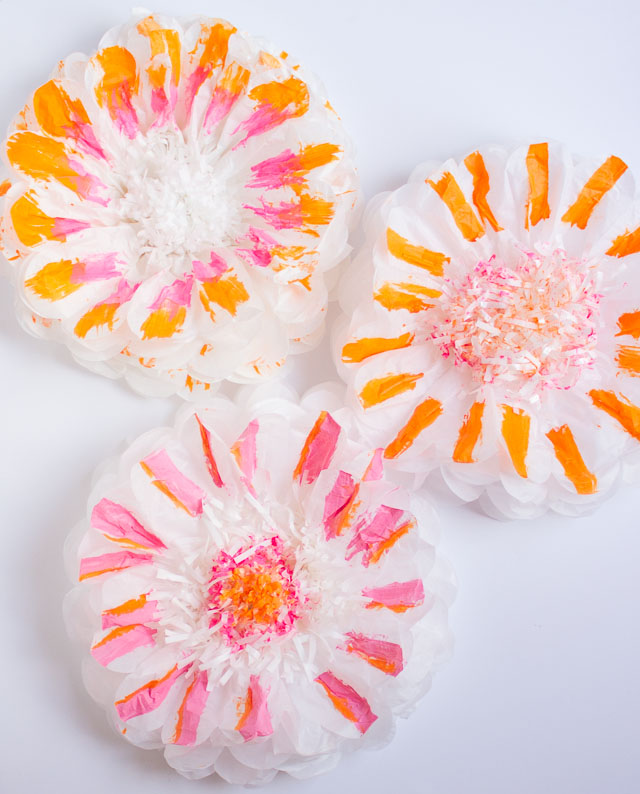
While the white flowers were beautiful on their own, I wanted to add a DIY touch so I got out my craft paints and added some brushstrokes of orange and pink to give these a burst of color:
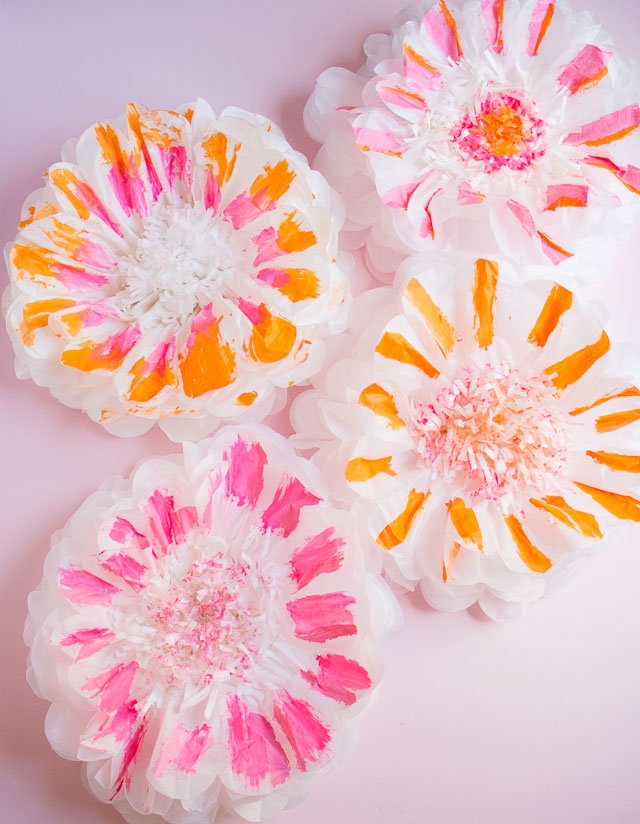
I didn’t try too hard to make these perfect and just had fun experimenting with painting the petals and center of the flowers different combinations of colors for a freehand brushstroke look:
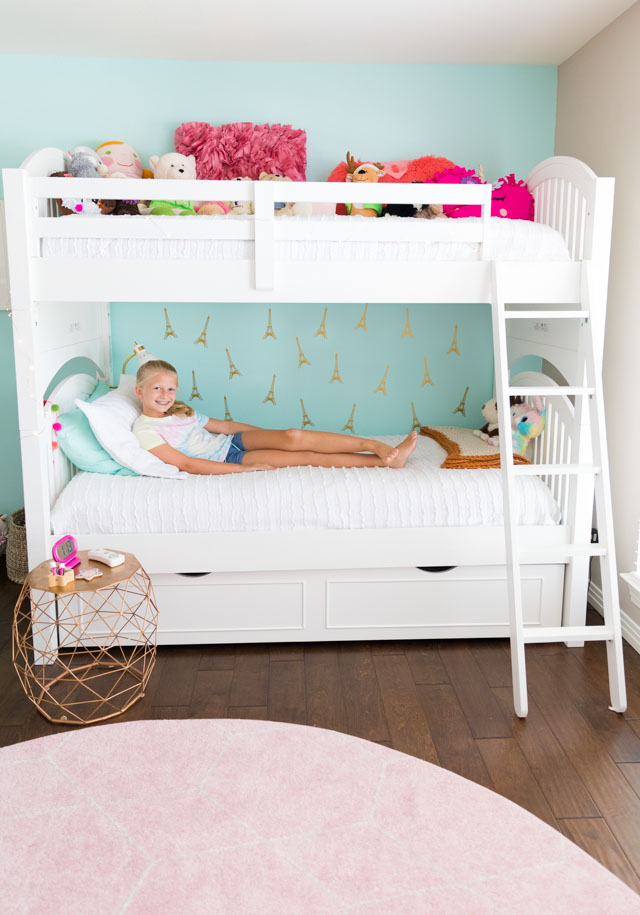
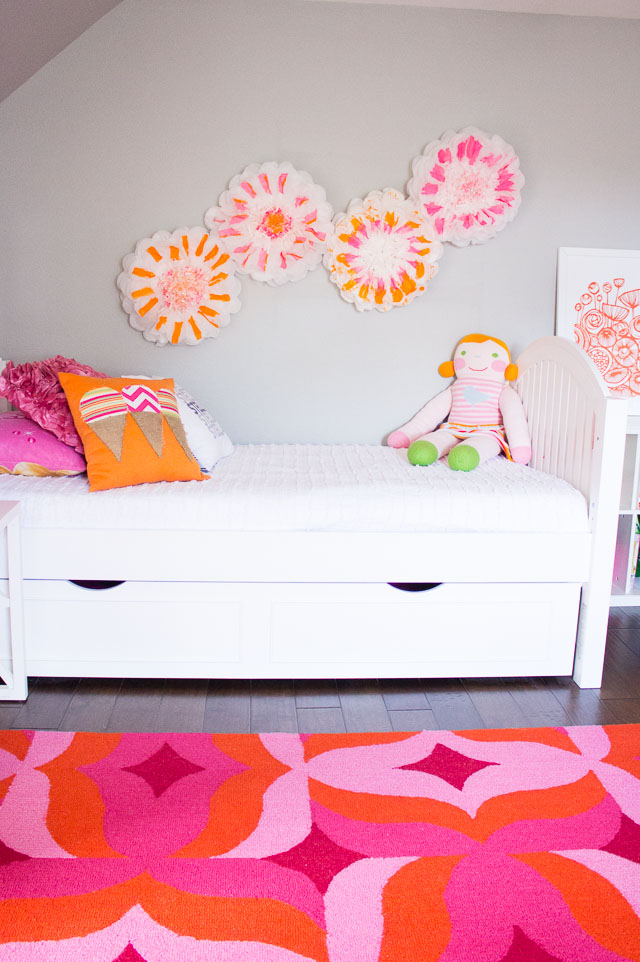
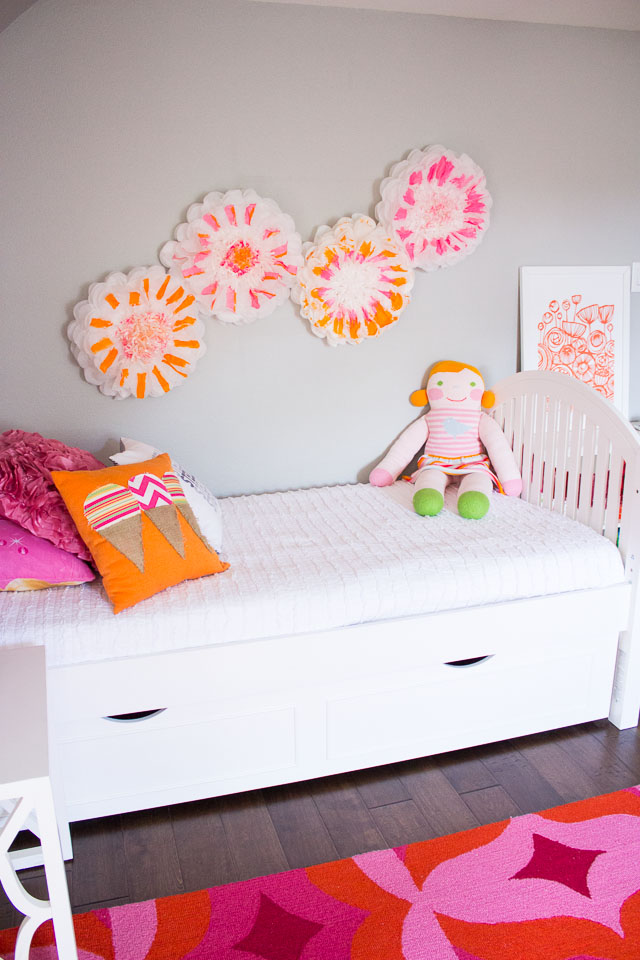
I chose the pink and orange combination because I wanted to make these for Stella and Hazel’s bedroom. These tissue pom-poms are typically used for party backdrops, but they make for fun wall decor too.
Read on to see how to add your own personal touch to Martha’s pom-pom kits!
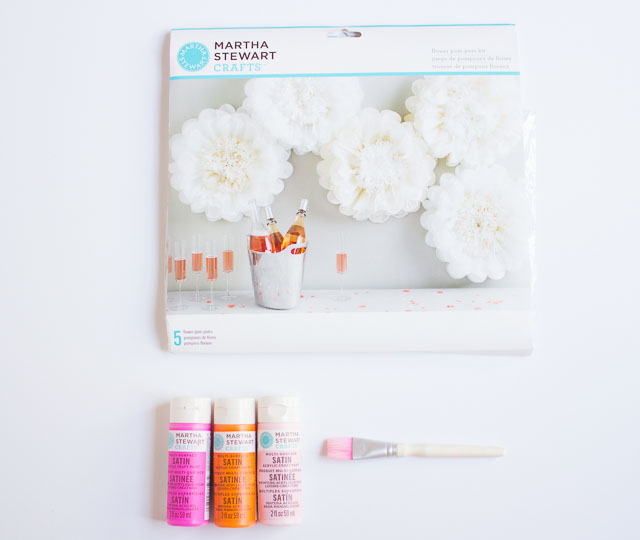
Supplies for Painted Tissue Paper Flowers
How to Paint Tissue Paper
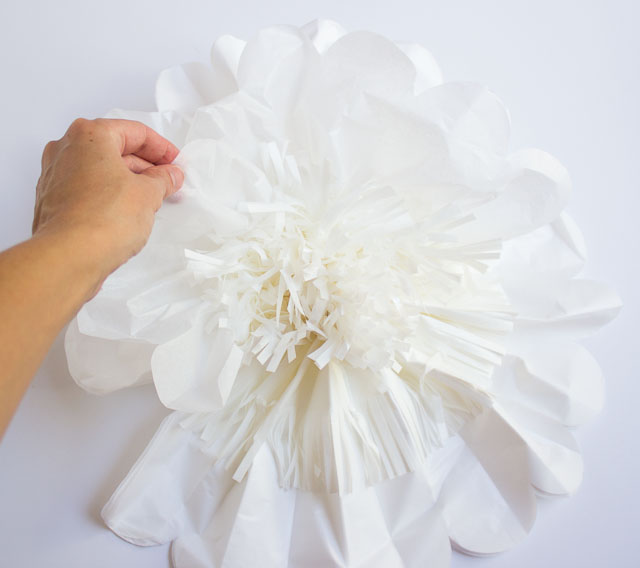
1. Assemble pom-pom flower
Accordion fold and spread out the layers of the flower per the directions on the kit. This takes just a few minutes to do – so easy!
2. Apply paint with small brush
Choose your favorite paint color, squeeze a bit on a paper plate, and apply with a small brush. I just painted the top layer of petals with broad brush strokes and then dabbed some paint into the center of the flowers. You can do whatever effect you like!

3. Hang on the wall and enjoy!
I love how these look above Stella’s bed, and I like that they are nice and soft if they would ever fall off the wall. Check out more of the projects I’ve made for the girls’ bedroom including a painted teepee, yarn garlands, and this paper chandelier!
Like this painted tissue paper craft?
Then don’t miss all my other paint crafts!
This is post is sponsored by Martha Stewart Living Omnimedia as part of the #12MonthsofMartha program. All content and opinions are my own.

