The Cutest Rickrack Picture Frames!
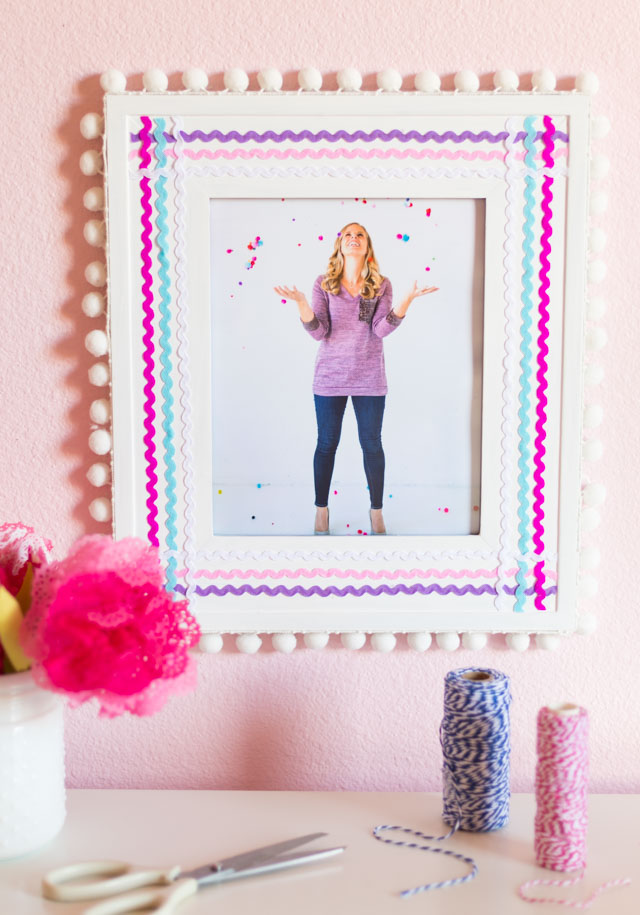
Easy Rickrack Picture Frame Craft
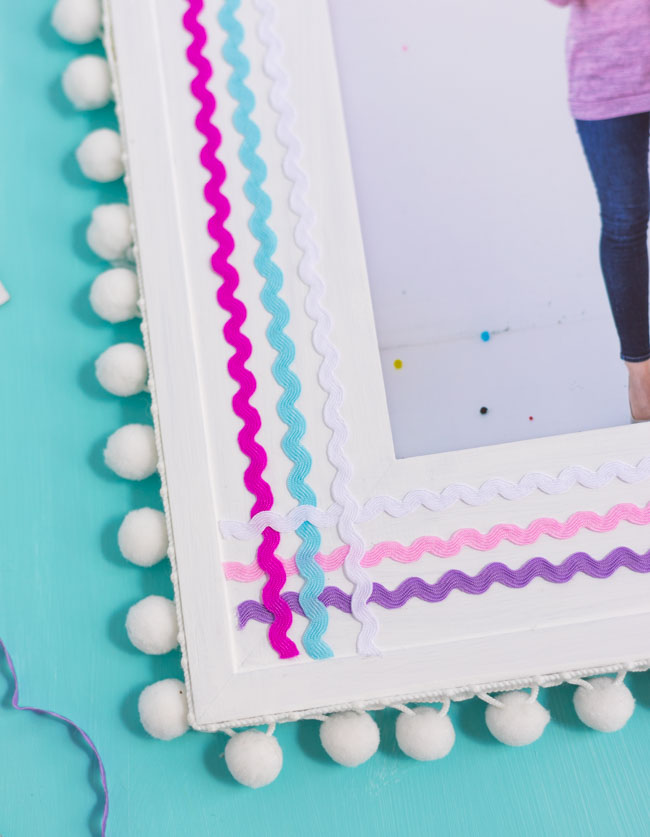
There is something about rickrack (also spelled “rick rack” or “ric rac”!) that I just love. It is such a sweet embellishment that comes in a rainbow of colors. I’ve had a bunch of it in my craft room just waiting to be put to use, so I came up with these DIY rickrack picture frames! This is a simple and sweet way to update an old wood picture frame. These frames would look so cute in a nursery, kids’ bedroom or a colorful craft room!
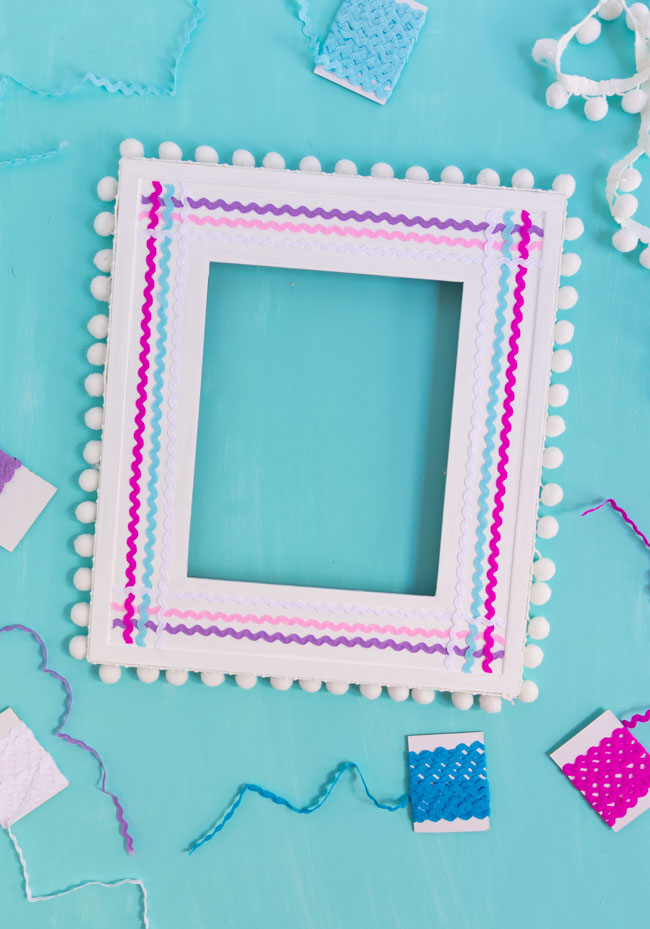
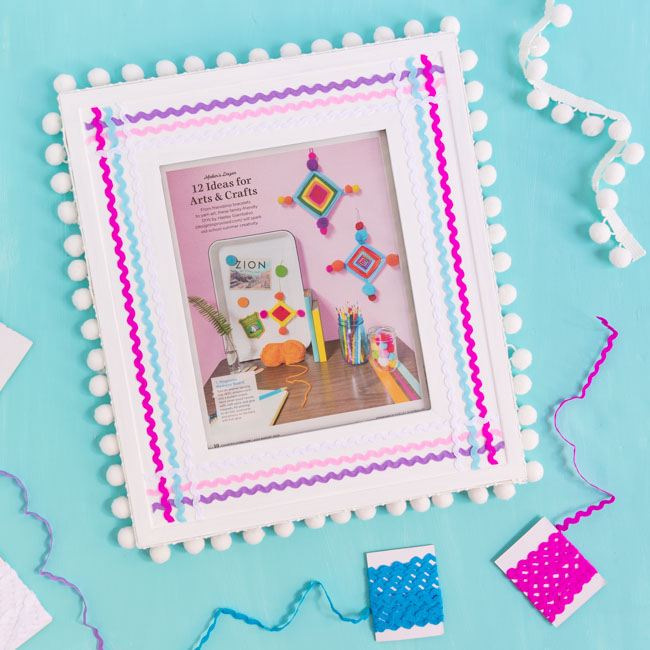
I chose a pastel color combo of pinks, purple and light blue for my frame. But the great part about this project is that you can choose whatever colors work best in your space. I love this pack of rickrack trim which includes 12 different colors. There are also a million different ways to arrange the rickrack trim on the frame. Have fun playing around with different designs! These colors worked well with my pom-pom throwing pic! 🙂

This is a simple project that just involves cutting the rickrack trim to length and gluing in onto the frame. A wider wood frame works best for this as it gives you more space to arrange the rickrack. Of course, a frame you already have on hand, or a frame you can find at the thrift store for a $1, is better than spending a bunch of money on a new frame!
This post contains affiliate links. See our full disclosure.
Supplies for Rickrack Picture Frames
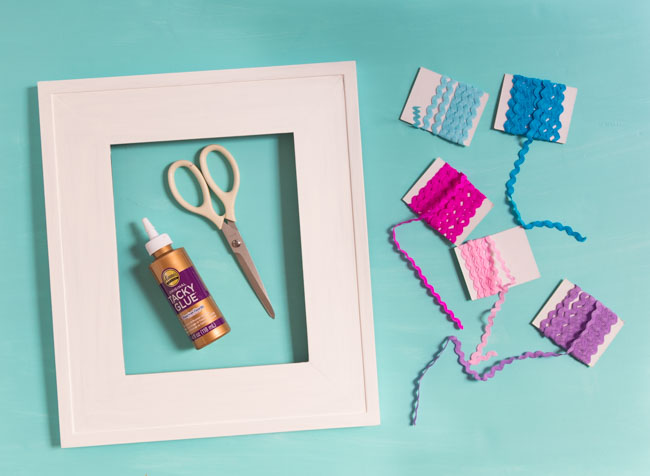
- Wood picture frame (use one you already have on hand or head to the thrift store!)
- White craft paint
- Aleene’s Tacky Glue
- Rickrack trim
- Pom-pom trim
- Scissors
How to Make Rick Rack Picture Frames
Step 1: Paint your frame
If needed, paint your wood frame with white acrylic craft paint. Let dry between coats. You can also start with a white picture frame and skip this step. I painted a wood frame we had on hand, but failed to take photos of the process!
Step 2: Plan out your design
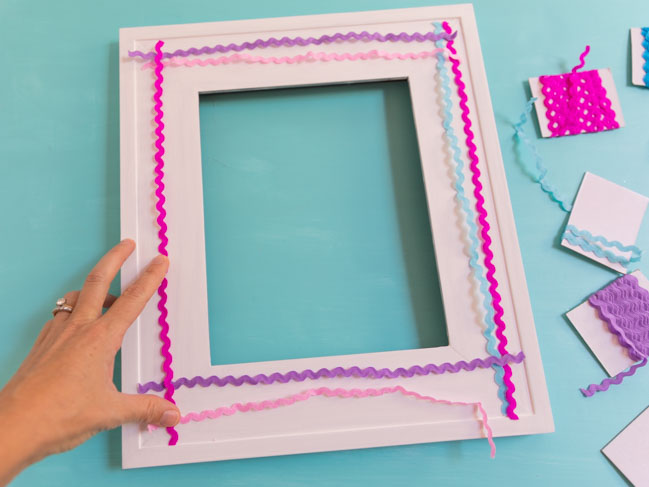
Determine which colors of rick rack you plan to use and in what combination. Cut them to size and lay them out on the frame to get the look you want before gluing them down.
Step 3: Glue rickrack to frame
Working with one strip of rickrack trim at a time, add a thin bead of Aleene’s Tacky Glue to the backside of the ribbon. I would not recommend hot glue for this particular craft as it is too hard to handle the thin rickrack without the hot glue burning you! Aleene’s Tacky Glue works great as it dries quickly and still allows you to reposition the trim if needed to get it straight on the frame.
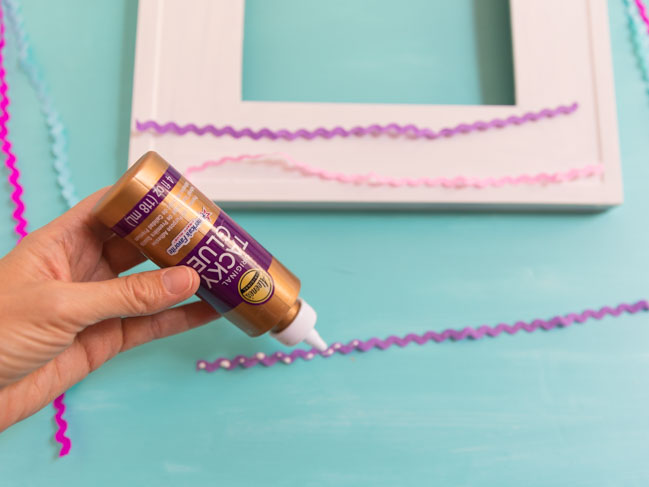
Trim the ends of the rickrack trim as needed. Continue adding more rick rack to each side of the frame.
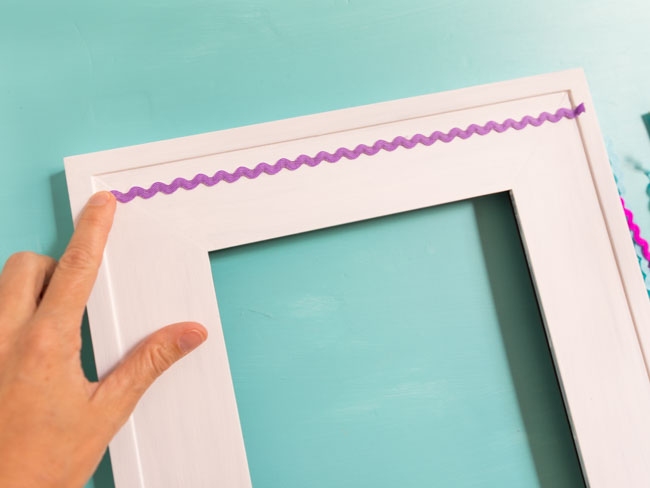
Step 4: Add pom-pom trim
You can add a row of pom-pom trim to the outside of your frame if you like to give it a little more pizzaz!
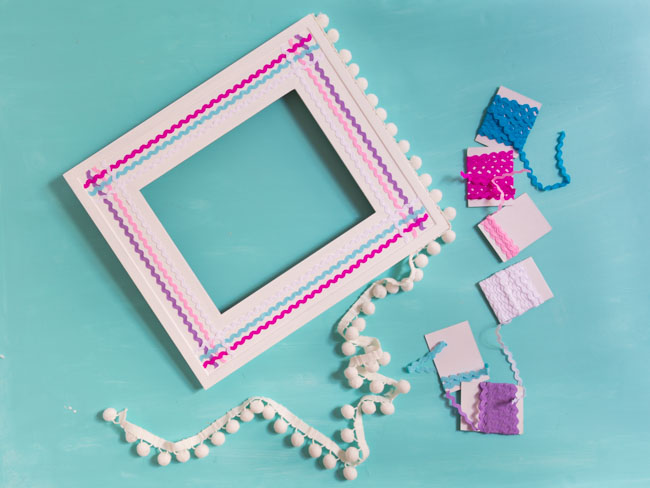
I actually made this frame to display my recent craft feature in Country Living Magazine. I’m so proud of that feature and I thought this would be a fun way to celebrate it. 🙂
Like this rickrack picture frame idea?
These Floral Butterfly Frames are another fun frame makeover!
