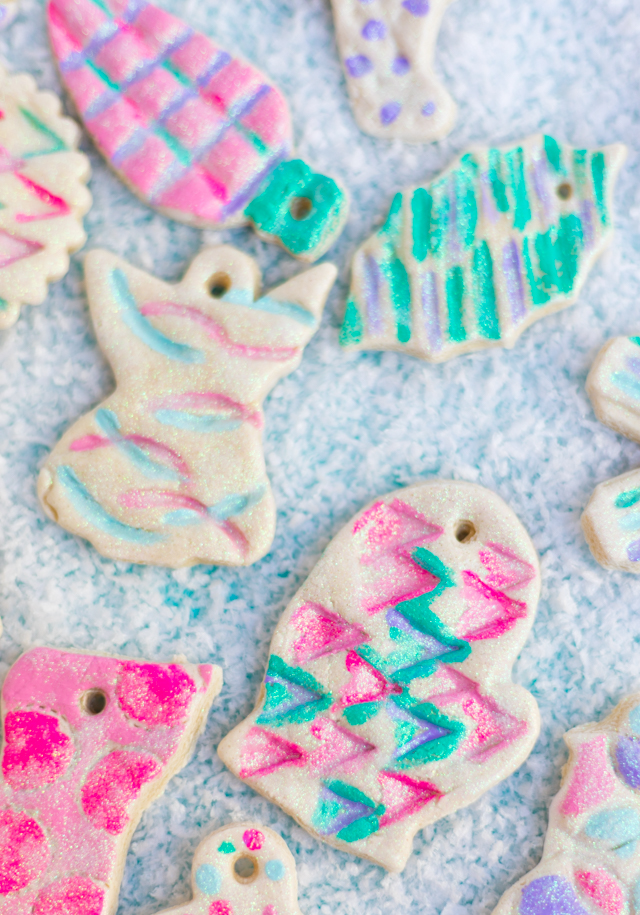
Introducing my kids Christmas tree filled with glittery salt dough ornaments! Read on for all the details on how to make your own salt dough ornaments including a printable salt dough recipe.

This tree was inspired by some salt dough ornaments my sister and I made when we were kids. Both of us loved making things from an early age. Each year we decorated our small family Christmas tree with a new theme. One year we made a bunch of salt dough star ornaments and spray painted them gold. They looked so beautiful on the tree! I remember keeping them for years and years after that. They really do keep a long time!

This time around, my daughter Stella (11) and I spent a fun Saturday afternoon making the salt dough and cutting out the ornaments with cookie cutters. Stella used a variety of kitchen utensils to stamp patterns onto the ornaments and then we baked them in the oven.
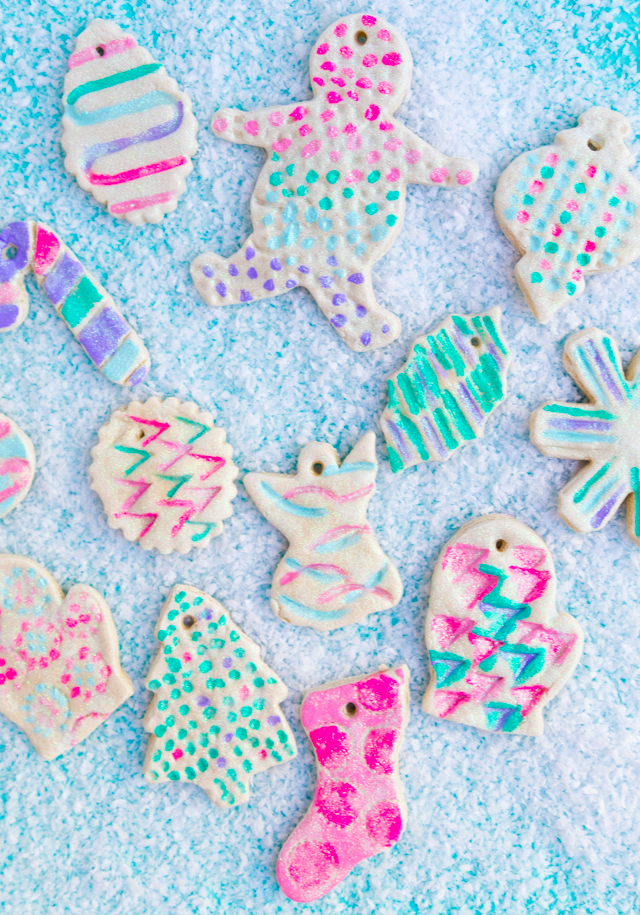
The next day my other daughter Hazel (9) joined us for a painting party! We brought the ornaments to life with a pretty palette of pinks, blues and purples. Once dry, we finished them off with a coat of Mod Podge and a sprinkle of white glitter so they truly glimmer on the tree!
Easy Salt Dough Ornament Recipe for Kids
Want to make your own ornaments? Making salt dough is so easy and the basic recipe uses just three ingredients. You likely already have these on hand – salt, flour, and water. If you are ever in a need of a last minute activity to keep kids occupied, this is it!
Ingredients for Salt Dough Ornaments
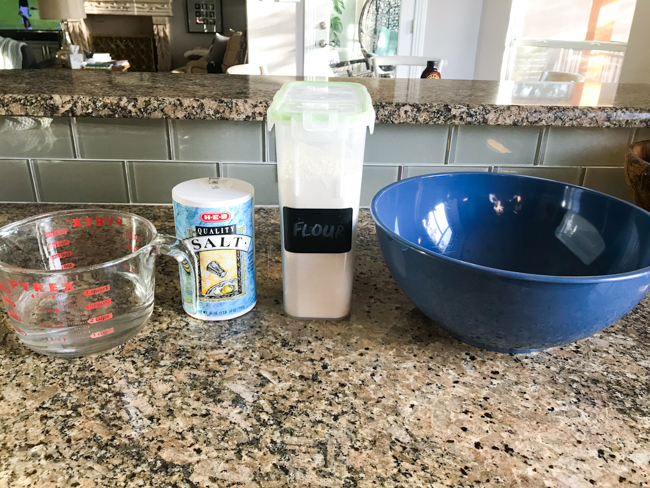
You’ll want to use regular all-purpose flour and table salt (not coarser salt like kosher salt):
- 4 cups of flour
- 1 cup of table salt
- 1 1/2 cup of water
Making Salt Dough
Step 1: Whisk flour and salt
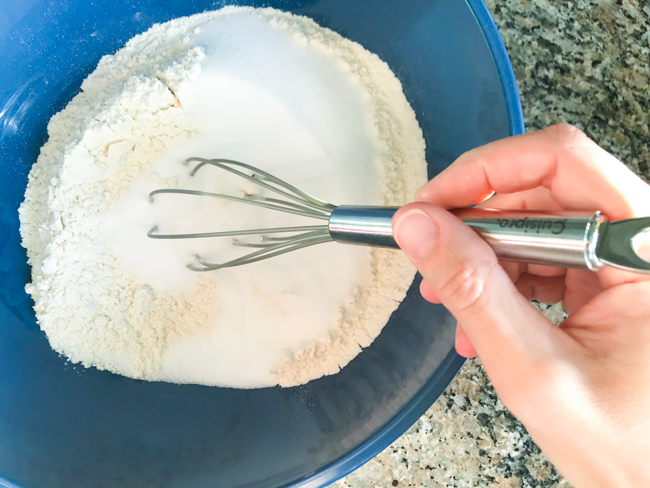
To make the salt dough, first mix the 4 cups of flour and 1 cup of table salt together with a whisk in a large bowl.
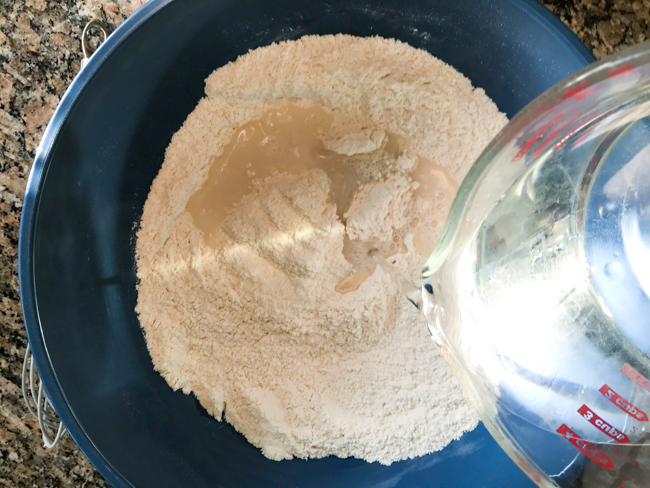
Step 2: Add water
Slowly add the 1 1/2 cups of water.
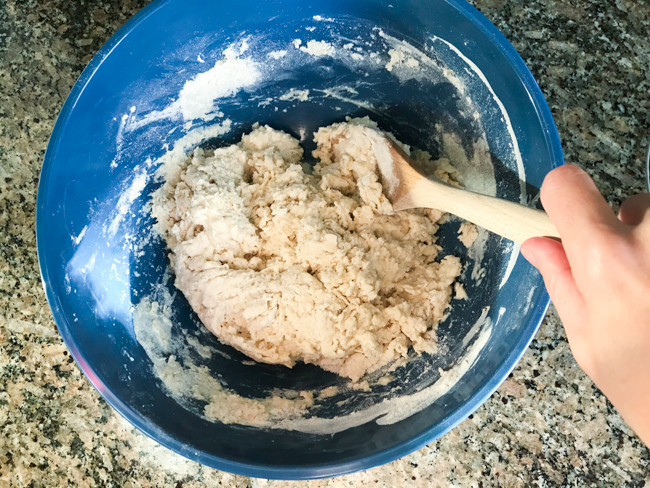
Step 3: Stir with spoon
Stir with a wooden spoon until a dough starts to form.
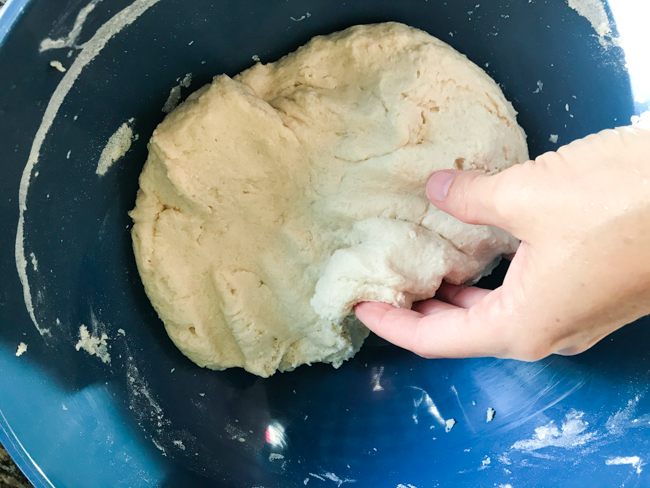
Step 4: Knead dough
You can use your hands to knead the dough. If the dough feels too sticky after kneading you can add a bit more flour. I also found that chilling the dough for an hour helped make it less sticky and easier to roll out.
Cutting Out Salt Dough Ornaments
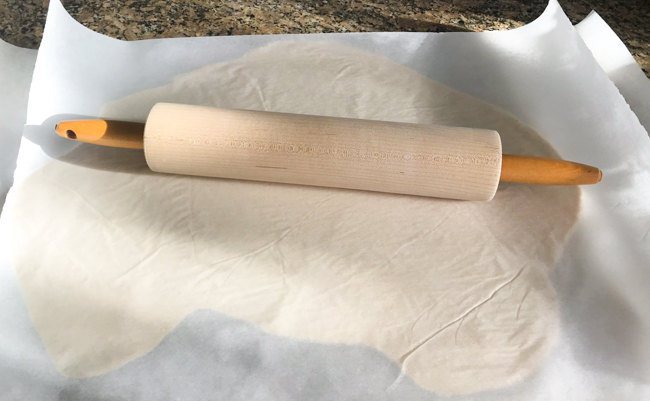
Step 1: Roll out dough
Roll out the salt dough to between 1/4″ and 1/8″ thickness. You can roll it between two pieces of parchment paper if you like. I find that if the dough is slightly chilled it is easier to roll and cut.
Step 2: Cut out ornaments
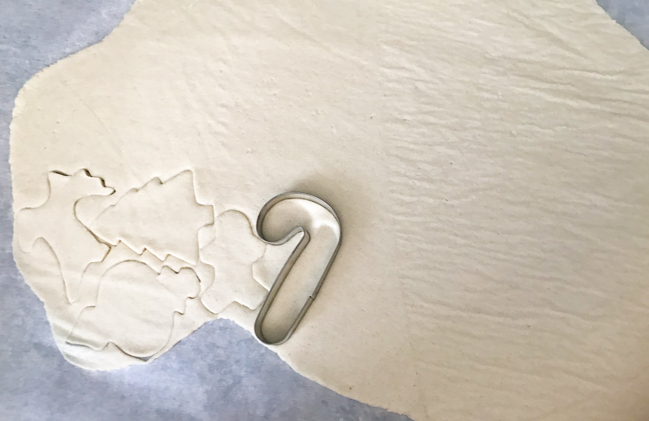
Use a variety of Christmas cookie cutters to cut out the ornaments. Peel away the excess dough and roll out again to make more ornaments! If the dough ever gets sticky you can add more flour or put it in the refrigerator for a bit.
Step 3: Make hole in ornaments
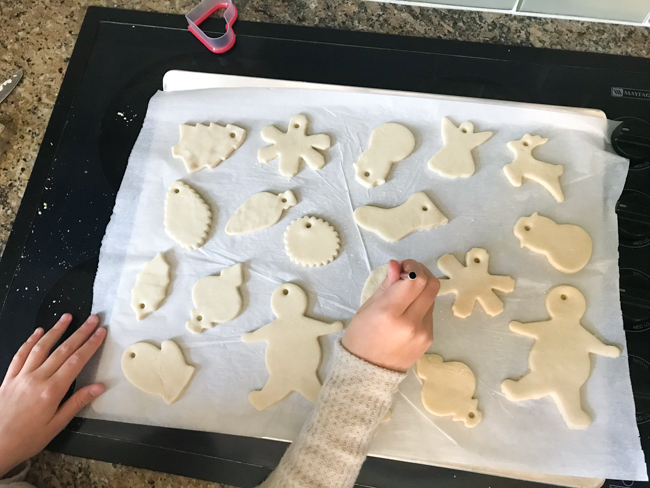
Use a straw or a skewer to make a hole in each ornament so you can hang it.
Step 4: Stamp ornaments to decorate
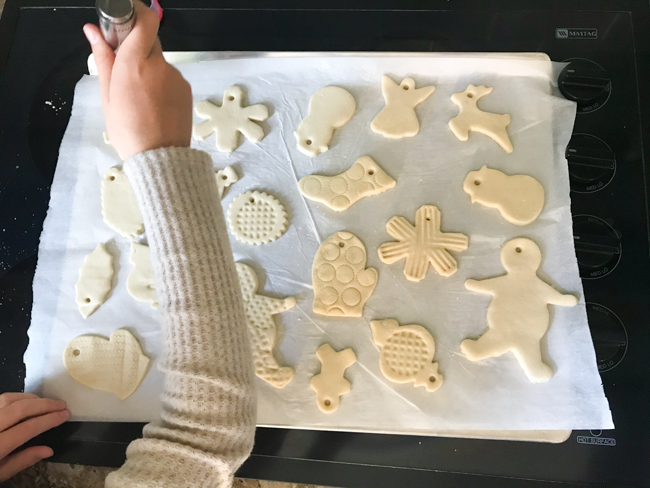
Now for the fun part! Use a variety of kitchen utensils to stamp designs on the top of the salt dough ornaments. We used a potato masher, vegetable peeler, can opener, fork, apple corer, and drink muddler. This is the perfect opportunity to get creative!
Baking Salt Dough Ornaments
Preheat the oven to 300 degrees F and bake the ornaments for one hour. The ornaments should be hard when they come out of the oven. Let cool completely.

How to Decorate Salt Dough Ornaments
Once the ornaments are cool and hardened you can further embellish them with paint and glitter. I recommend dividing this activity up into two days – a baking day and a painting day!
Step 1: Decorate with craft paint
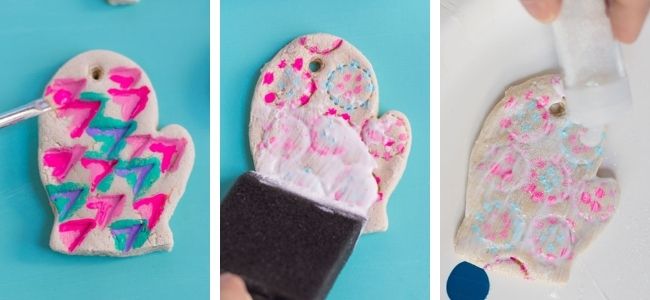
Use small paint brushes and colorful craft paint to decorate the stamped parts of your ornaments. We stuck with a limited color palette to make all of our ornaments look coordinated!
Step 2: Seal with Mod Podge
Once the paint is dry, add a layer of glossy Mod Podge to the top to seal the ornament.
Step 3: Sprinkle on glitter
Immediately sprinkle on some fine white glitter while the Mod Podge is still wet. The glitter will stick and make the ornaments truly sparkle on the tree!
Hang your sweet ornaments from the tree with a loop of baker’s twine!
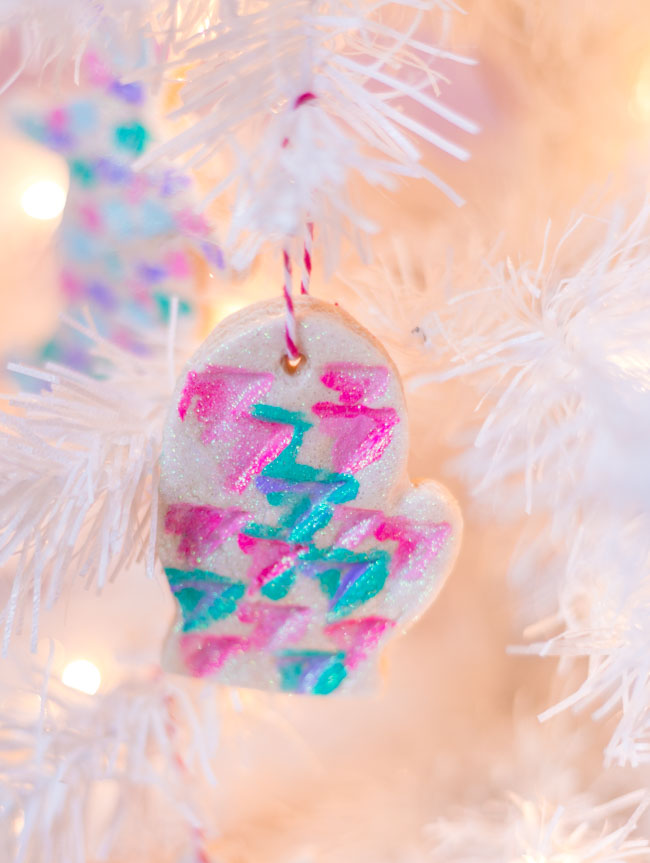
It was so fun working on these ornaments together with my daughters. I hope they’ll want to pass the tradition on to their own kids some day! We hung the ornaments on their little white tree along with some colorful bulbs. I hung my giant pom-pom snowflakes on the wall behind the tree for a sweet Christmas vignette

The Prettiest Salt Dough Ornaments (PRINTABLE RECIPE)
Salt dough ornaments are such a classic kids Christmas craft and so easy to make! Kids will love cutting out the ornaments with cookie cutters and stamping designs on them with kitchen tools. Once baked, the ornaments are painted and sealed with Mod Podge and sparkling glitter. These pretty ornaments glimmer on the tree!
Ingredients
- 4 c. flour
- 1 c. table salt
- 1 1/2 c. water
- Acrylic craft paint
- Glossy Mod Podge
- White glitter
Instructions
- Mix the 4 cups of flour and 1 cup of table salt together with a whisk in a large bowl.
- Slowly add 1 1/2 cups of water and stir with a wooden spoon until a dough starts to form.
- Knead dough with hands. If it is still sticky, add a little more flour. You can also chill it for an hour in the refrigerator to make it easier to roll out.
- Roll out dough with a rolling pin to 1/4" to 1/8" thick and use cookie cutters to cut out shapes.
- Create a hole in the top of each shape with a straw and make "prints" on the top of the shapes with kitchen tools such as forks, potato mashers, and apple corers.
- Bake for 60 minutes at 300 degrees F. Let cool and harden completely before decorating.
- Paint the ornaments and let dry. Seal with glossy Mod Podge and sprinkle with iridescent white glitter.





Ohhh saving this to Pinterest right now. We made cinnamon ornaments years ago and they were cute but SUCH A MESS. Stained everything. This looks far more reliable.
Oh no! I think you will find these pretty mess free!
These are such cute ornaments! I need to try to make these with my own kids. I think they’d love them.
We had a lot of fun making them, so I bet your kids will too! Their favorite part was using the different kitchen utensils to make patterns on the ornaments before we baked them!
These are so darling! I’m definitely saving for later.
Thanks Kathryn! I hope you try them!