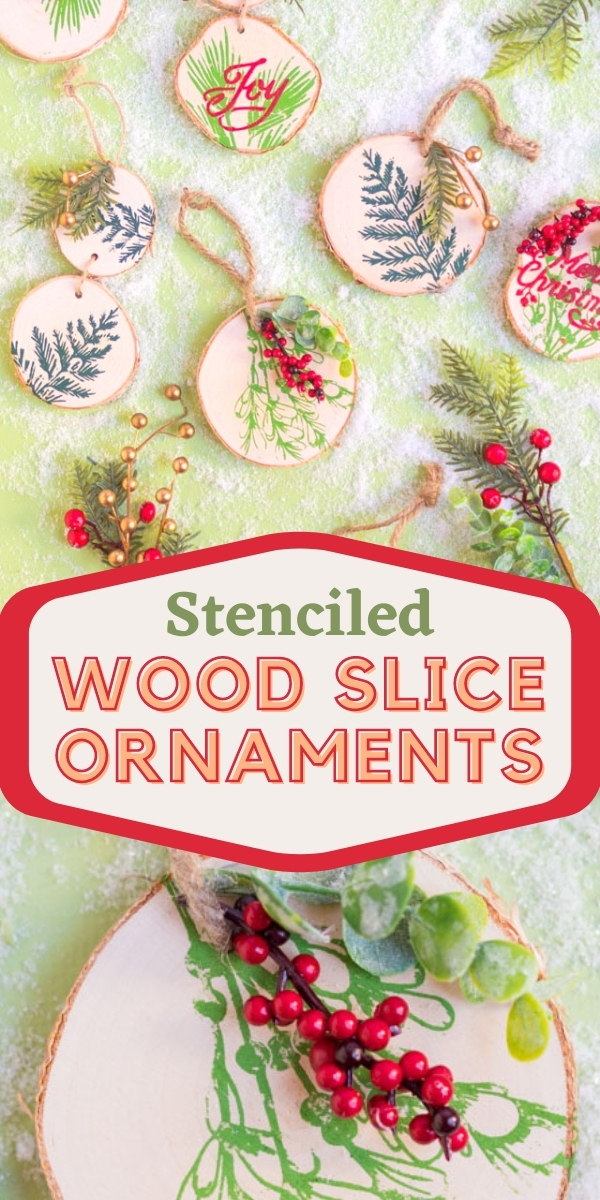
Painted Wood Slice Ornaments with Martha Stewart Stencils
DIY Stencil Painted Wood Slice Christmas Ornaments
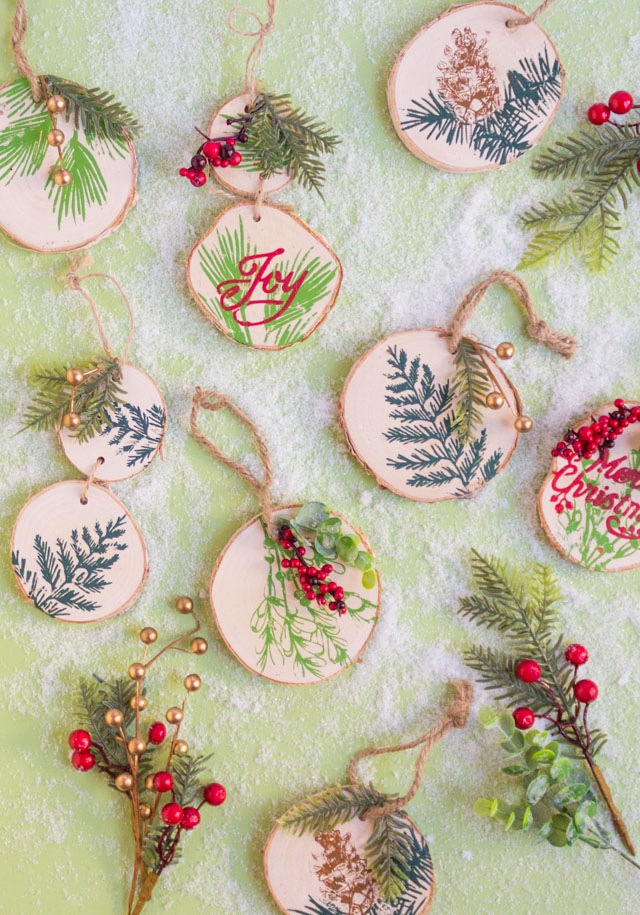
I have always wanted to do something with these birch ornaments I’ve seen at the craft store, and I am so excited how these painted wood slice ornaments turned out! I’m partnering with Martha Stewart Crafts® to show how their beautiful stencils and craft paints create amazing results for even the beginning crafter. No painting experience required! All the Martha Stewart products featured in this post are available exclusively at Michaels.
This post contains affiliate links. See our full disclosure.
I accented the Martha Stewart Winter Green stencils with some faux winter greenery. I love the added texture and natural element it brings to the birch ornaments. Wouldn’t these make the prettiest Christmas gifts? I was able to whip up a bunch of these in an hour because the stencils make it so easy.
Supplies for Painted Wood Slice Ornaments
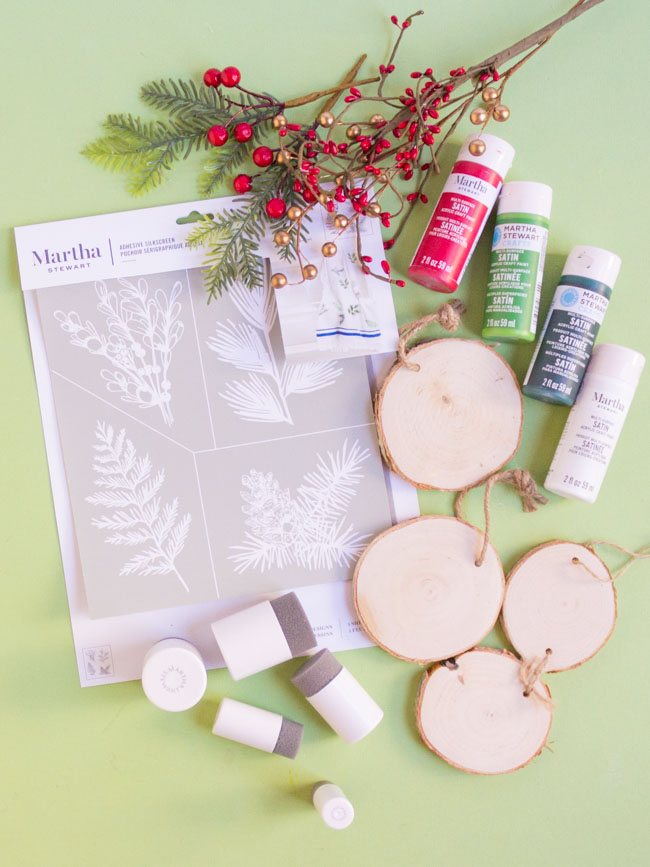
- Martha Stewart Winter Greens Silkscreen Stencil (find this Winter Greens stencil at a local Michael’s near you)
- Martha Stewart Holiday Christmas Stencil
- 4″ wood slice ornaments (find at Michael’s)
- Double wood slice ornaments (find at Michael’s)
- Martha Stewart Multi-Surface Satin Acrylic Paint
- Foam pouncers
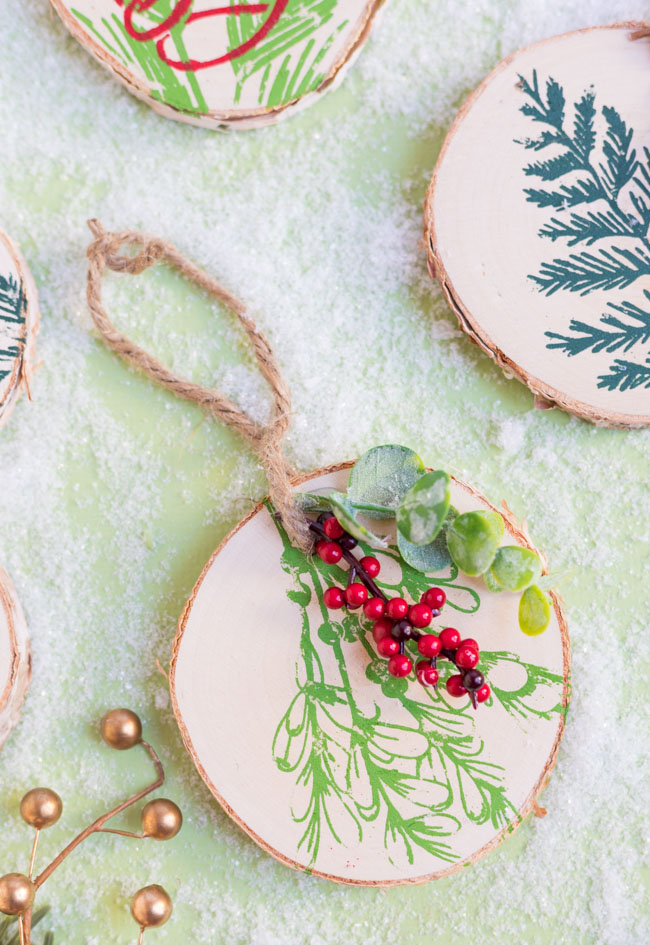
- Faux greenery such as these red berries
- Wire cutters
- Hot glue
How to Paint Wood Slice Ornaments
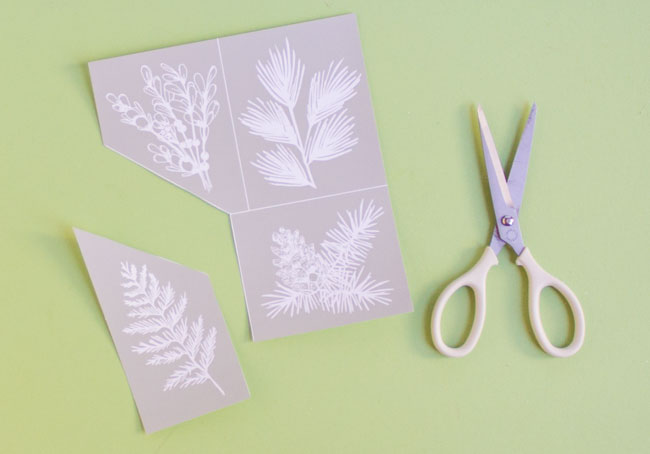
Step 1: Cut out stencils
Cut out the Winter Green silkscreen stencils with scissors.
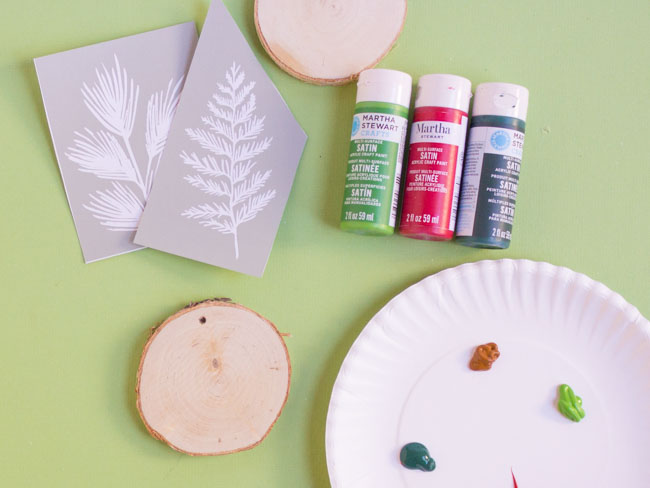
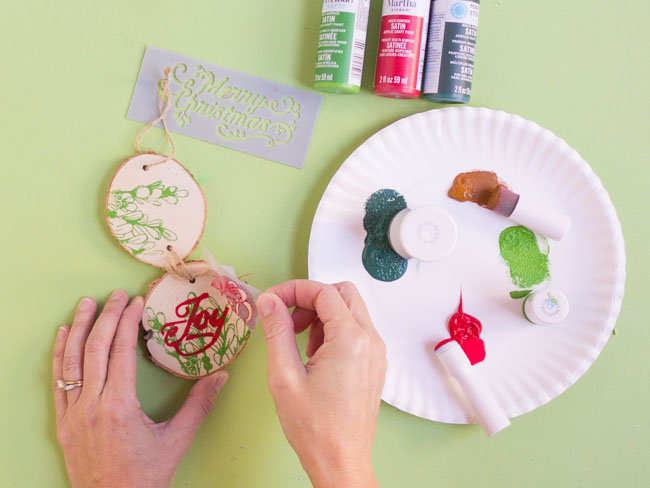
Step 2: Choose paint colors
Squeeze a small amount of each of your paint colors onto a paper plate. Remove the twine hanger from the wood slice ornament to allow a flatter surface for stenciling.
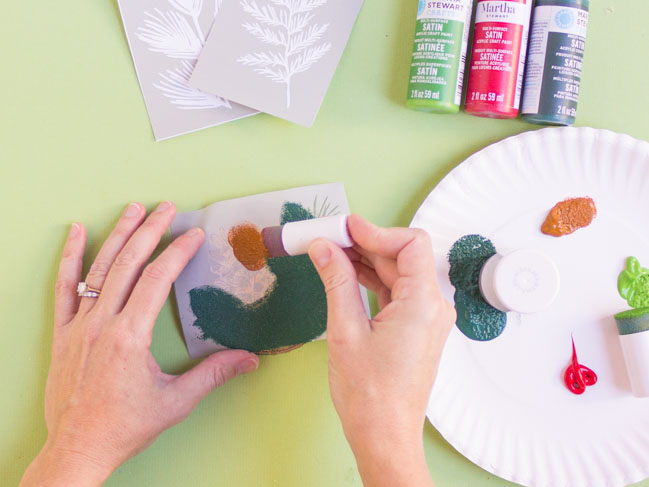
Step 3: Apply paint to stencil
Peel the backing off of the silkscreen stencil and place on top of the wood slice. The entire stencil may not fit on the slice, but position it at an angle so the main design is captured on the wood. Use a foam pouncer to apply a small amount of paint to the stencil with an up and down dabbing motion.
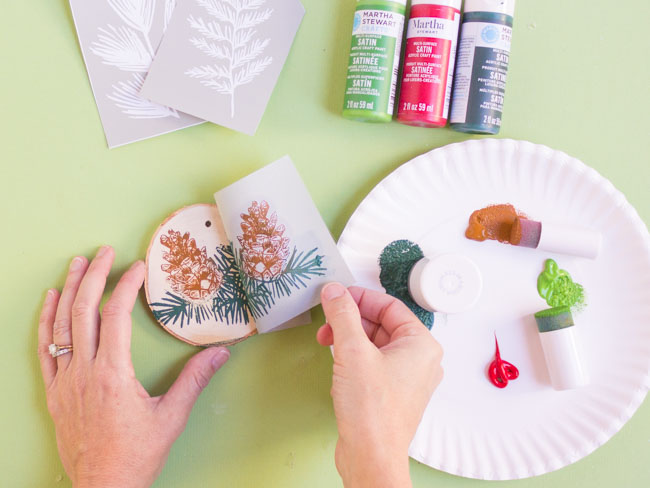
Step 4: Carefully remove stencil
Peel off the stencil to reveal your beautiful design! Rinse off the stencil while the paint is still wet to keep it working great.
Step 5: Add Christmas sayings
You can also layer on Christmas sayings above the greenery designs. I added a “Joy” and “Merry Christmas” stencil from this Martha Stewart Holiday Christmas Stencil pack once the greenery was dry.
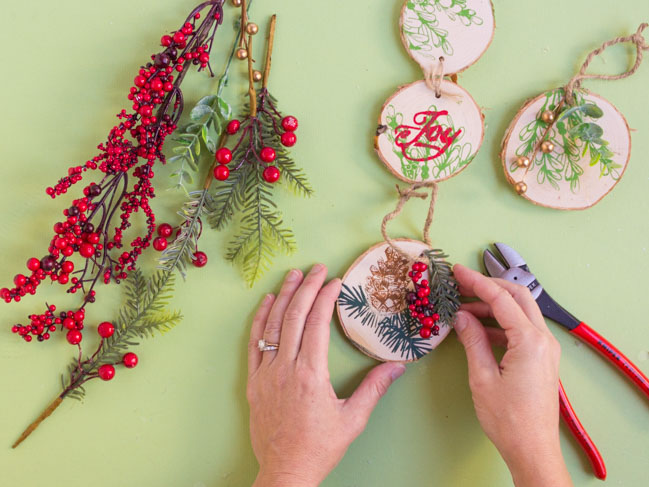
Step 6: Decorate with faux greenery
Finish by adding small sprigs of faux greenery. I used wire cutters to trim them berries and greenery from the stems and added them to the top of the wood slice with a dab of hot glue.
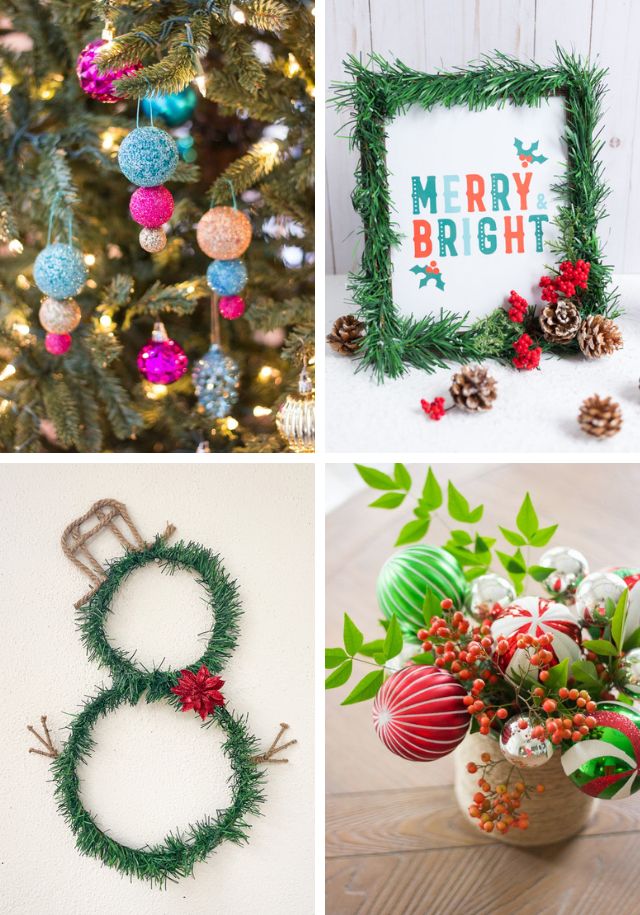
Didn’t these turn out so pretty? I would love a tree full of these with other natural elements like pine cones. What about an old school popcorn and cranberry garland? I might just have to try that!

Like this stenciled Christmas craft idea? Then don’t miss my snowflake ornaments and stenciled gift boxes, also using Martha Stewart stencils!
This post is sponsored by Martha Stewart Crafts®. All expressed opinions and experiences are my own.