How to Make DIY Christmas Boxes with Stencils
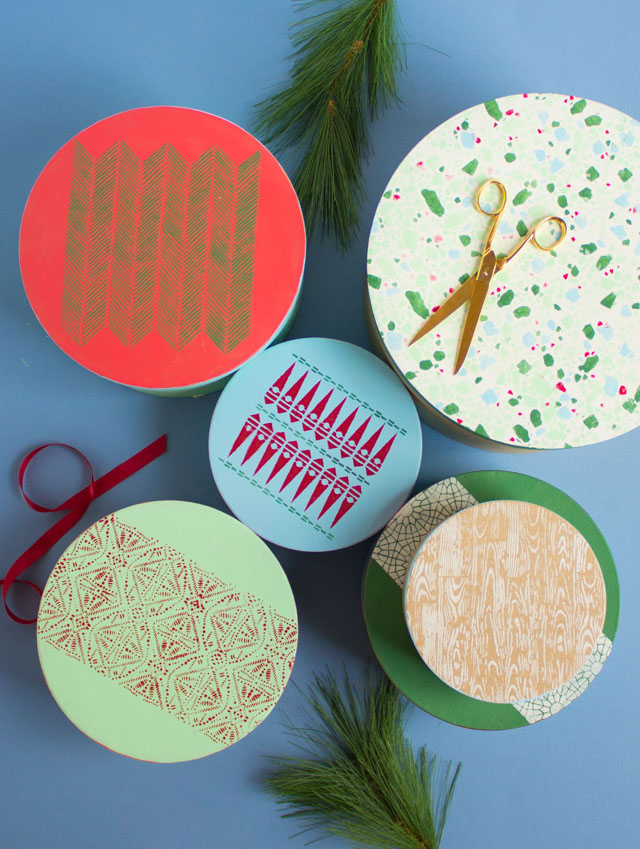
DIY Christmas Boxes with Stencils
Isn’t it a special treat to receive a really nicely wrapped present? It shows a lot of thoughtfulness on the part of the gift giver, even before you open the gift! Well, I wanted to create that feeling with my Christmas presents this year, so with the help of Martha Stewart’s latest line of stencils and paints, I transformed papier-mâché boxes into pretty gift packaging that can serve as a keepsake long after the gift is opened!
This post contains affiliate links. See my full disclosure.

Traditional gift bags and gift wrapping can be expensive and often only used once. However, papier-mâché boxes are just a few dollars a piece – Michaels is a great source for paper mache boxes. The boxes are sturdy enough to be used as pretty storage or decor for years to come. I love storing small craft supplies, photos, and other keepsakes in these boxes.

The Martha Stewart adhesive stencils are my absolute favorite because they make stenciling pretty fool-proof. No more having to tape down the stencil and hold it close to the surface with your fingers to prevent any paint from seeping through! The stencils create clean, sharp-lines every time. The adhesive is still light enough that it is easy to remove and reposition the stencil as needed without damaging the papier-mâché. This was my first time using the Martha Stewart silkscreens and they worked very similarly to the adhesive stencils. A dauber brush is the easiest way to apply the paint.

This is a fun afternoon project. Just select a few stencils, line up your box tops and get to painting!

Supplies for Stenciled DIY Christmas Boxes
- Adhesive Stencils or Silkscreens (I used the Martha Stewart stencils at Michaels)
- Martha Stewart Multi-Surface Satin Paints
- Martha Stewart Dauber Set
- Papier-mâché boxes
- Foam brushes

How to Make Stenciled DIY Gift Boxes
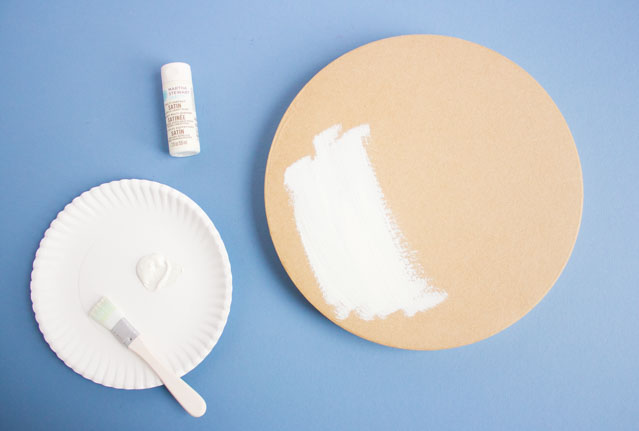
Step 1: Paint box lid
Start by painting the top a solid color using the Martha Stewart satin paint and a foam brush. Let dry.
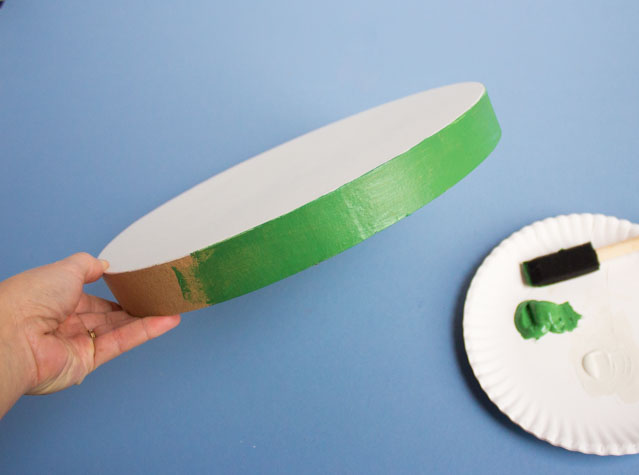
Step 2: Paint sides of lid a different color
You can paint the edge of the lid a different color for a fun contrast if you want! You can also paint the base of the box another color. I painted some of mine and left others natural.
Step 3: Position stencil on box lid
Peel the backing off the adhesive stencil or silkscreen and position it on top of the lid where you want to begin stenciling. In this example, I am using the terrazzo silkscreen. I recommend starting with a lighter color to use as your primary color. Use a small dauber brush to apply the paint to the silk screen, leaving some of the spaces empty for additional colors.

Step 4: Apply paint with dauber
Add another color or two to the silkscreen until you have covered all the design.

Step 5: Carefully lift stencil and reposition
Carefully lift up your silkscreen to reveal the design! You can now reposition it on another part of the lid and repeat the process until you have covered the surface.

Fill your pretty new box with a special gift and tie it with a bow!

While I used the terrazzo stencil to cover the entire box lid, you can use other stencils to just do a simple band in a single color on top of your lid if you want!


Don’t these look pretty under the tree? I think I am going to keep them there until I am ready to fill them with gifts and give them away!

Find the new Martha Stewart stencils and paints exclusively at Michaels!

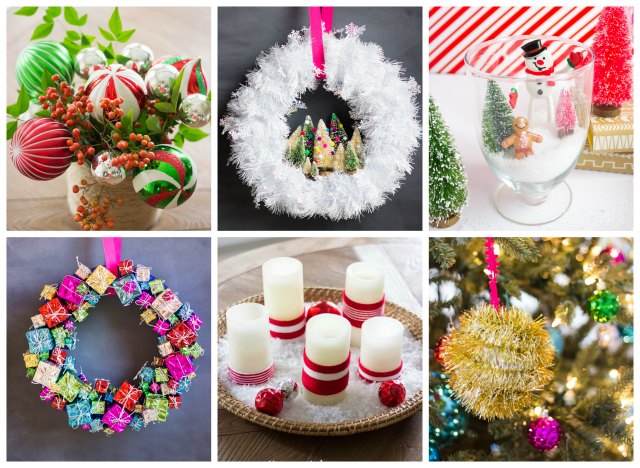
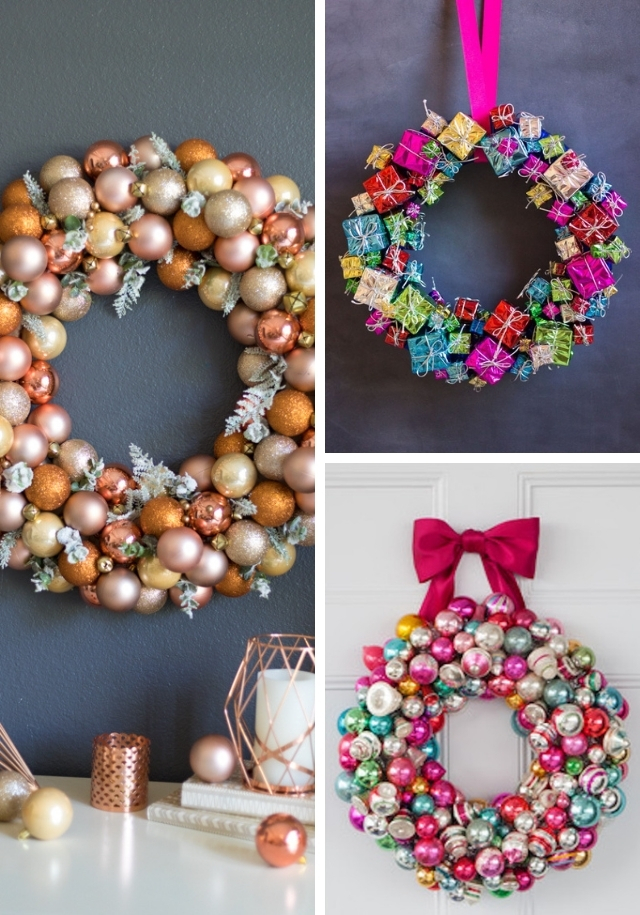
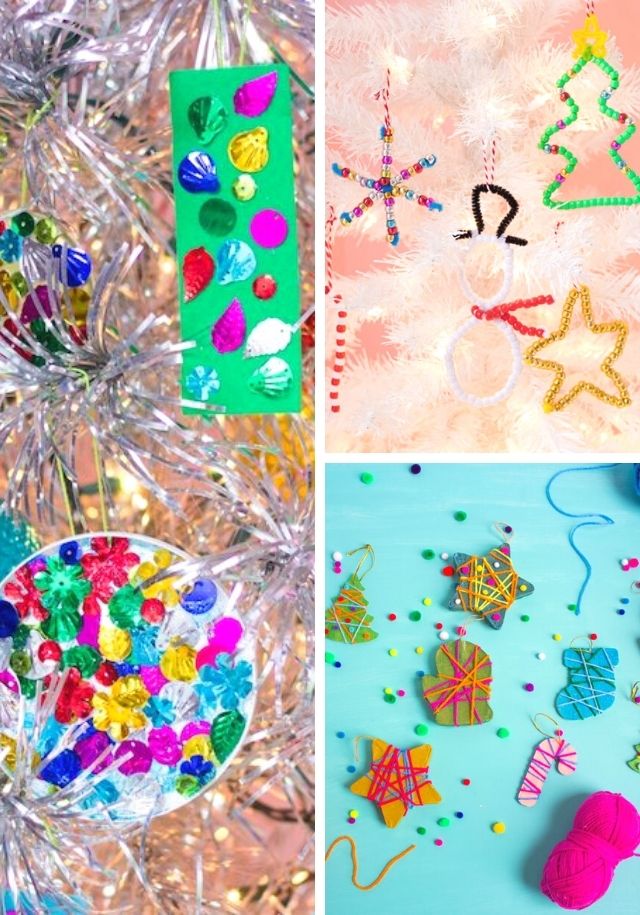
Like these DIY gift boxes?
Then don’t miss these other easy Christmas crafts!
This post was sponsored by Martha Stewart Living Omnimedia and Plaid Crafts. All expressed opinions and experiences are my own.

One Comment