DIY Snowflake Ornaments with Stencils

How to Make DIY Snowflake Ornaments with Stencils
Bring a little snow into your home with these simple stenciled snowflake ornaments that I made in partnership with Martha Stewart and Plaid Crafts! I love making Christmas ornaments, and each year I try to come up with a new idea or two, often involving my favorite Martha Stewart supplies, like these jewel-tone painted ornaments and these glitter ball ornaments I made a couple years ago.
This post contains affiliate links. See my full disclosure.
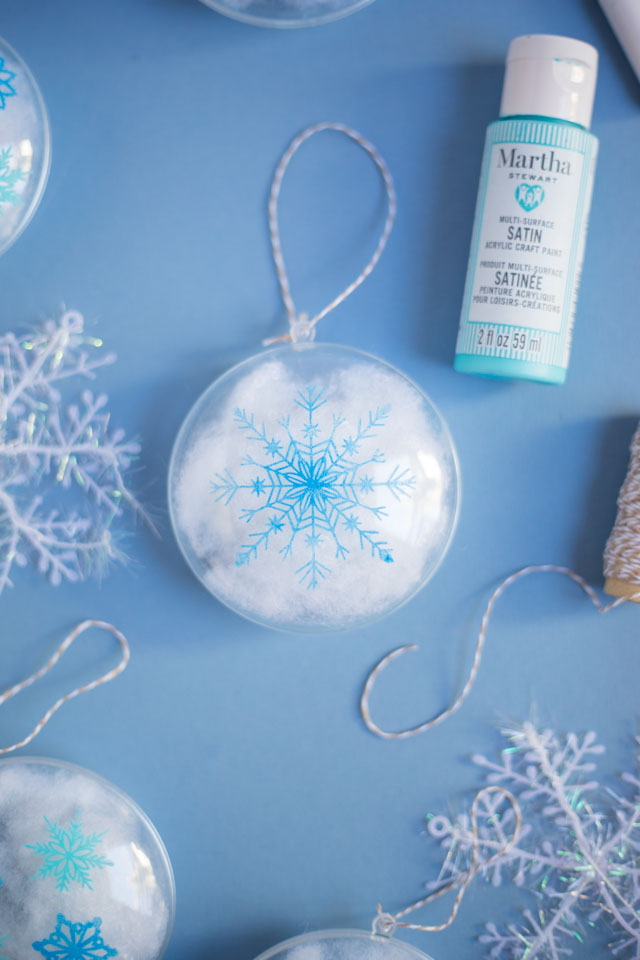
For the snowflake ornaments, I started with clear disc ornaments, filled them with “snow” and stenciled the front with pretty snowflake designs using Martha Stewart stencils and paints. Read on to see how easy these are to make!
This was one of my first time using a silkscreen. The first time was to make these pretty stenciled Christmas boxes. If you are unfamiliar with them, they are like flexible stencils made out of a fabric material. They are great for making highly-detailed designs on anything from fabric, to wood, to glass. The Martha Stewart silkscreens are slightly adhesive to help them stay in place. Definitely give one a try if you never have!
Supplies for DIY Snowflake Ornaments
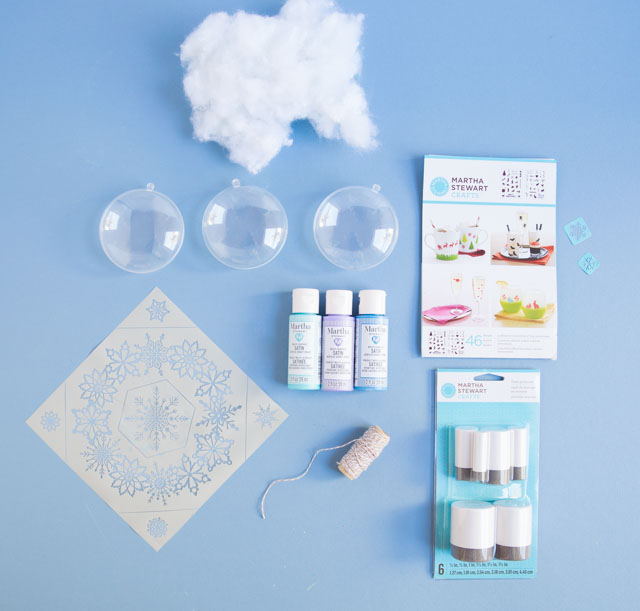
- Adhesive snowflake stencil (while these Martha Stewart snowflake stencils are no longer available, you can find similar silkscreen stencils on Etsy or make your own with vinyl and a cutting machine. You just want a bendable adhesive stencil, not a hard flat stencil)
- Martha Stewart Foam Pouncer Set
- Martha Stewart Multi-Surface Satin Paints
- Clear plastic disc ornaments
- Polyester fiber fill
- Baker’s twine
How to Make Clear Stenciled Snowflake Ornaments
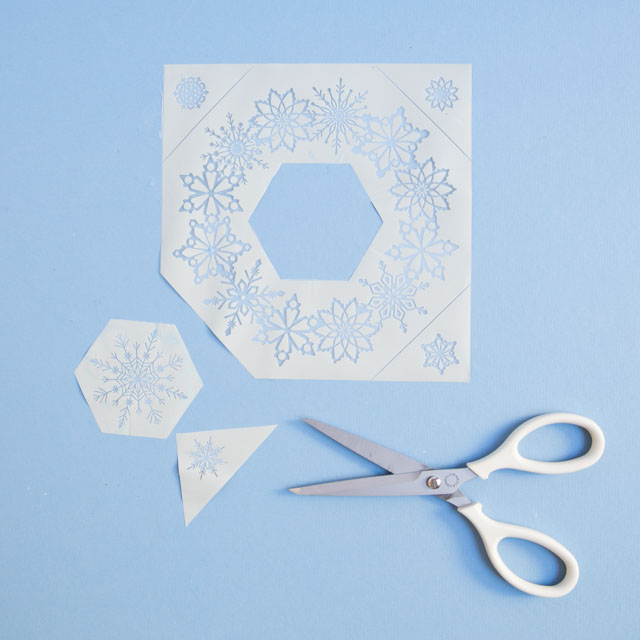
Step 1: Cut out stencils
Step 2: Position stencil on ornament
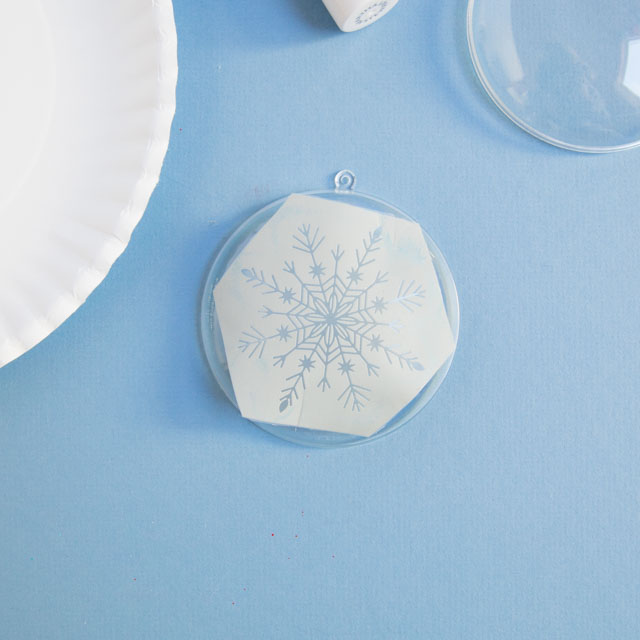
Center the silkscreen on the front of the disc ornament. You’ll want to use flat discs for this project, not the clear round ornaments. The silkscreen is slightly adhesive which helps it stay in place once you have positioned it.
Step 3: Apply paint with foam pouncer
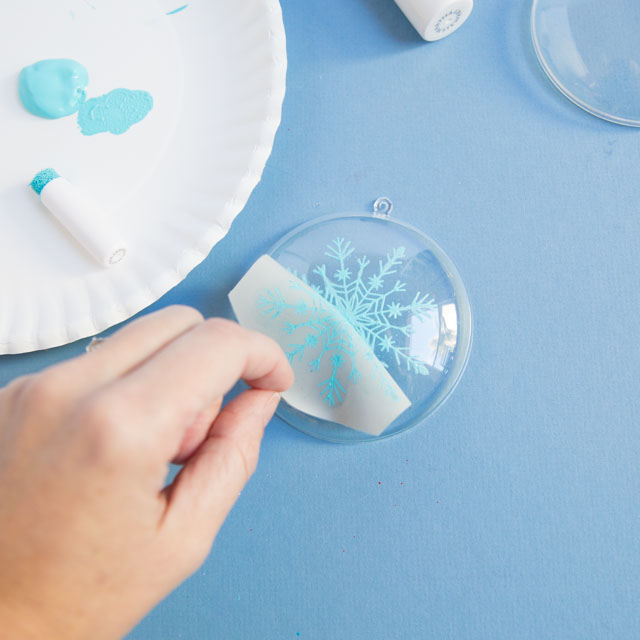
Use a foam pouncer to apply a small amount of paint in an up and down blotting motion. Start in the middle of the snowflake and work towards the outside edges of the silkscreen. You will need to press down the silkscreen around the sides with your fingers as you go to make sure it lies flat against the curved disc.

Step 4: Carefully remove stencil
Peel back the silkscreen to reveal your pretty design! Wash and dry off the silkscreen immediately afterwards before using it on your next ornament.
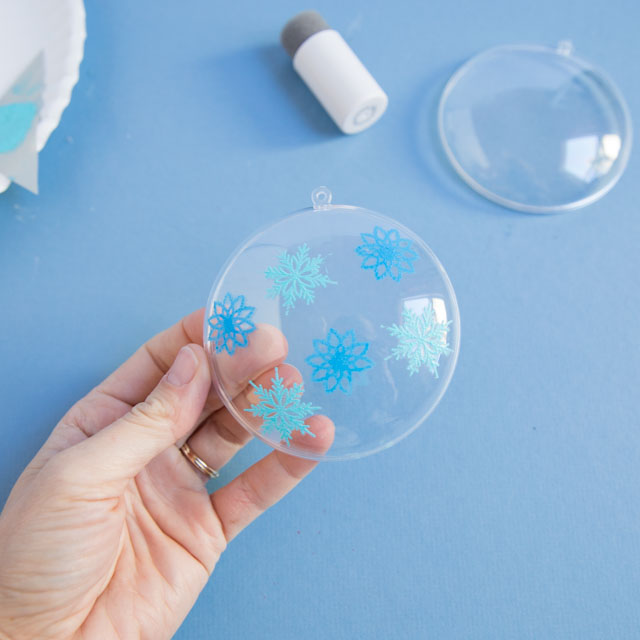
Here is an ornament using the smaller snowflake silkscreens in two different shades of blue.
Step 5: Fill your ornaments with “snow”
Fill your ornament with a little polyester fiber stuffing to serve as the snow!

Step 6: Hang with twine
Cut a length of baker’s twine and tie into a loop to create a hanger for your ornament.
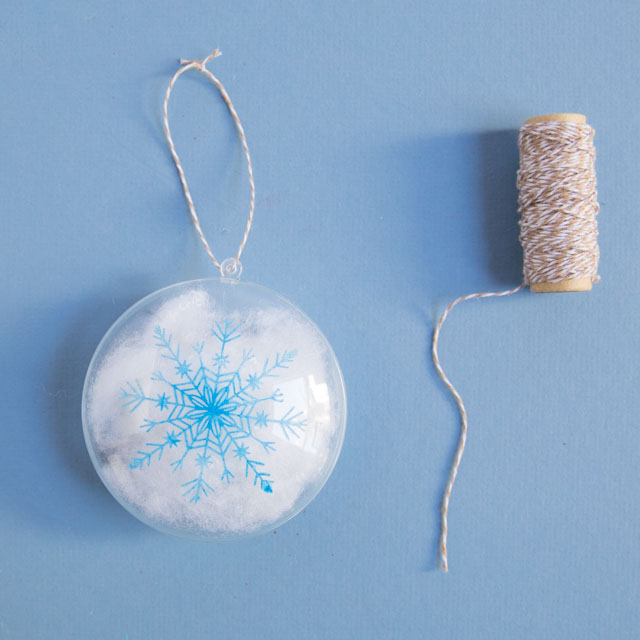
Repeat until you have enough ornaments to cover your tree with snowflakes!
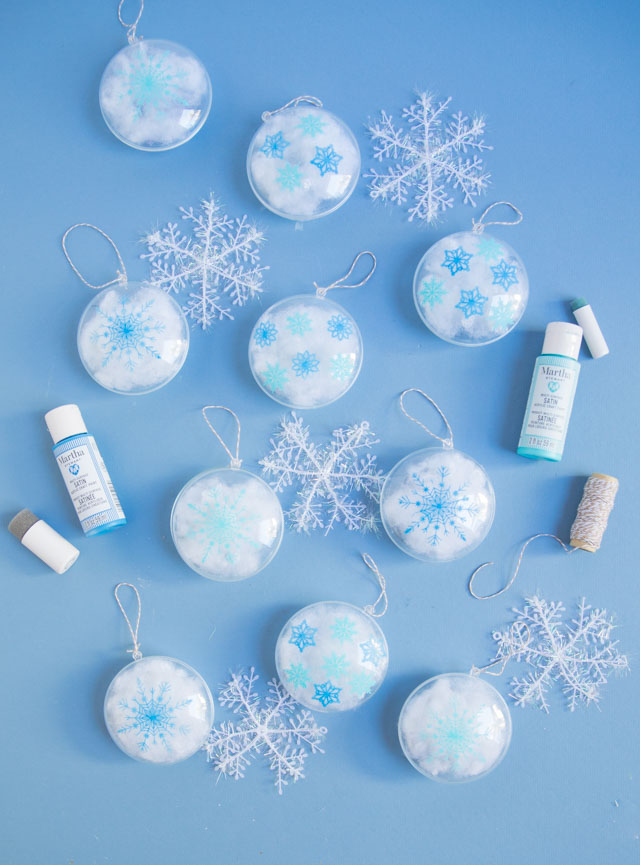
They look so pretty hanging from the tree. I love how the snow in the clear ornaments allows some of the light to pass through!

Like these DIY snowflake ornaments?
Then don’t miss these other easy Christmas crafts!

This post was sponsored by Martha Stewart Living Omnimedia and Plaid Crafts. All expressed opinions and experiences are my own.

