The Simplest Way to Display Your Kids’ Art!
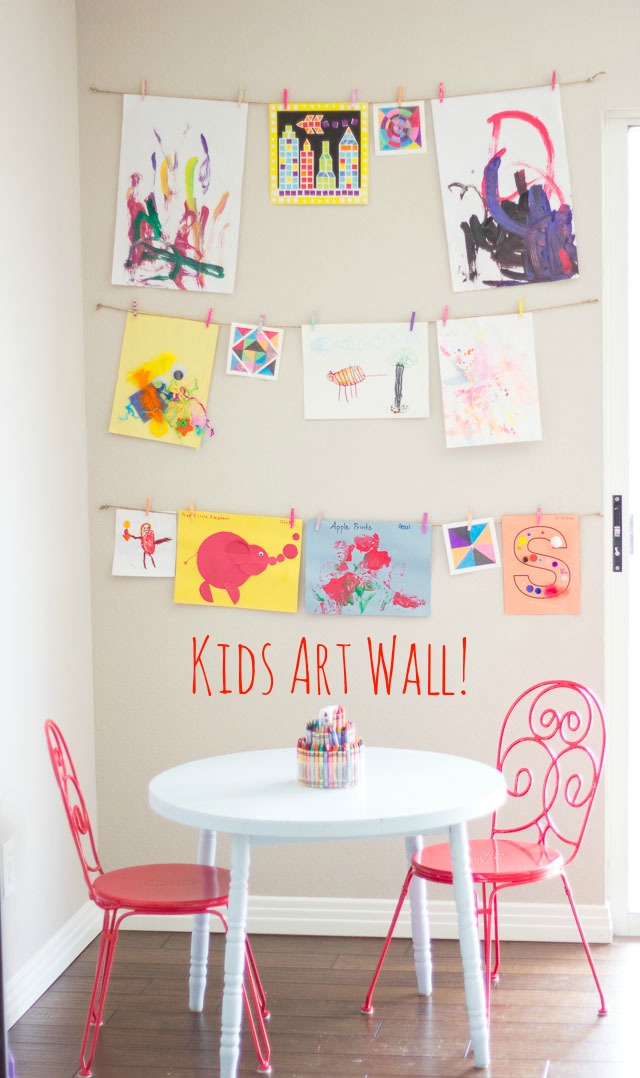
DIY Clothespin Art Display
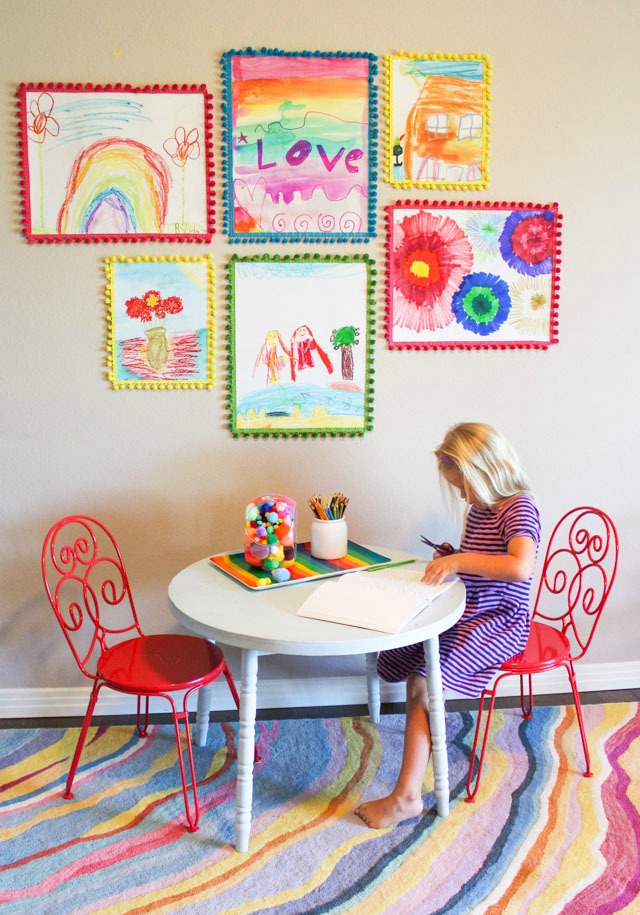
My girls produce a lot of “art” – whether it is their own scribbles at home or the projects they bring home from preschool, I am always shuffling through papers trying to figure out what to do with everything. Truth be told, much of it ends up in the trash (although my 2 year old has an uncanny ability to find it there, and pull it out saying “Mommy why did you throw this away?!”). I came up with this simple art display in their playroom as a way for them to admire their creations a little longer before they were pitched or put into a closet somewhere!
This post contains affiliate links. See our full disclosure.
Supplies for Kids Art Display
- Jute twine
- Mini clothespins
- Small nails
- Craft paint (optional)
How to Make a Clothesline Kids Art Display
Step 1: Measure out your space
To make your own art wall in a matter of minutes, determine how many rows you want and then measure where to put the nails so they are spaced equally. I used small nails for this project.
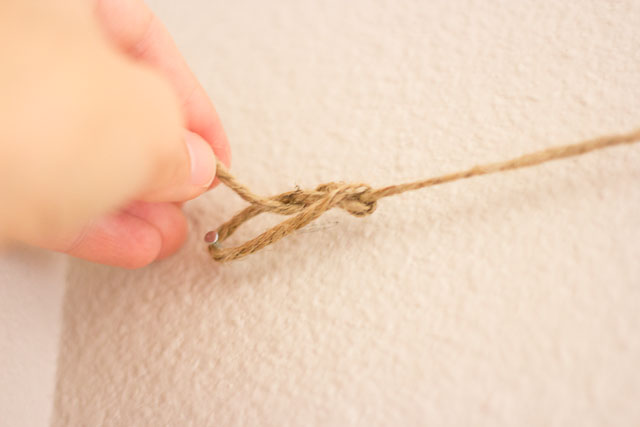
Step 2: Tie twine around nails
Cut a length of jute twine and tie a knot around each nail, looping the twine through knot twice before tightening to give it extra hold. Make sure the twine is taut when you tie it, and then trim off any excess.
Step 3: Decorate clothespins
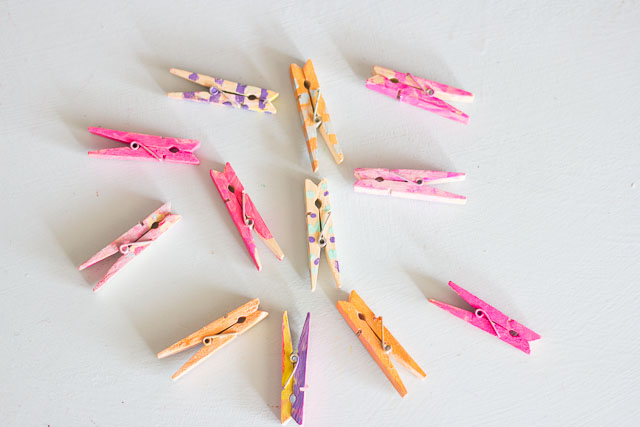
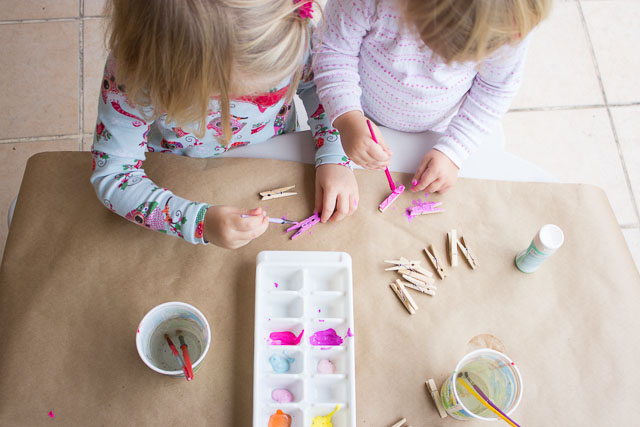
If you want, you can let your child have fun painting the mini clothespins with craft paint to give a little extra color to the art wall.
Step 4: Clip clothespins to twine
Space the clothespins along the twine to hold up the art.
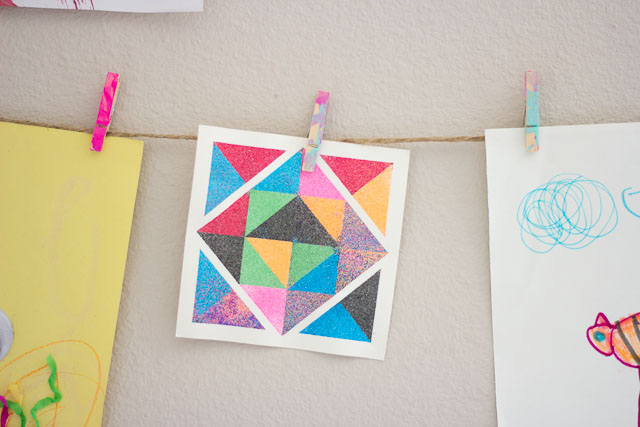
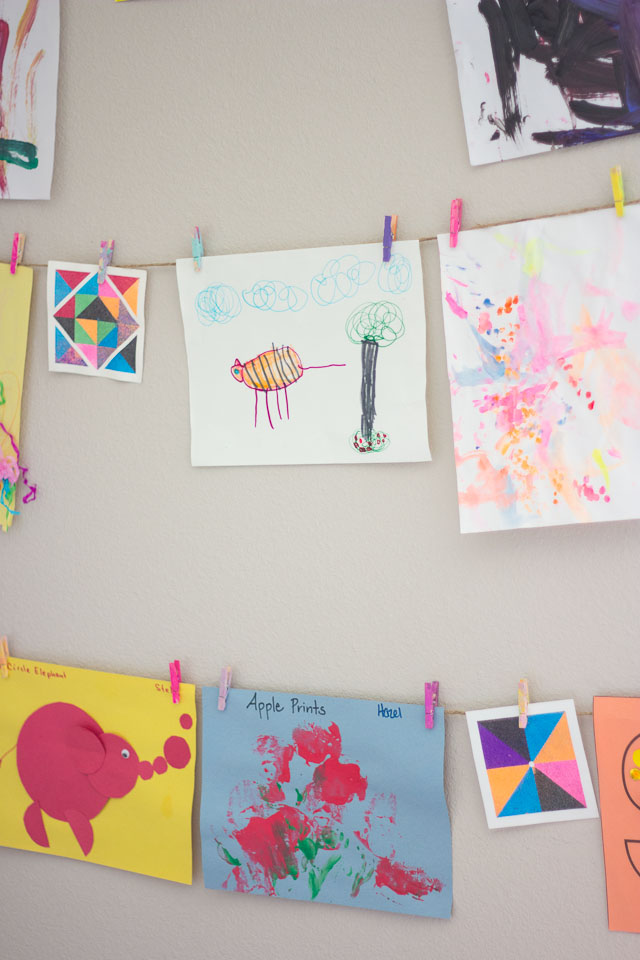
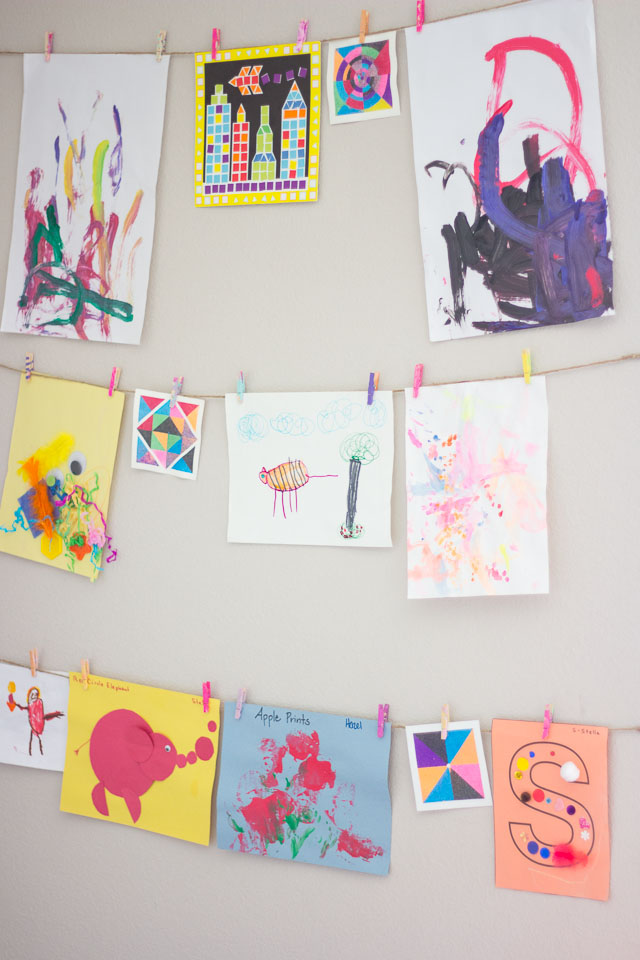
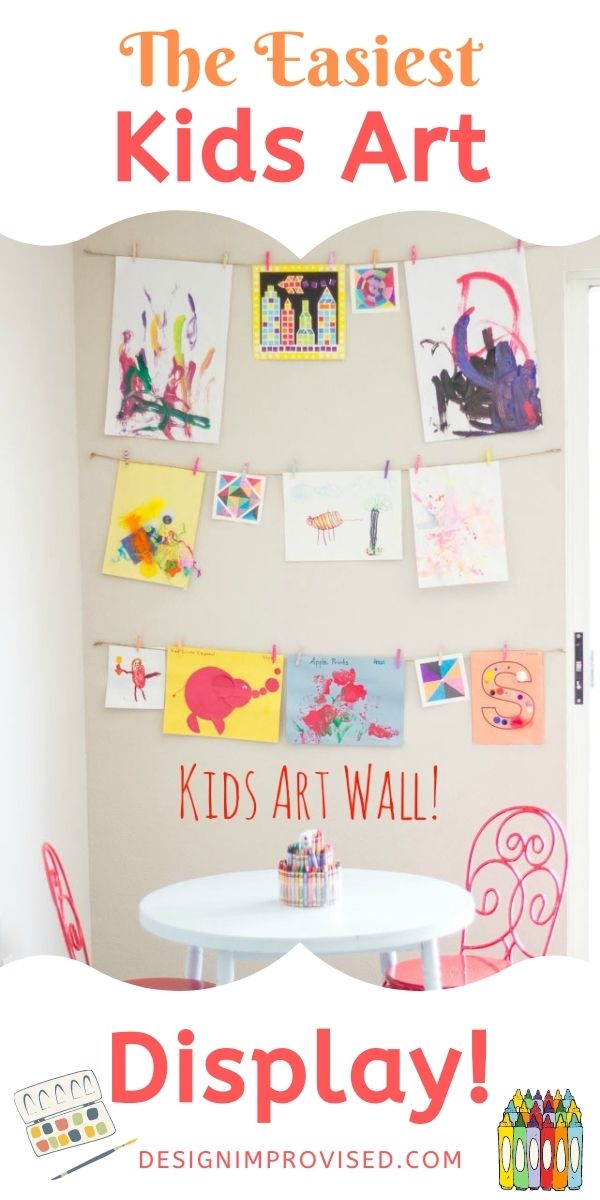
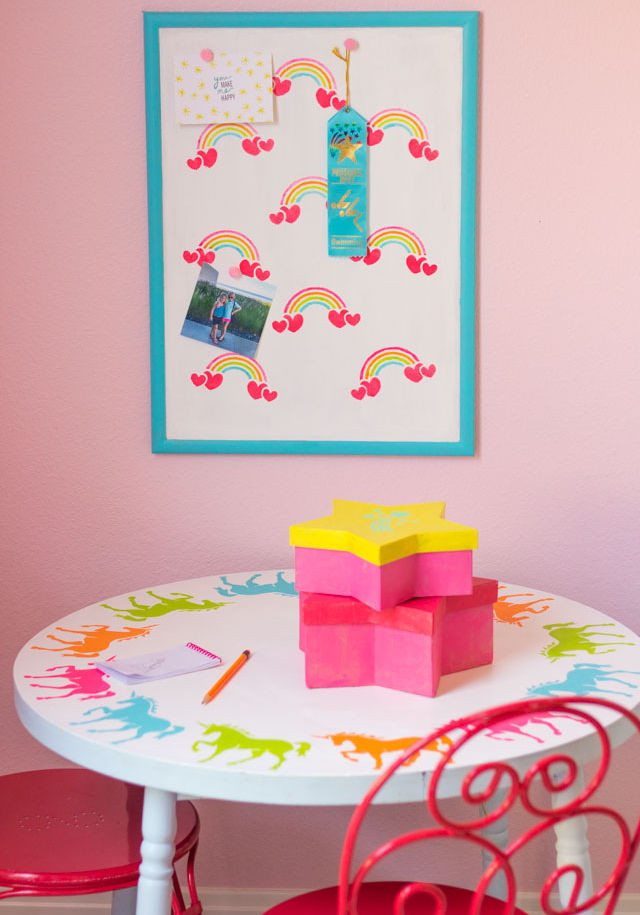
The art wall has become a rotating display in the playroom. It is right by my daughters’ table. That way they can hang up their art as soon as it is made! I like how the display has become the focal point of the room. You can make your own for just a few dollars and a few minutes of your time!

Love this idea and how beautiful it looks! I wanted to add that I found twine and mini clothespins at dollar tree since the twine is currently unavailable through Amazon!