How to Create a Kids Workspace
How to Create a Kids Workspace
This post contains affiliate links. See our full disclosure.
I always enjoy crafting for my daughters, but I love it even more when I can involve them in the process too! So when the Martha Stewart team and Plaid Crafts asked if I would try out their family friendly line of paints and stencils, I knew it was the perfect opportunity for some mother-daughter craft time! Today I’m sharing how to create a kids workspace with stencils.
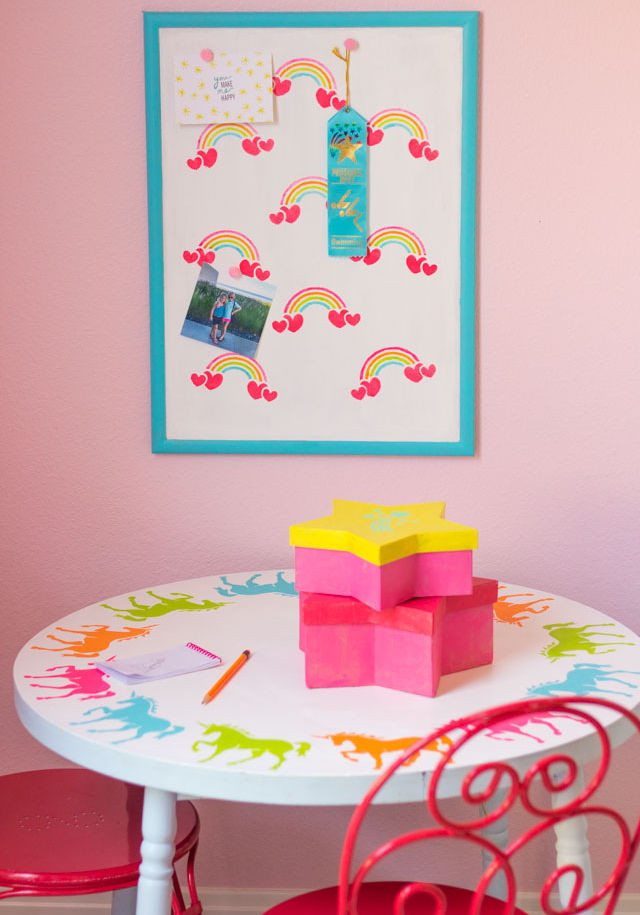
We spent the last week of summer creating this colorful kids workspace. Stella and Hazel got to try their hands at stenciling (is it any surprise they would pick rainbows and unicorns?) and I got to revamp their old play table that was covered in crayon and marker smudges. Paired with a rainbow stenciled cork board, it makes for the perfect space to create!

It is amazing what a little paint can do! We have had this play table for years. I originally found it left by a dumpster and brought it home and painted it blue (yay for upcycling!). Well, you can imagine what five years of heavy duty coloring and creating can do to a kids’ table. My daughters still use the table regularly so I thought it was the perfect opportunity to give it a new life. They were so excited when I told them I was going to cover their table with unicorns!

The Martha Stewart Family Friendly paints can be found exclusively at Michaels and come in 40 new bright and fun colors that are perfect for kids projects. They are also safe for kids ages 3 and up to use because they are CPSIA (Consumer Products Safety Improvement Act) compliant which means they meet a variety of safety criteria including being non-toxic and lead-free.

Each of the kid-friendly products has a heart-shaped symbol on it, making them easy to spot on the shelf!

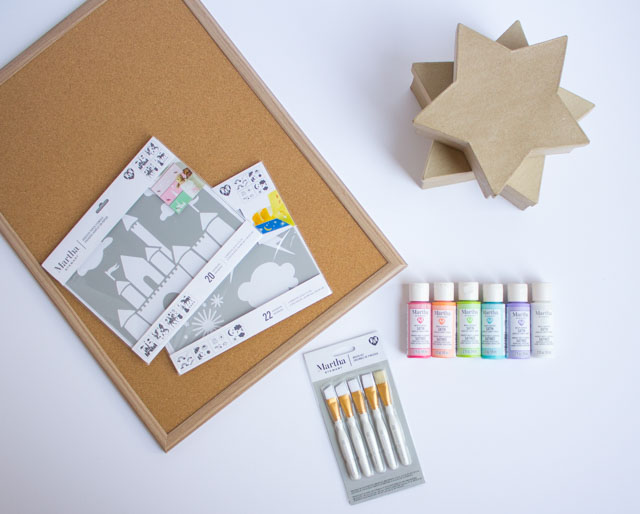
Supplies for DIY Kids Workspace
- Martha Stewart Family Friendly Multi-Surface Satin Acrylic Craft Paints
- Adhesive Laser Cut Stencils
- Martha Stewart Basic Brush Set
- Framed cork board
- Paper mâche boxes
- Kids play table (preferably an old one that needs a makeover!)
The girls and I spent an afternoon crafting alongside each other. I worked on stenciling the table and cork board, while they each got to decorate a paper mache box to hold special arts and crafts supplies for their workspace. Read on to learn how to create a kids workspace with stencils!
How to Stencil Paper Mâche Boxes
I think paper mâche is the perfect medium to introduce kids to painting and stenciling. First, it is inexpensive, so if they “mess up”, it’s really not a big deal! Secondly, paper mâche comes in a variety of fun shapes and boxes so that kids can create a functional piece of decor too. I always stop by the paper mâche aisle when I am at Michaels for inspiration. The girls chose these fun star boxes to practice their stenciling. Here are some steps for stenciling with kids:
Step 1. Prep workspace

Step 2: Choose paint colors
Help the kids squeeze paints into a painter’s palette or onto a paper plate. Also have a wet paper towel or washcloth nearby to wipe paint off of fingers as needed!

Step 3: Apply base coat of paint

Step 4: Add stenciled design
Choose another color to add a stenciled design to the top of the paper mâche box. These adhesive stencils are perfect for introducing children to stenciling because they adhere firmly to the surface and don’t move around when touched by little fingers!

Step 4: Carefully peel off stencil
Peel off the stencil to reveal the pretty design – Stella and Hazel loved this part!

Stenciling is such a fun way to jazz up a plain cork board. My girls love having cork boards to hang art projects, ribbons, photos, and trinkets on so it makes a nice addition to their play table.
How to Stencil a Cork Board
Step 1: Paint cork board with white paint
Paint the cork board inside the frame with Martha Stewart white paint (I used “Snowball“). These thin brushes are great for painting clean lines around the edges of the frame. Let dry and add a second coat if needed.

Step 2: Paint the cork board frame
Paint the frame a bright color (I used “Aqua”). You first run painter’s tape around the edge of the white cork board to prevent any paint from seeping onto it if you like.

Step 3: Position your stencil
Pick your favorite adhesive stencil! I chose the rainbow stencil from the Weather & Forecast pack. Cut out the stencil you plan to use and remove the paper backer to reveal the adhesive. Position your stencil on the cork board where you want it and smooth it down with your fingernail so the stencil is stuck nicely to the cork and no paint can seep underneath.

Step 4: Apply paint to stencil with a thin brush
When I stencil I like to squeeze a small amount of each paint I plan to use on a paper plate. For this rainbow stencil the thin brushes work really well. Just dip the brush in paint and then dab on the paper plate several times to remove excess paint before stenciling. Use an up and down blotting motion to stencil.


Stenciling a table is similar to stenciling a cork board. If you are placing stencils around the edge of the table you just want to be a bit more exact with your placement by measuring beforehand.
How to Stencil a Table
Step 1: Paint with three coats of paint
Start by covering the table with a fresh coat of white paint. I used a large foam brush and an 8 oz. jar of Snowball paint and gave the table three coats, letting it dry between coats.

Step 2: Determine stencil layout and trace with pencil
To make sure I spaced the unicorns evenly around the edges, I first measured roughly how many would fit around the table and then traced the unicorns on with pencil. You’ll ideally want an even number of unicorns (or stencil of your choice) if you want to do a repeating color pattern like I did.

Step 3: Apply paint to stencil
Stick the adhesive stencil to the table and dab with a small amount of paint. I gave each unicorn two coats for even coverage, letting it dry between coats. Since I had already outlined the unicorns I did all the pink unicorns first, before switching to the next color to make it easier.

Didn’t it turn out so fun?! I hope you liked learning how to create a kids workspace.

I love that we were able to create this creative workspace in an afternoon and that Stella and Hazel got to help it come together.

Did you like this post on how to make a kids workspace?
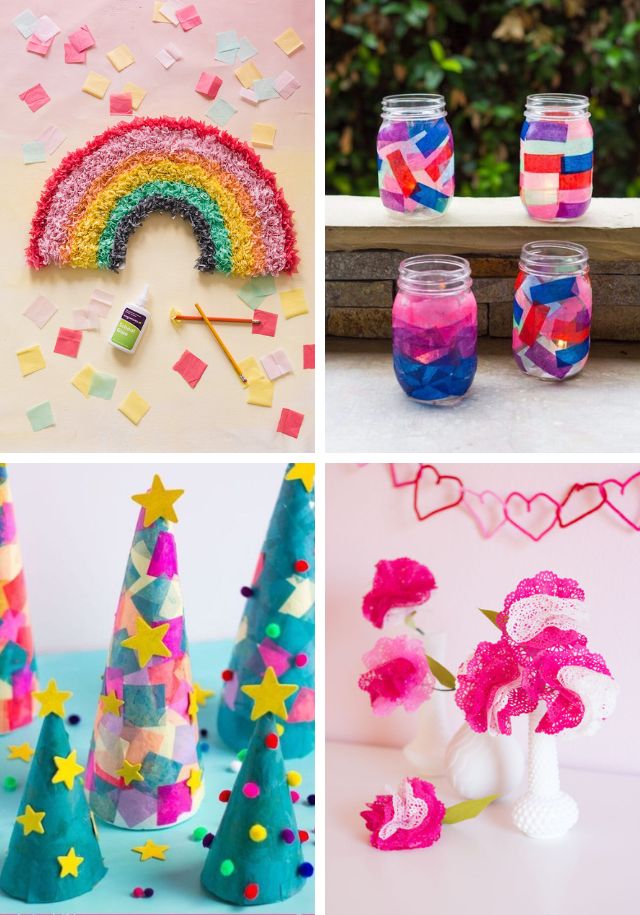
Then don’t miss these other fun kids craft ideas!
This post was sponsored by Martha Stewart Living Omnimedia and Plaid Crafts. All expressed opinions and experiences are my own.