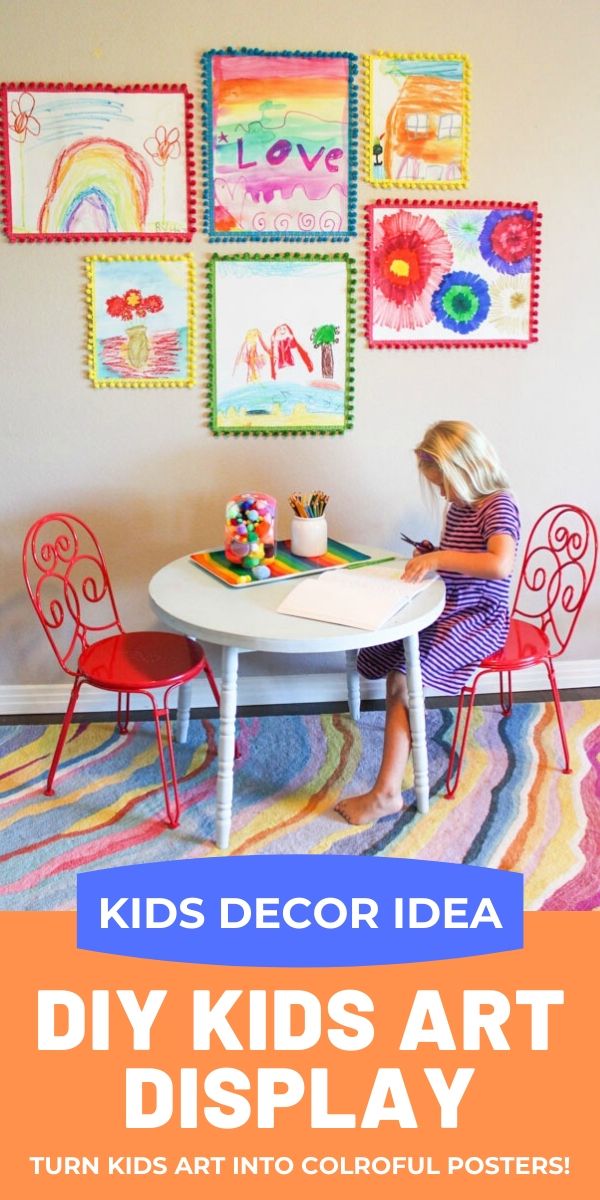
How to Turn Kids Art into Posters
How to Turn Kids Art into Posters
It’s hard to believe but by this time next week, both of my daughters will be out of school for the summer. That means it’s the time of year for them to bring home ALL the art projects they made during the school year! It can be a struggle to figure out what to do with it all, but I’ve got a fun idea that will keep some of their creations out of the closet and on proud display.
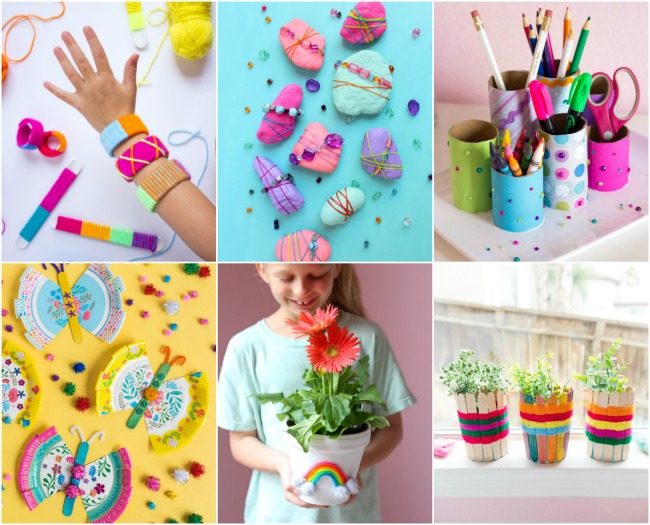
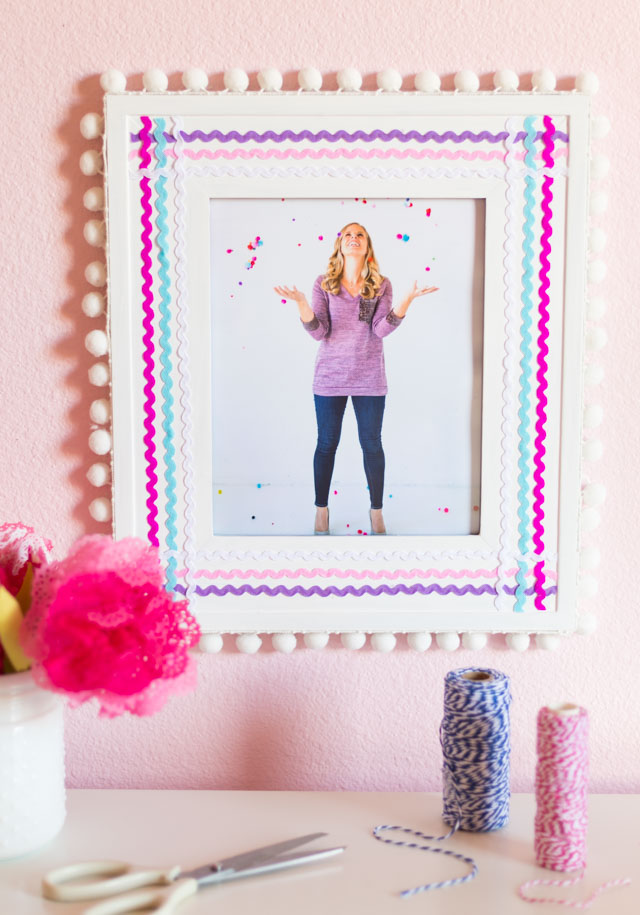
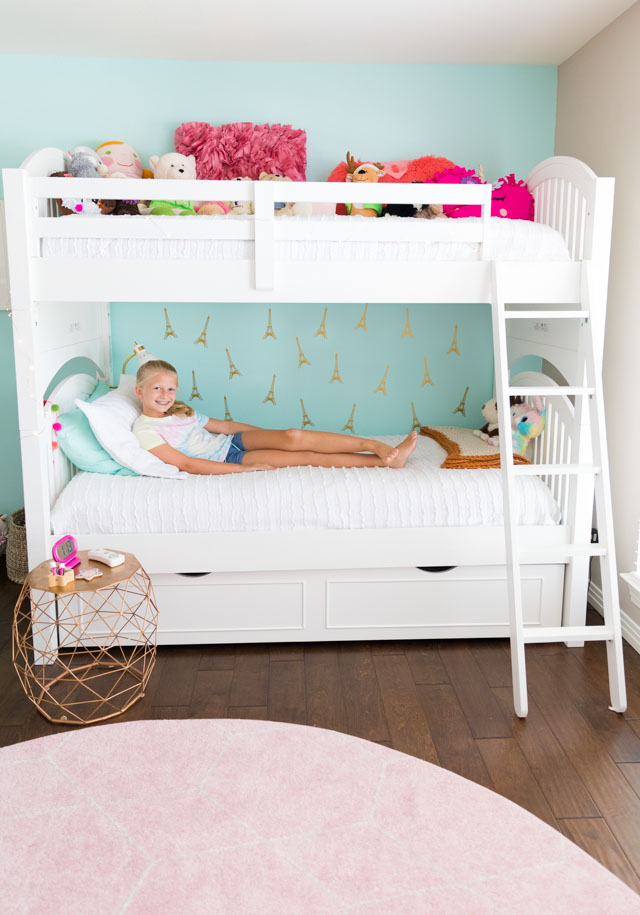
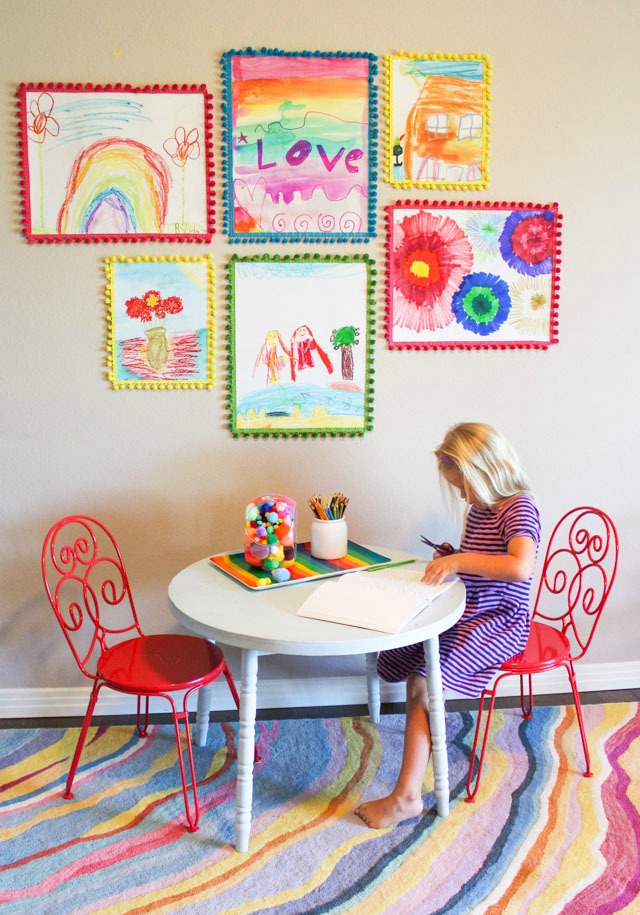
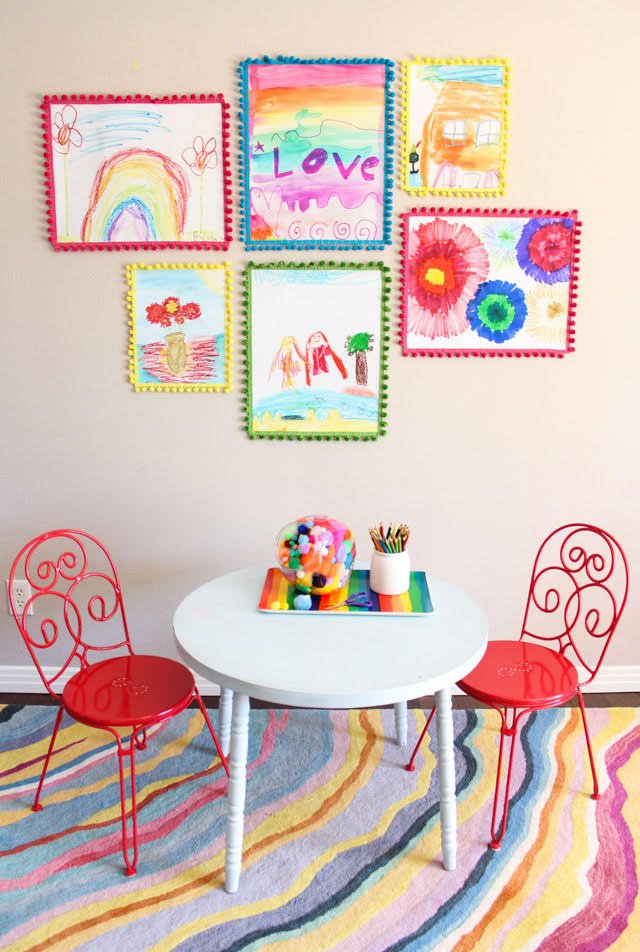
I’ve partnered with Mixbook to turn some of Stella and Hazel’s art into large-scale glossy posters. Read on to see how I added a pom-pom trim frame for a colorful gallery art wall for their toy room, and don’t miss all the other kid-approved projects for Kids Week on the blog!
Most of my kids artwork comes in the 8″x11″ variety, but its nice to have some larger versions to really show them off! I was able to scan their artwork and upload it to Mixbook to turn it into 16″x20″ posters. Mixbook offers poster sizes up to 24″x36″ if you really want to make a statement with your child’s art!

How to Turn Kids Art into Posters
Step 1. Choose your favorite pieces of art – the more colorful, the better. Scan the art to a PDF, using “picture” quality settings.

Step 2. Upload your scanned artwork to Mixbook.com. You’ll then have the ability to choose a glossy or matte finish, the size of poster, and can even have it mounted or framed if you want. Also, don’t miss Mixbook’s great sales. Right now you can get up to 50% off their posters!

Step 3. Now to add a little pom-pom bling! Make a simple frame with pom-pom trim in your favorite colors. Just cut a length of trim to fit each side of the poster, then adhere it with a bead of hot glue along the edge, making sure to keep the trim in a straight line as you go.

Step 4. Hang on the wall with poster putty. I added a small dab of putty in each of the four corners and it worked great to hold up the posters. I also makes repositioning them super easy. You can use a level to make sure they are all straight when hanging your gallery wall.

So before take a look through those backpacks coming home over the next couple weeks and save some of your favorite projects for your own gallery wall!
Thank you to Mixbook for sponsoring this post!
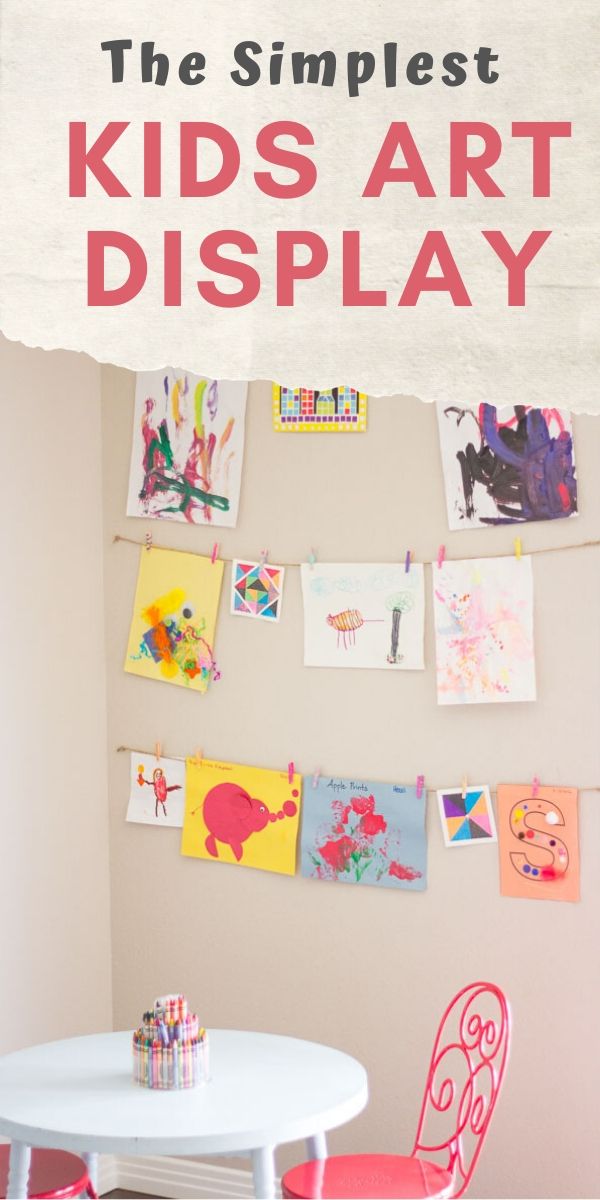
Like these kids art posters?
Then don’t miss this easy kids art display!
Check out my other fun kids craft projects!