How to Make a Stenciled Otomi Pillow
How to Make an Otomi Pillow
What is Otomi?
You may not have heard of the word “Otomi”, but I bet you’ve seen this gorgeous pattern lately! The Otomi pattern is named after the Otomi people of Mexico who typically hand embroider the pattern onto textiles or paint it by hand. This beautiful pattern full of animal and plant silhouettes has become oh-so-trendy and can be found on anything from pillows, to purses, to tablecloths. The only problem is that a true hand-embroidered Otomi piece can be really expensive. Have no fear, Martha saves the day!
I partnered with the team at Martha Stewart to use their new Otomi stencil to create the same gorgeous Otomi print at a fraction of the cost and time. This makes for especially gorgeous pillows, and would be the perfect Mother’s Day DIY gift idea. It only took me a little over an hour to make this pillow, so you have plenty of time between now and Mother’s Day! You can find all the Martha Stewart paint products exclusively at Michaels.
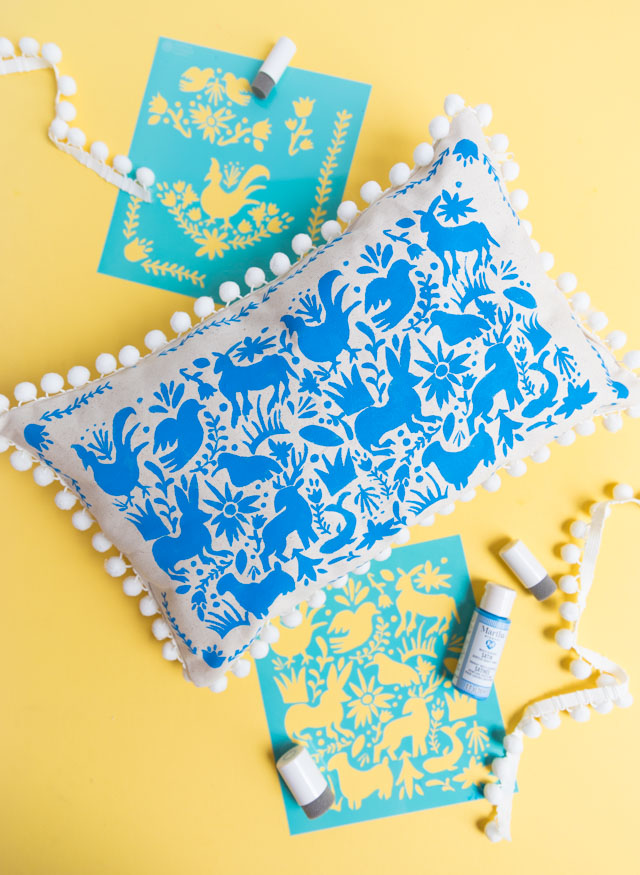
Otomi patterns are often a single color but you can also find a rainbow colored version. I bought my first Otomi piece, a beautiful table runner similar to this, when I was in Mexico last year and absolutely love it. You could try either the solid or multi-color look with the Martha Stewart stencil, but I decided to go with a pretty blue (called Fish Tank Blue!) to keep it simple.
While the finished pillow looks expensive, it started with a basic $5 canvas pillow cover from the craft store. I chose a 12″x20″ rectangle, but a square pillow form would look great too.
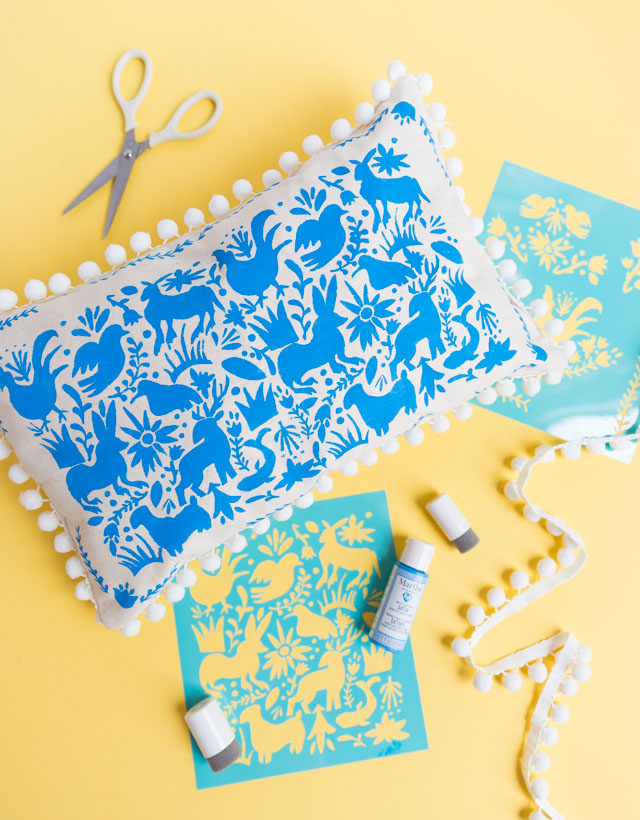
Supplies for Stenciled Otomi Pillow

- Martha Stewart Laser Cut Otomi Stencil
- Foam Pouncers
- Martha Stewart Family Friendly Multi-Surface Satin Acrylic Craft Paint (I used Fish Tank Blue)
- Stencil Tape
- Canvas pillow cover
- Pom-pom trim
- Poly-fil stuffing or pillow insert
- Hot glue or fabric glue
How to Make a DIY Otomi Pillow
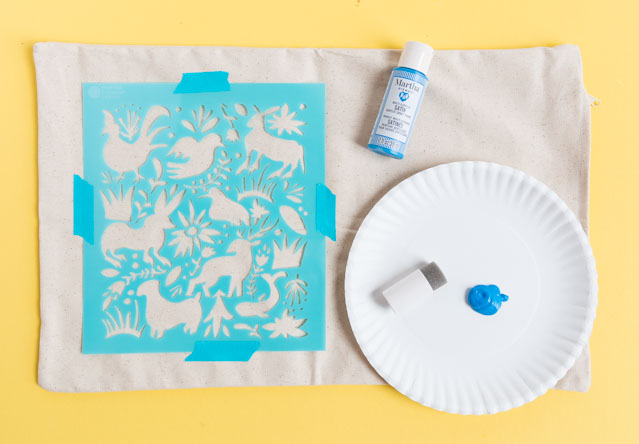
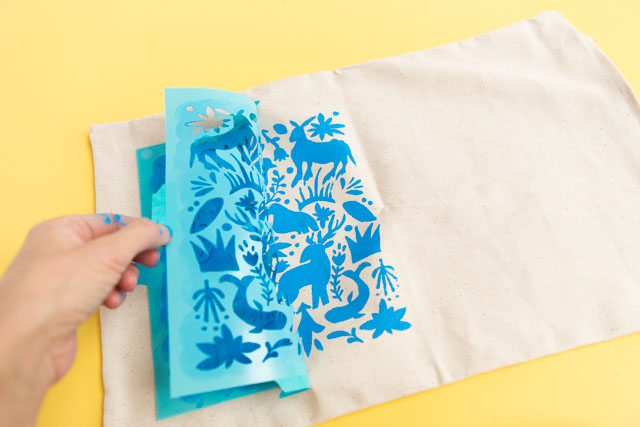
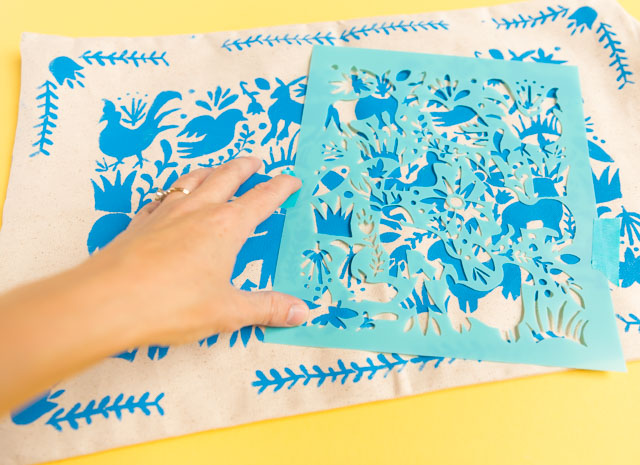
Step 1. Position stencil
Find the center of your pillow and line up the stencil on one side. I like to use stencil tape to hold the stencil firmly in place.
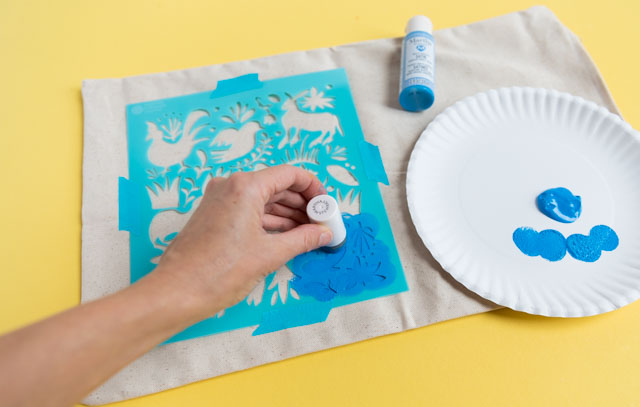
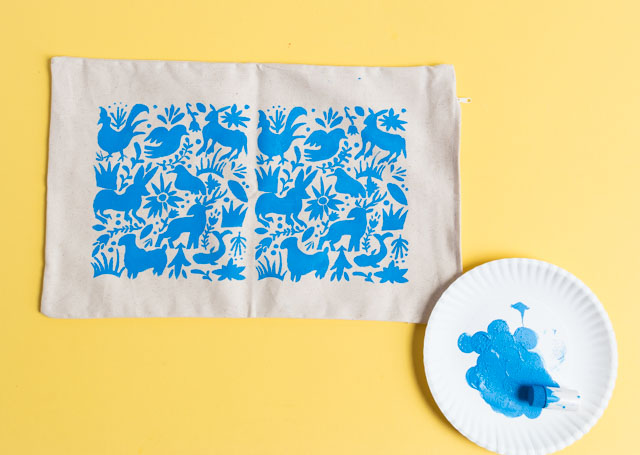
Step 2. Apply paint with brush
Squeeze some paint onto a paper plate and dip a small foam pouncer into it. Press the pouncer on the plate a couple times to remove excess paint before applying it to the stencil. Use an up and down blotting motion to apply a thin even layer of paint across the stencil.
Step 3: Carefully remove stencil
Once you’ve covered the area, lift up the stencil to reveal the design. Wash off the stencil immediately after to keep it looking great.
Step 4. Repeat by stenciling the other half of pillow
Move the stencil to the other half of the pillow and repeat.
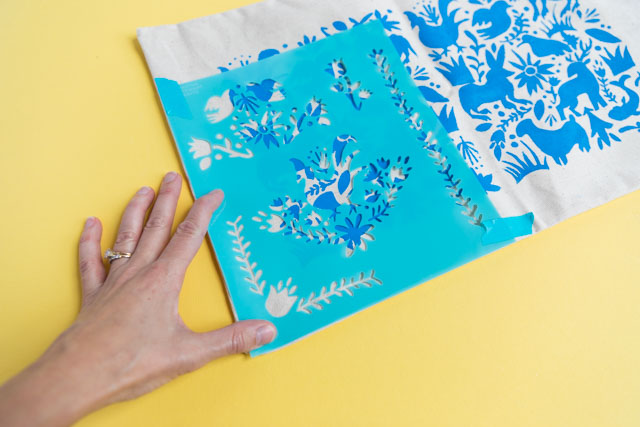
Step 5: Create a border
To create a border, I used the second sheet of Otomi stencils, using one design for each of the four corners, and a longer vine for the top and bottom of the pillow.
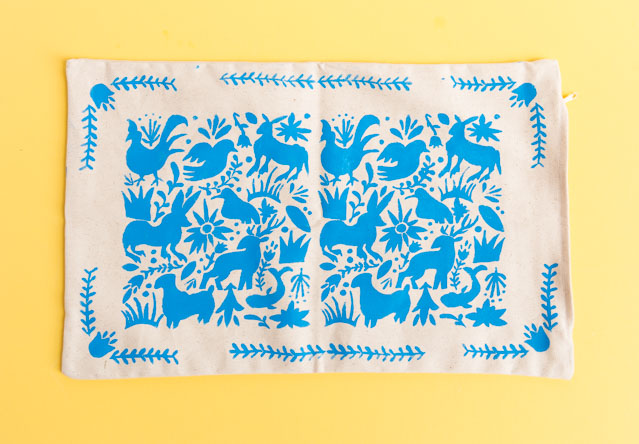
Step 6: Fill in any gaps
Once the paint is dry, you can use parts of the stencil to fill in any gaps between the two stenciled areas to make it look like one cohesive pattern.
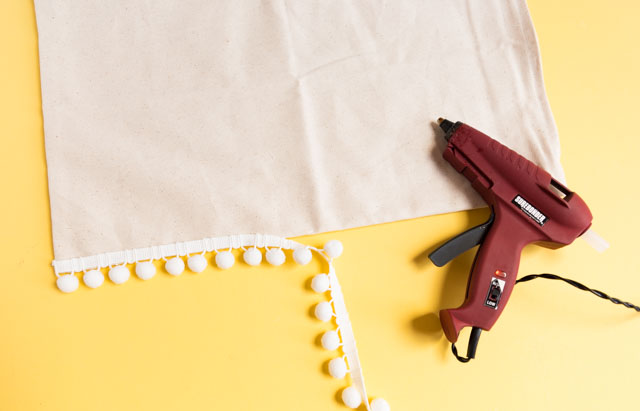
Step 7: Add pom-pom trim
Add pom-pom trim to the pillow by gluing it along the back edges of the pillow insert with hot glue or fabric glue.
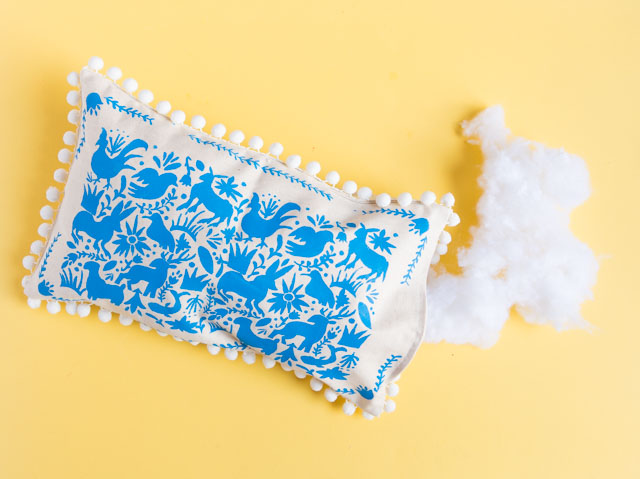
Step 8: Stuff pillow
Stuff your pillow with either poly-fil stuffing or a pillow insert.
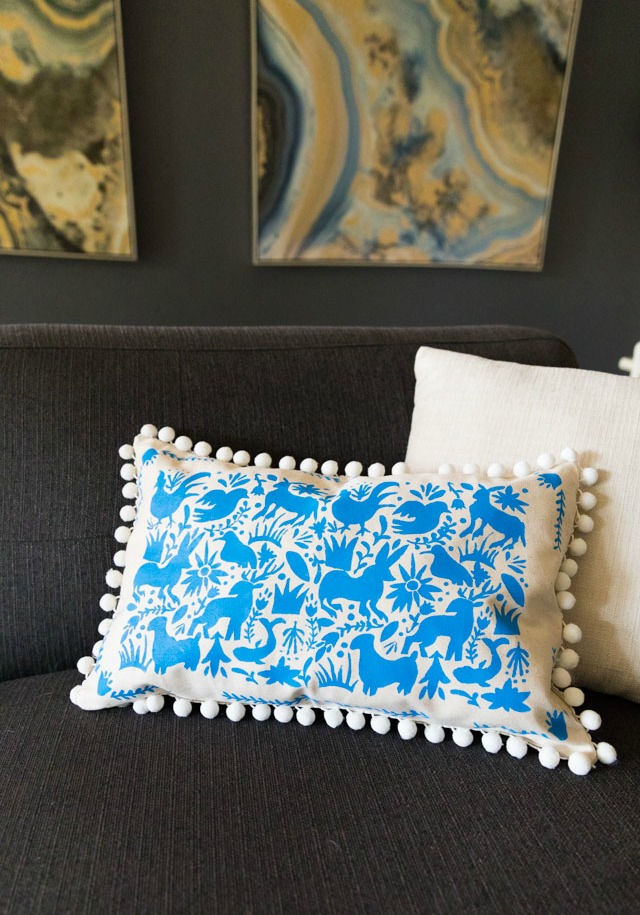
Didn’t it turn out so pretty? I know I would love getting one of these pillows for a Mother’s Day gift, or really any day of the year! I think if you made a few of these using different paint and pom-pom trim colors they would look so good styled together. Head to Michaels for all of the Martha Stewart paint supplies I used in this post!
Need other ideas for Mother’s Day? Then don’t miss these Mother’s Day DIYs! This Mother’s Day brunch I created with Martha Stewart a few years ago is one of my favorites.
This post is sponsored by Plaid Crafts. All expressed opinions and experiences are my own.
This is so pretty. Are the paints washable? This might be cute on a shirt. Pat S
Thanks Pat! The Martha Stewart multi-surface paints are permanent and work great on fabrics. I’ve used them on t-shirts and tea towels before!
I am obsessed with this stencil and project!!! Love it!
Thank you so much Sara! The results are pretty awesome for such a simple project. Now I want to stencil it on all the things! I also decorated a clutch with the stencil. 🙂