How to Turn a Cardboard Box into Wall Art!
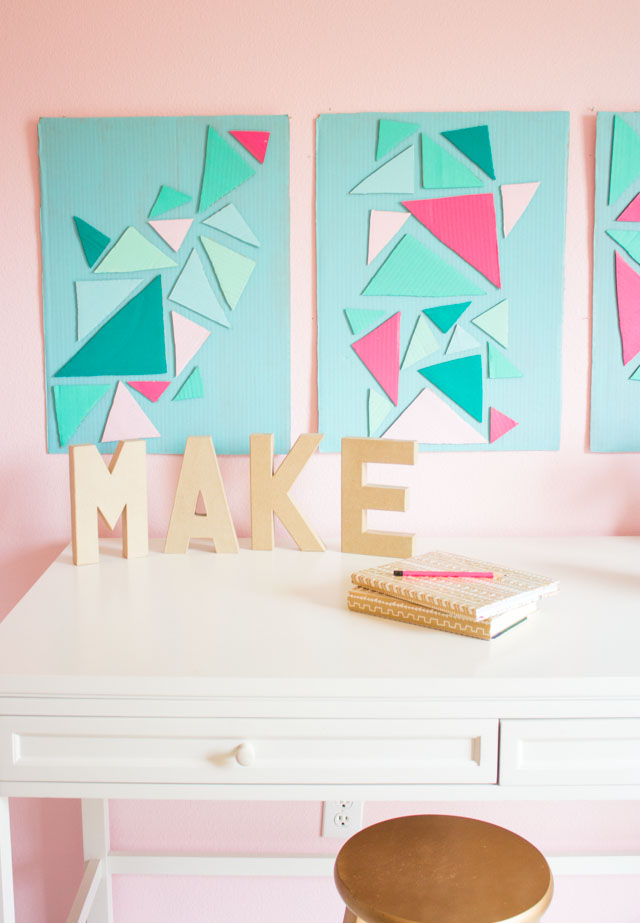
Easy Cardboard Wall Art
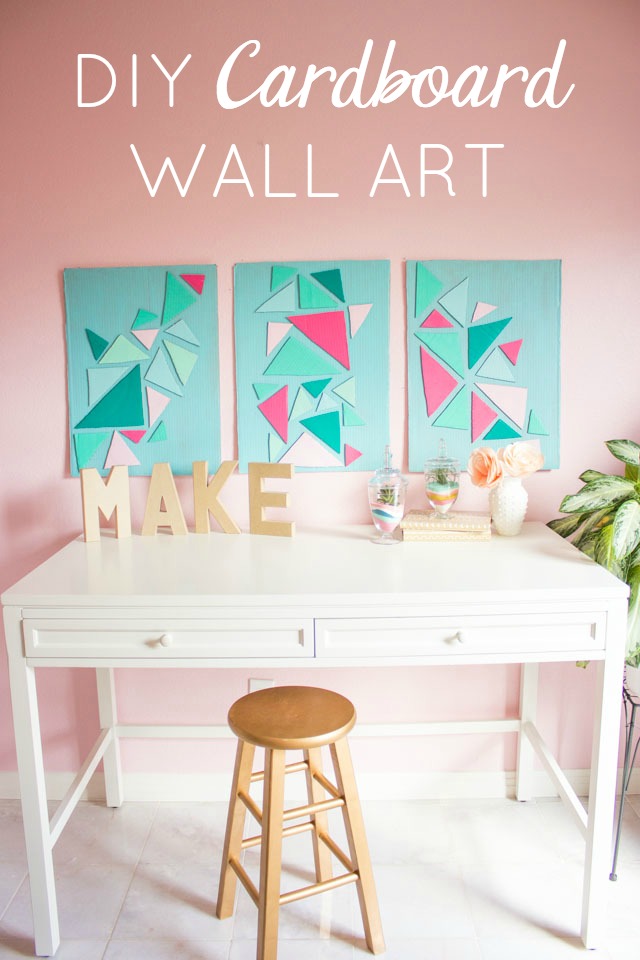
Yes, it is possible to make cardboard wall art look cool. I love a good craft challenge, especially when it involves taking something uncool and making it awesome! So when Two Men and a Truck asked me to make anything I wanted out of cardboard I got out my craft paint and glue gun and got to work. Would you believe my new DIY wall art is made from a single cardboard box? If you are looking for cardboard art projects, this is the one for you!
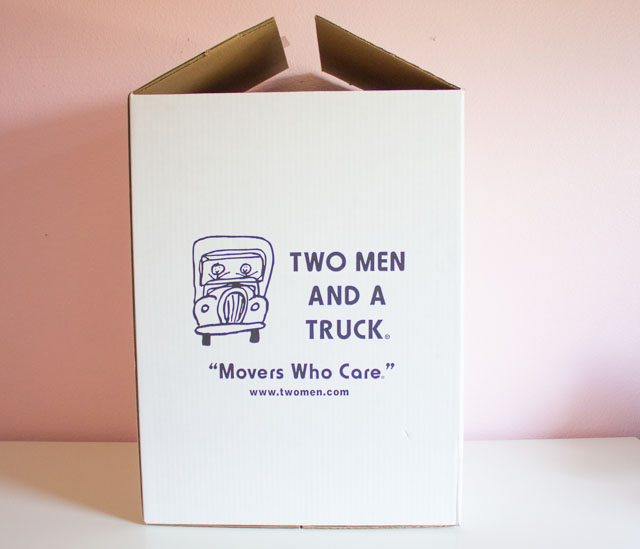
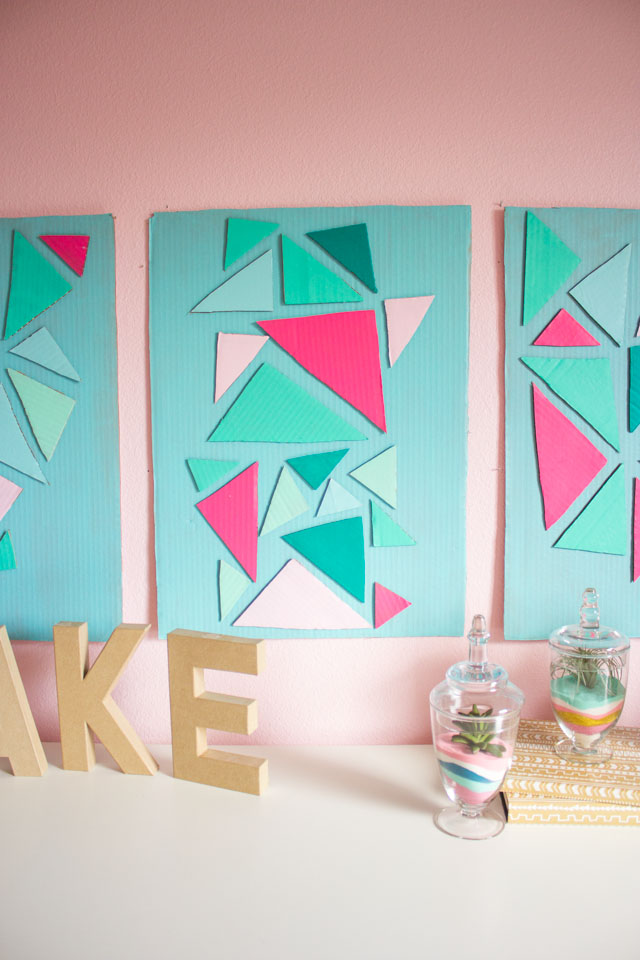
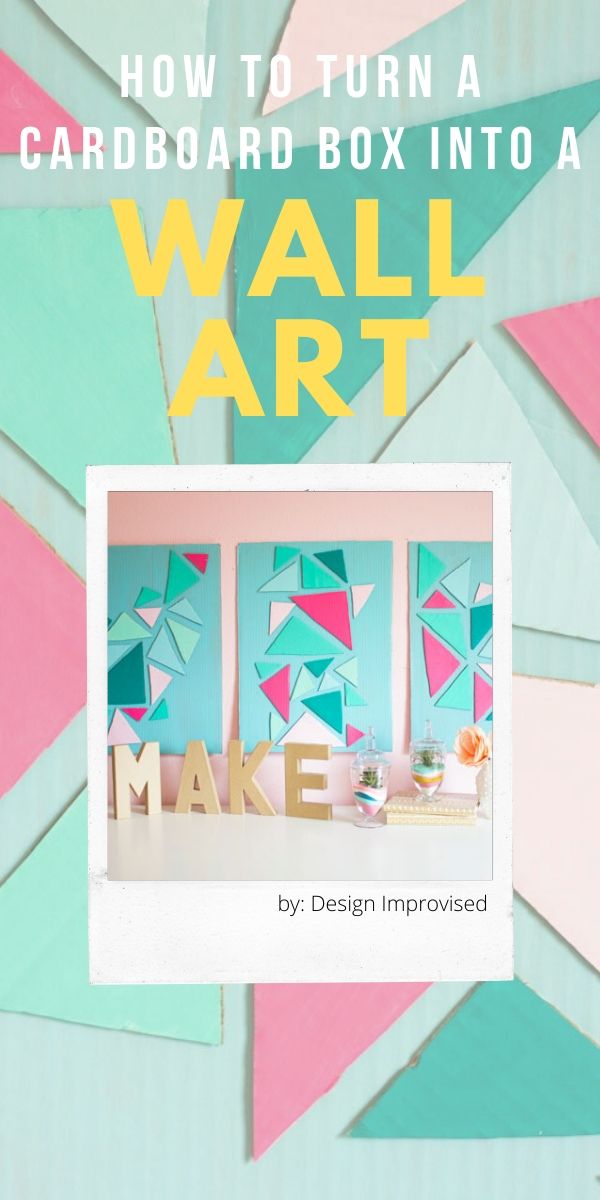
My new office wall art started as a large moving box from Two Men and a Truck! I used 3 side panels from the box to serve as the background and cut the rest of the panels into triangles to go on top.
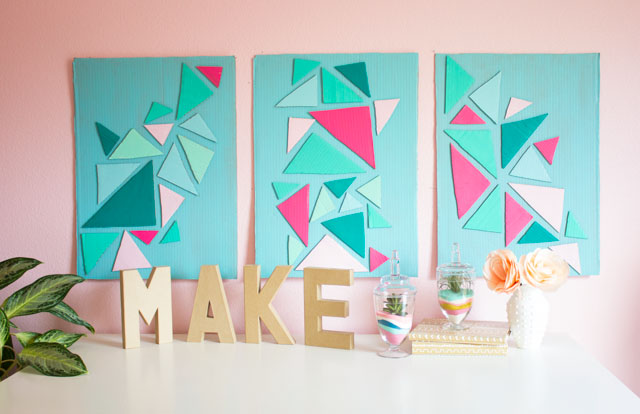
I love the dimension created by the cardboard and I chose a fun color palette of greenish blues and some pops of pink to give it a modern touch.
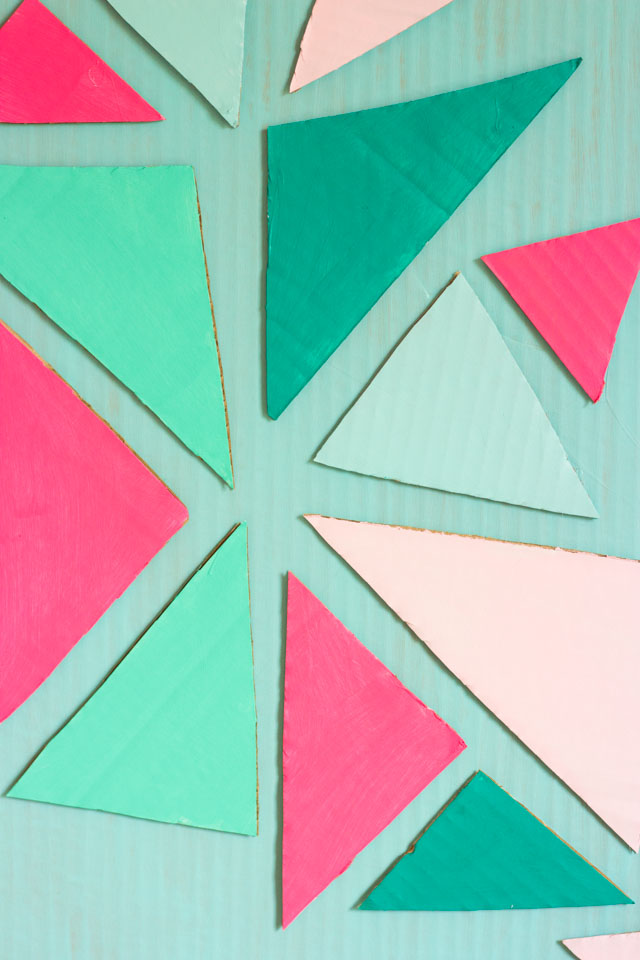
The project is as simple as freehand cutting triangles and painting them, but it takes a little longer than a typical Design Improvised project. This is the perfect project for a Sunday afternoon this summer!
This post contains affiliate links. See my full disclosure.
Supplies for Cardboard Art Project
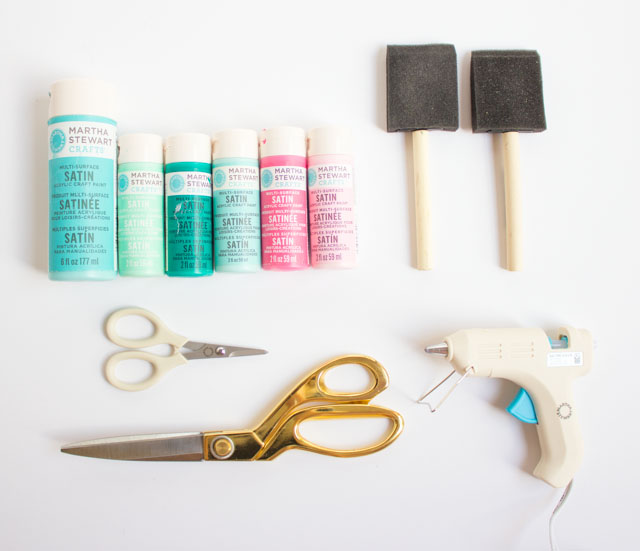
How to Make Cardboard Wall Art
Step 1. Cut cardboard panels
Start with a large box in good condition. Use a sturdy pair of scissors to cut the box into pieces. You will use 3 of the side panels for the background for your art.
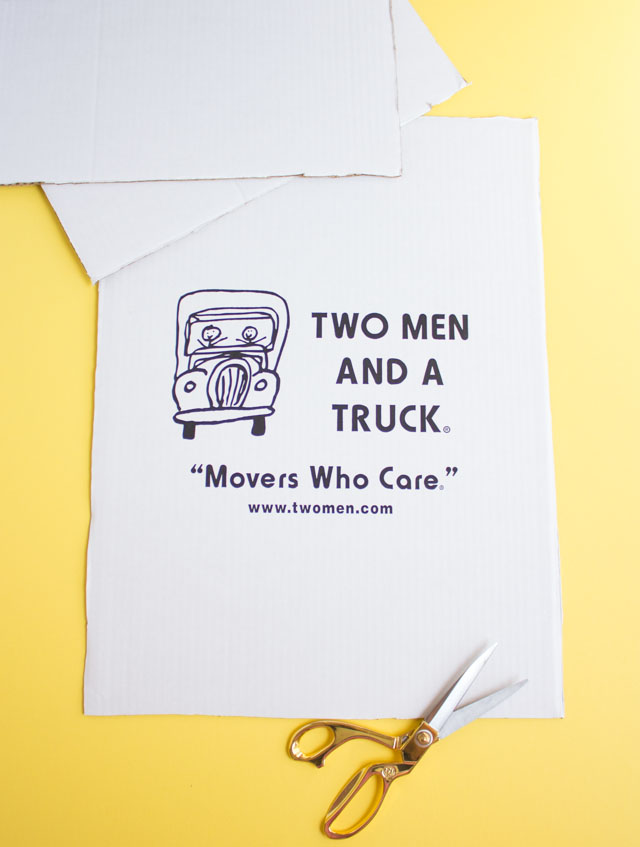
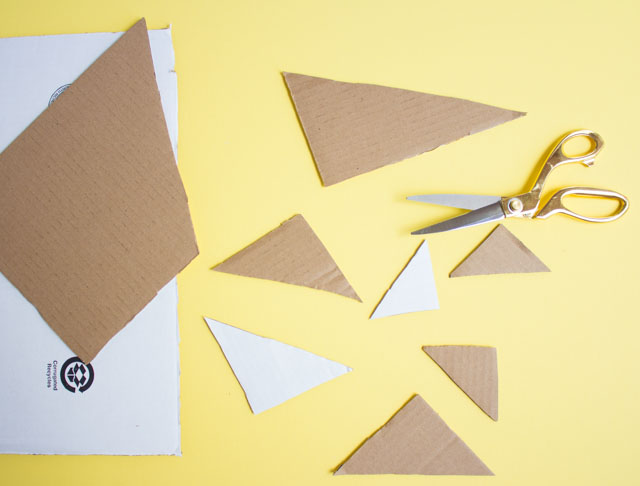
Step 2: Cut out cardboard rectangles
Cut a variety of rectangles out of the remaining pieces of the box. You can freehand cut the triangles without worrying about being too exact. Use the lines of the corrugated cardboard to help you create straight lines.
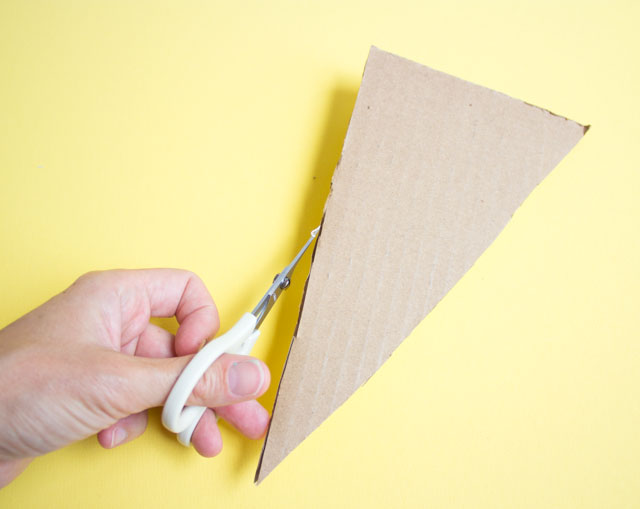
Step 3: Trim cardboard edges
If needed, you can use a small pair of detail scissors to trim any excess cardboard.
Step 4: Paint cardboard shapes
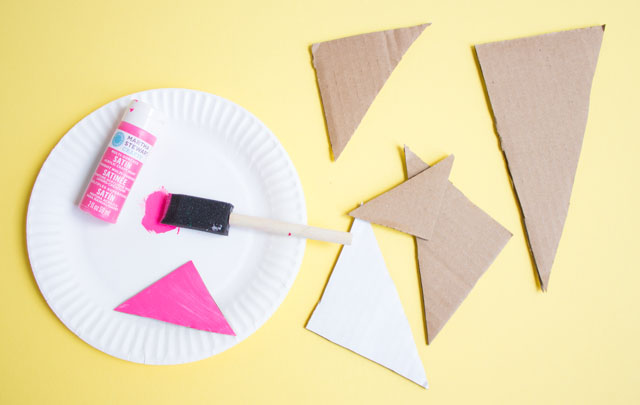
Use a foam brush and acrylic craft paints to paint one side of each triangle. I used a variety of greenish blue colors with a touch of pink! Let dry and apply a second coat.
Step 5: Paint cardboard panels
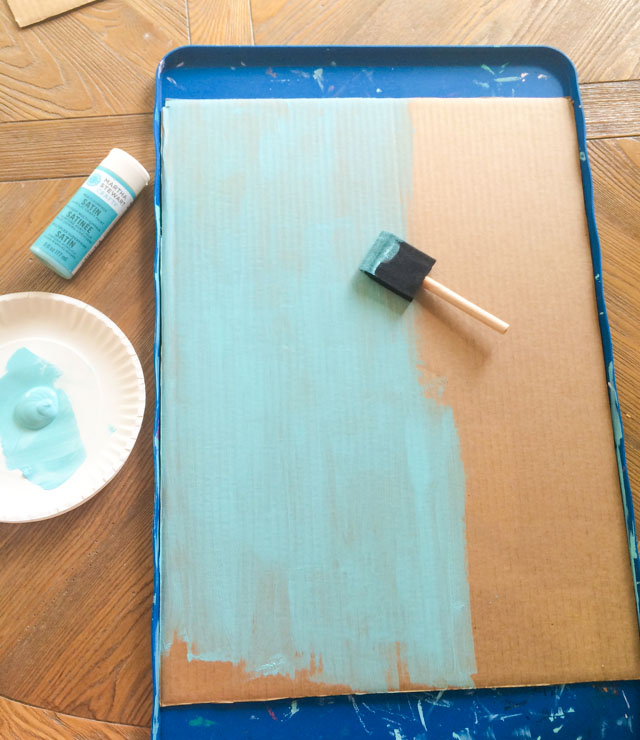
Paint the front of each cardboard panel with two coats of craft paint. The cardboard may buckle a bit when wet with paint but will lie down flat again once dry.
Step 6: Glue rectangles to panels
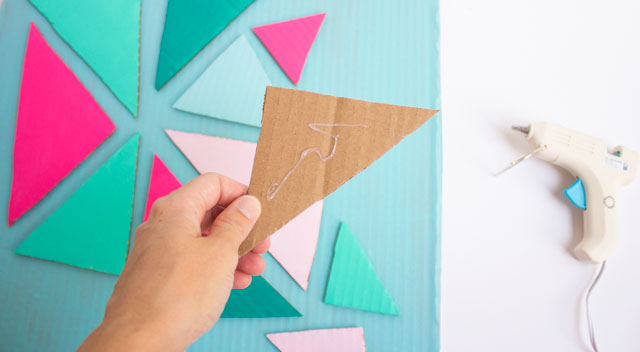
Once all the triangles are dry, lay them out on each panel and experiment with different groupings until you get the look you want. Then adhere one triangle at a time to a panel by adding a generous dab of hot glue on the back.
Step 7: Display your new cardboard wall art!
Hang your finished artwork on the wall by placing a 3M Command strip on each of the four corners of the backside of the cardboard. This will ensure that it lies flat against the wall.
This post is sponsored by Two Men and a Truck.

