How to Make a Cactus Balloon
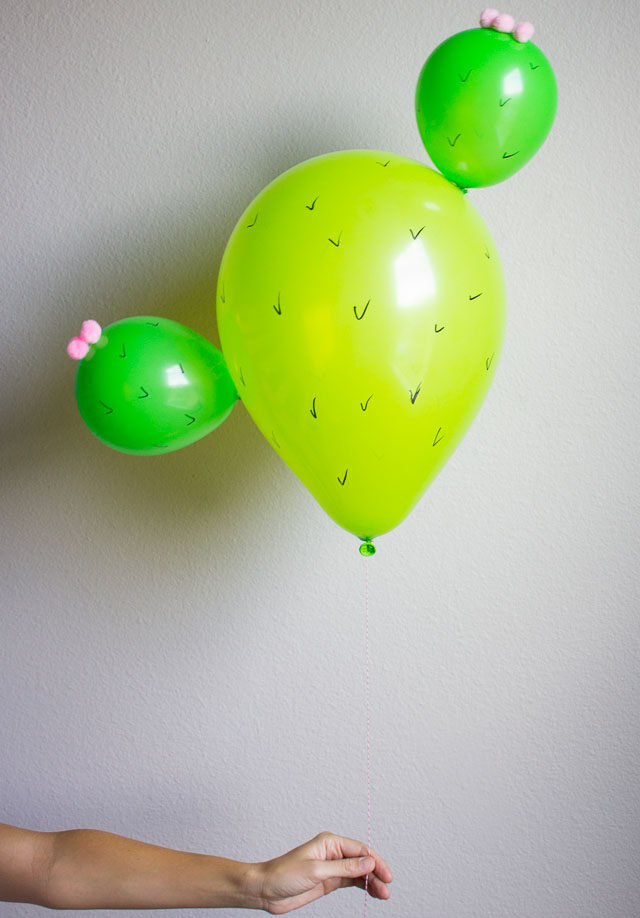
DIY Cactus Balloon
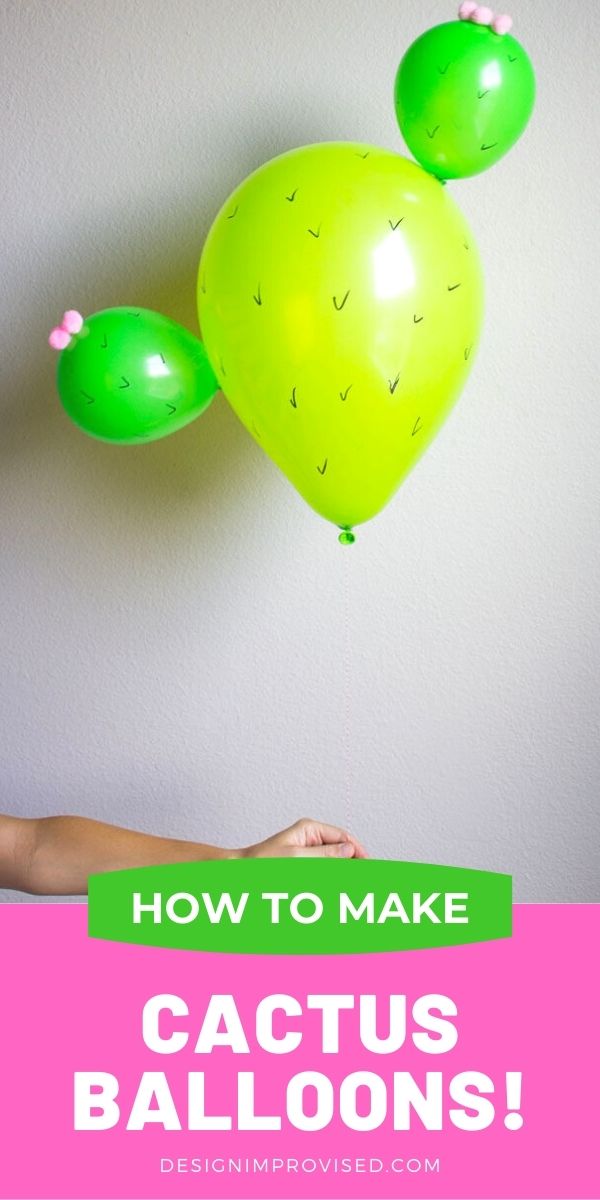
You can make a cactus balloon in minutes with this simple tutorial. No need to buy one from the store! Make several DIY cactus balloons for a cactus themed birthday party or baby shower. You can make them helium filled or air filled if you want them to last longer.

I got the idea for these prickly pear cactus balloons after visiting Arizona in May and being inspired by all the cool cacti! I thought the pads on the prickly pear looked just like the shape of a balloon and I was dying to get back home and give it a try. A little helium, a little hot glue, and a few pink pom-poms to top it off and we have cactus balloons!
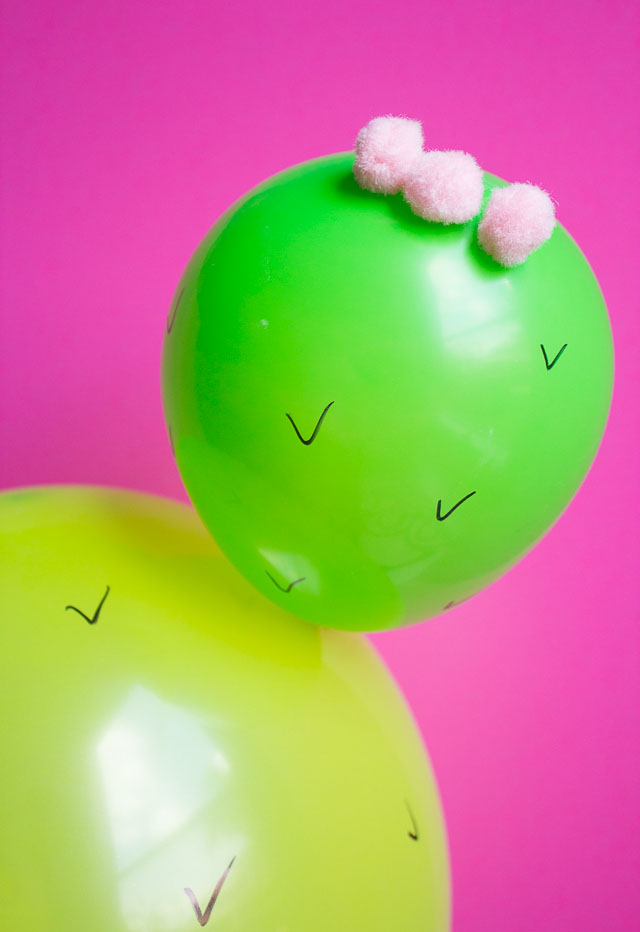
DIY Cactus Balloon with Helium or Air
While I used helium to make these balloons, you can also make air filled balloons if you want them to last longer. Just fill with air and follow the steps below. Finish by attaching the cactus balloon to a balloon stick. You can prop a balloon stick or two into a vase for a fun table centerpiece. The air-filled balloons should last for several days. The helium balloons are a lot of fun, but will only last for about six hours before they start to sink, so you’ll want to make them right before your party.
Supplies for Cactus Balloons
- Personal helium tank or balloon sticks (see note above)
- 12″ helium-grade green balloons (1 per cactus)
- 9″ helium-grade green balloons (2-3 per cactus)
- 1/2″ pink pom-poms (6-8 per cactus)
- Twine or string
- Hot glue gun (on “low” setting)
- Sharpie marker
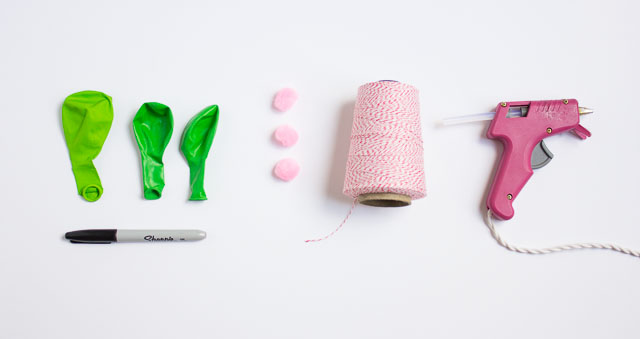
How to Make a DIY Cactus Balloon
Step 1. Inflate balloons with helium
Inflate one 12″ helium-grade balloon with helium and tie with string. This will be the main part of the cactus. Inflate a 9″ helium-grade balloon only part way to form one of the “pads”. Knot and then trim off most of the end of the balloon as shown below.
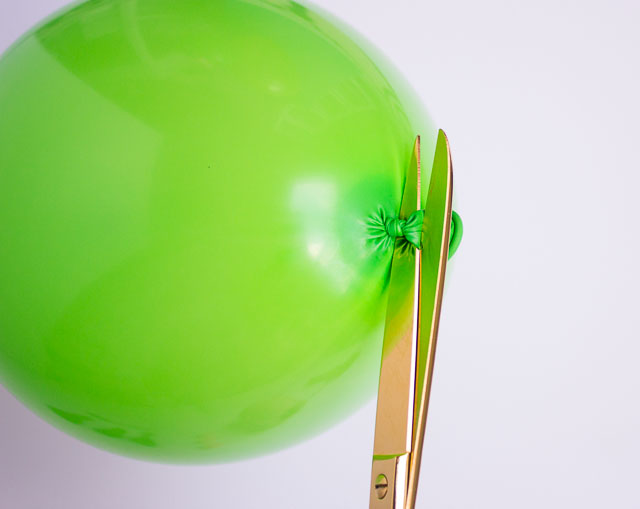
Step 2: Attach balloons with hot glue
Add a small dab of hot glue (on low setting) to the base of the 9″ balloon and position it where you want it on the 12″ balloon, holding in place a few seconds for the glue to dry. Note: it is important to use a small amount of glue on the low heat setting to avoid popping the balloons. You can add another small dab of hot glue to the side of the balloon if needed to get it to lay flat. Repeat by making another 1 or 2 “pads” and sticking on the larger balloon.
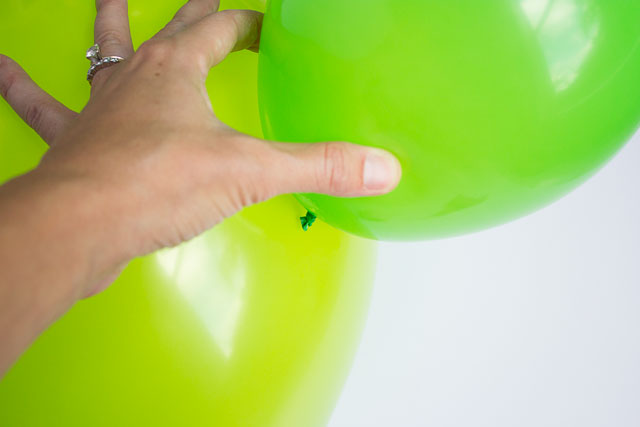
Step 3: Decorate with a Sharpie marker
Use a black permanent marker to draw little spikes on the cactus!

Step 4: Glue on pom-poms
Add a few pink pom-poms to the top of each pad with a small dab of hot glue. These will be the pink fruits on the top of the cactus pads.
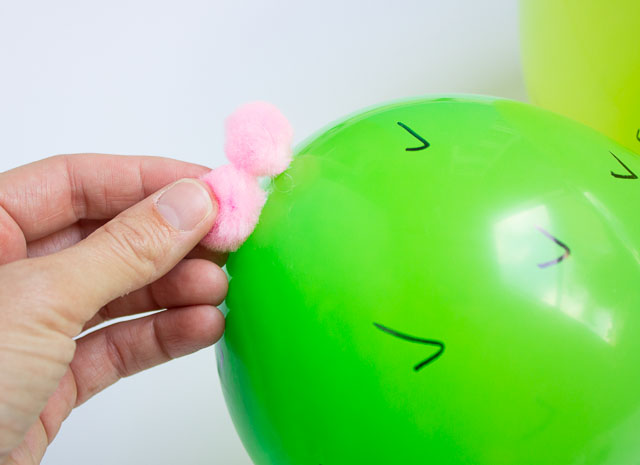
That’s it! Even though there are a few steps involved, the process to make one is very quick! These helium inflated balloons should last at least 6 hours. You can also skip the elmake an air-filled cactus balloon




2 Comments