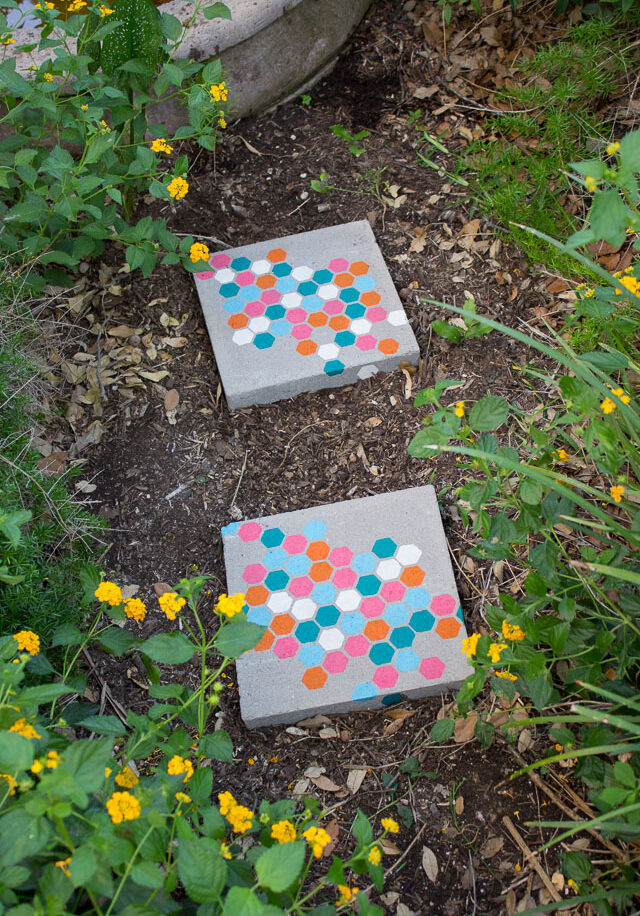
Stenciled Garden Stepping Stones
Don’t ask me why, but I have a thing for stenciling concrete. Last summer I stenciled cinder blocks to turn them into outdoor vases. I had used a plaid stencil from Stencil1, and when they recently sent me some of their latest stencil designs with Plaid Crafts, I thought I would try them out on concrete again! This time I made some pretty stepping stones for our backyard. I was inspired by a similar idea in the May issue of Country Living magazine and this fun honeycomb stencil.

These stones are in a little landscaped area that leads to a fountain. I can now walk in there barefoot to get to the fountain (or to fish out a stray ball from the bushes, which is often the case) without being scared about where I’m stepping!

I love the little unexpected dose of color and fun that they add to the yard. If you have a garden or landscaped area in your yard why not add a few crafty stepping stones?! You can purchase the pavers for a little over $1 a piece and these can be made in a little over an hour each.
Supplies for Stenciled Stepping Stones
- Stencil1 Honey Bee stencil
- Concrete pavers (I purchased mine at Lowes for $1.30 each)
- Weather-resistant acrylic craft paints (I tried out Plaid’s FolkArt multi-surface paints for the first time and used the colors Teal, Parchment, Pink Melon, Pure Orange, and Ocean Blue)
- Foam brushes
- Painter’s tape

How to Make Stenciled Stepping Stones
1. Start by placing your stencil in the middle of the stone and taping it down with a couple strips of painter’s tape. From there, use a foam brush to apply one color at a time randomly around the stencil.

2. The gaps between the honeycomb holes are pretty thin, so you do want to be careful when using multiple colors. I used the tip of my foam brush around the edges. If you happen to overlap colors, you can go back and touch them up. Or, you can make this a super fast and fool-proof project by just using a single color!

3. Once you have filled in all the holes let the paint dry (it dries in a matter of minutes on the concrete). Wipe off the back of your stencil with a damp rag or paper towel to remove any paint that seeped through, and then reposition it by lining it up with some of the painted areas. I repositioned mine slightly to the side and only filled in some of the holes. I repeated the same process for the top section of the stone, and also added a couple along the side so it looked like the design is running off the stone.

4. Set them out in your garden!

These will fade some over time, but will look great for at least a season before you may want to repaint, or do a new design for next year. For just a few bucks a piece to make, it is worth it!