DIY School Supplies with Martha Stewart Stencils
How to Make DIY School Supplies
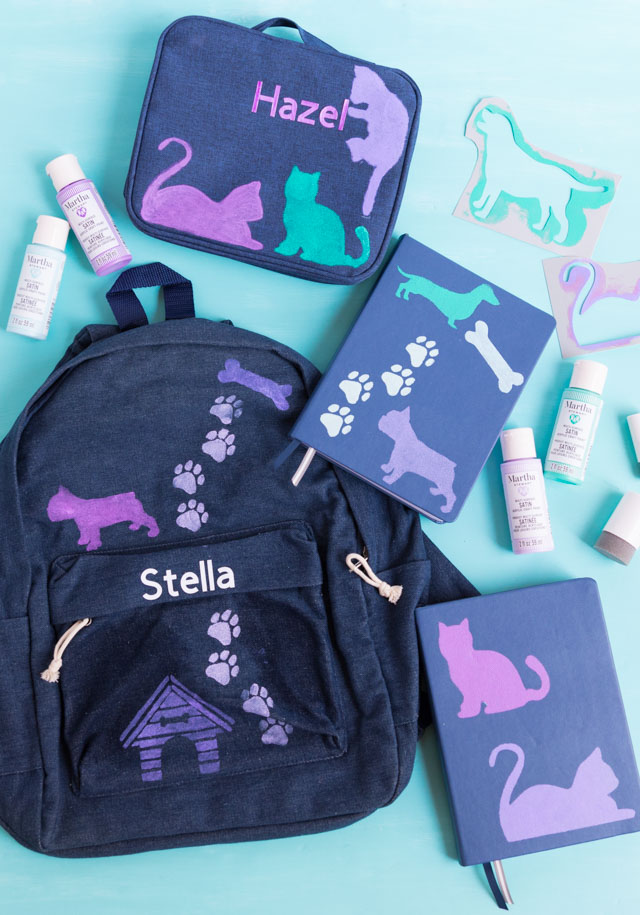
Getting new school supplies is always an exciting time for my daughters Stella and Hazel, especially picking out their new backpack and lunchbox. If you are also in the midst of back-to-school shopping, remember you aren’t limited to what is at the store. You can DIY your school supplies! I’ve partnered with the Martha Stewart team and Plaid Crafts to show how you can decorate basic school supplies with stencils to create a one-of-a-kind look. If you know a child starting kindergarten, making a coordinated DIY backpack and lunchbox would be such a sweet gift!
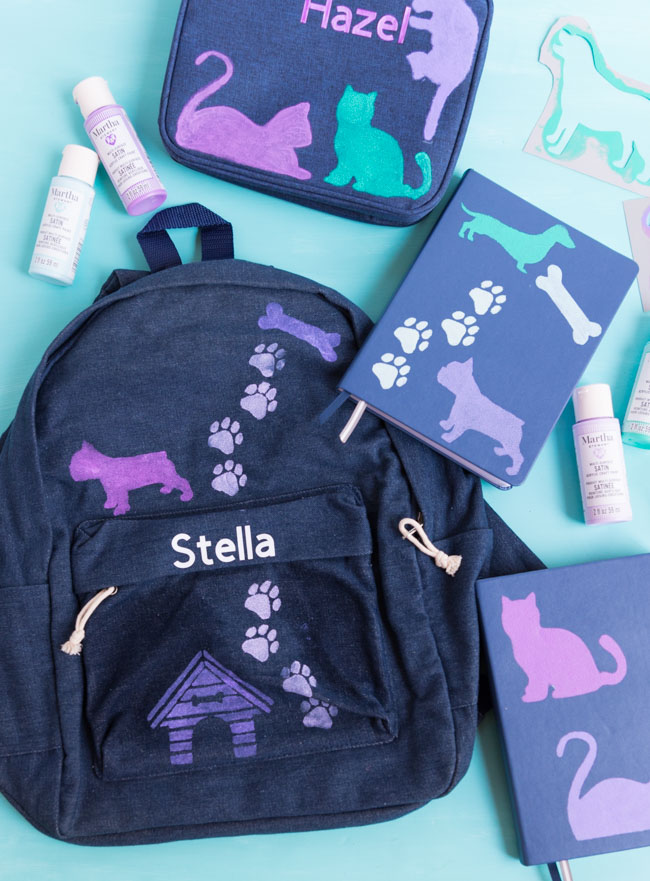
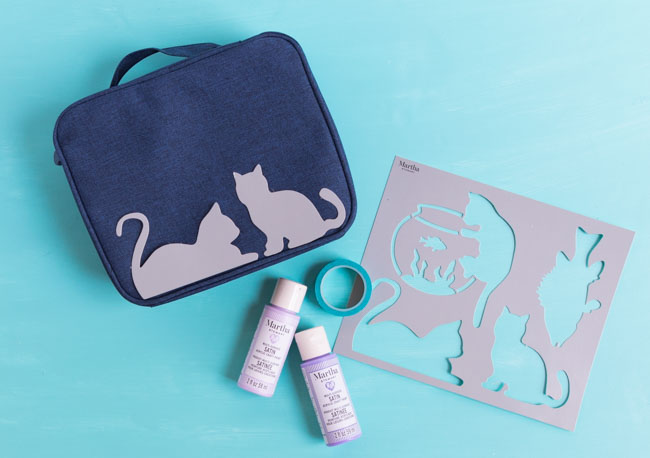
My kids are big pet lovers (they want a dog oh-so-bad!). I knew they would go crazy for the cat and dog stencils in this Martha Stewart pet stencil pack, part of the Martha Stewart products available exclusively at Michaels. In addition to the cute pet stencils, the Martha Stewart line of adhesive stencils includes several designs that are perfect for kids such as these Go Wild stencils, mermaid stencils, pirate stencils, animal alphabet and unicorn stencils.
I loved the look of this denim backpack from Michaels and was able to find a basic denim lunchbox and notebook to match. However, any school supplies in a solid color would work to use as a base for your stencils.
DIY School Supplies – What You’ll Need
- Martha Stewart Stencils (I used this pet stencil pack)
- Martha Stewart Multi-Surface Satin Paints (I used the following colors: Amethyst, Moonstone Purple, Sea Urchin, Jungle Green, Kiddie Pool and Bubbles)
- Foam Pouncers
- Martha Stewart Stencil Tape (optional)
- Denim backpack
- Denim lunchbox (similar to these)
- Plain notebook
DIY School Supplies – How to Stencil
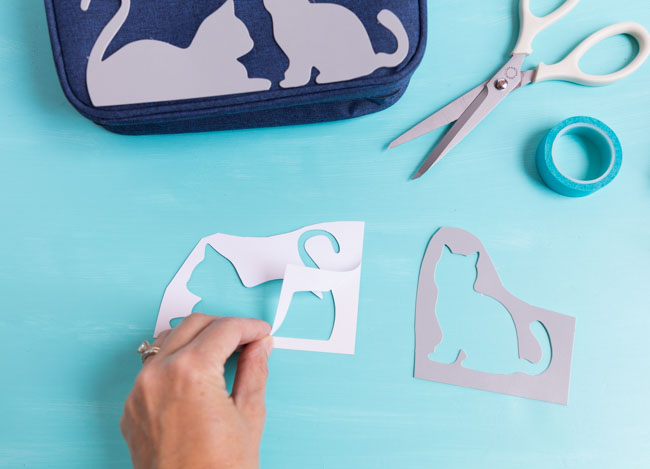
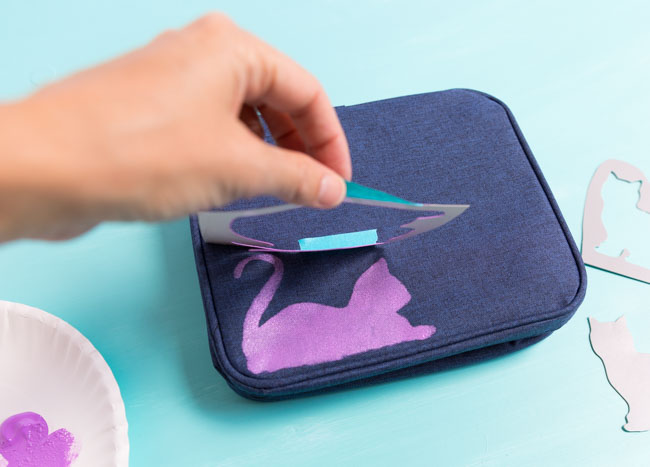
1. Cut around the stencil you plan to use and decide where to place it. You can use the inside of the stencil that you punched out as a guide.
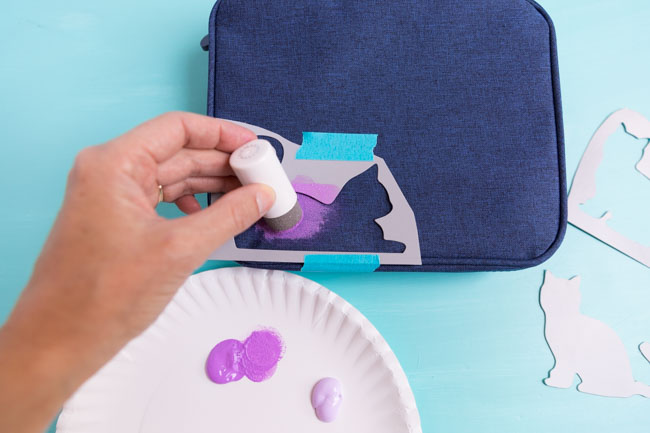
2. Peel off the adhesive backing and press the stencil onto the fabric. Use stencil tape or masking tape if needed to make it extra secure.

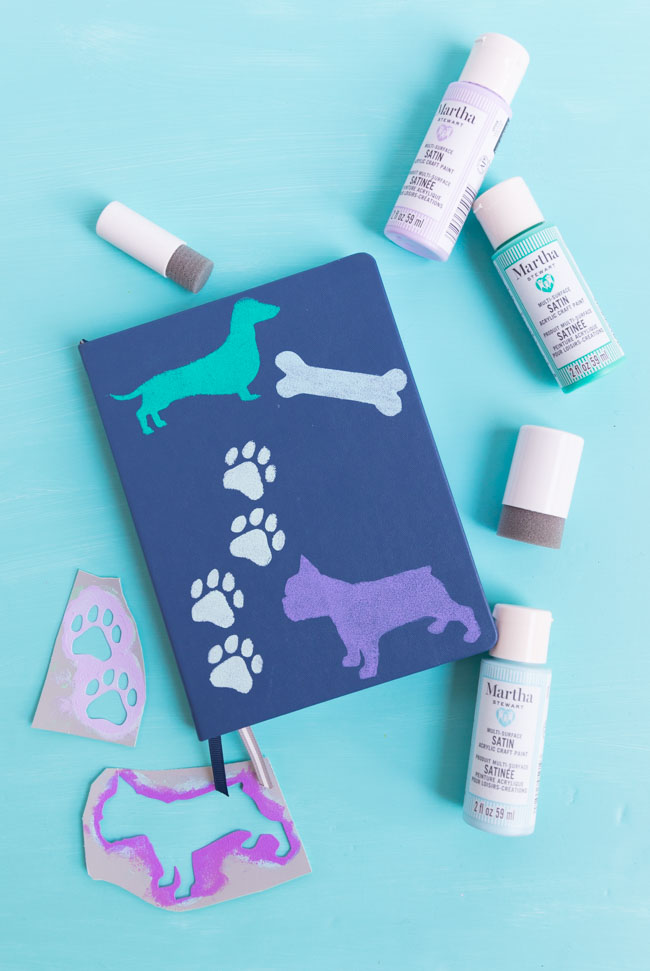
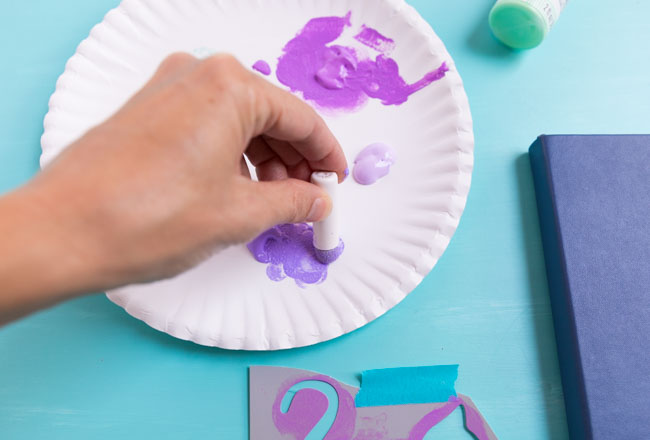
3. Squeeze a small amount of paint onto a paper plate. Press a foam pouncer into the paint and dab off the excess paint.
4. Fill in the stencil with paint by pressing the foam pouncer up and down. Hold the stencil flush to the fabric with your fingers as you stencil the edges to prevent any paint from seeping under the stencil.
5. Lift off the stencil and wipe it down with a damp paper towel before using it again.
My Top 10 Stencil Tips and Techniques
If you’ve never tried stenciling before, it is easy to do! Here are my top 10 stencil tips and techniques to make your first stenciling project a success:
-
Use adhesive stencils when possible
- Having an adhesive backing makes it that much easier to hold the stencil in place and avoid the dreaded stencil slippage! Using a couple strips of stencil tape or masking tape provides an additional hold, which is especially helpful when stenciling on fabric.
-
Prepare your surface before stenciling
- If you are stenciling on fabric, it is important to iron out any wrinkles and smooth down the area you plan to stencil so that it lays flat.
-
Cut out your stencil to make it easier to work with
- I like to cut my stencil sheets with multiple designs into individual stencils to make them easier to position. Just make sure you leave enough of a border around the stencil so you don’t accidentally stencil outside the lines!
-
Always use a foam pouncer or brush
- I have tried different types of brushes with stenciling, but I always prefer foam brushes over brushes with bristles. These foam pouncers work really well.
-
Martha Stewart Multi-Surface paints are my go-to for stenciling
- I am a die-hard fan of Martha Stewart’s multi-surface paints, and use them in all my painting projects. Just like their name states, they virtually work well on every surface. I have tried them on wood, plastic, fabric and glass.
-
Use a very small amount of paint on your brush
- Too much paint on the brush can lead to it bleeding under the stencil. I like to squeeze my paint on a paper plate and then dab off excess paint from my foam pouncer onto the plate before applying it to the stencil.
-
Use your fingers to hold the stencil edges flush to the surface
- You always want to make sure that there is no gap between the stencil and the surface you are stenciling. I like to press down the edges with my fingers as I work my way around the stencil.
-
Remove the stencil immediately
- Make sure you have filled in the entire stenciled area with an even layer of paint and then carefully lift up the stencil while the paint is still wet.
-
Touch up the stencil with a small brush if needed
- Don’t fret if you missed a spot or one edge of your stenciled design is a little messy. You can use a small paint brush and a tiny amount of paint to touch it up.
-
Wash off your stencils before they dry
- You can reuse your stencils over and over again by rinsing them off or wiping them down with a damp paper towel before the paint dries. Too much dried paint on a stencil will result in it not working as well.
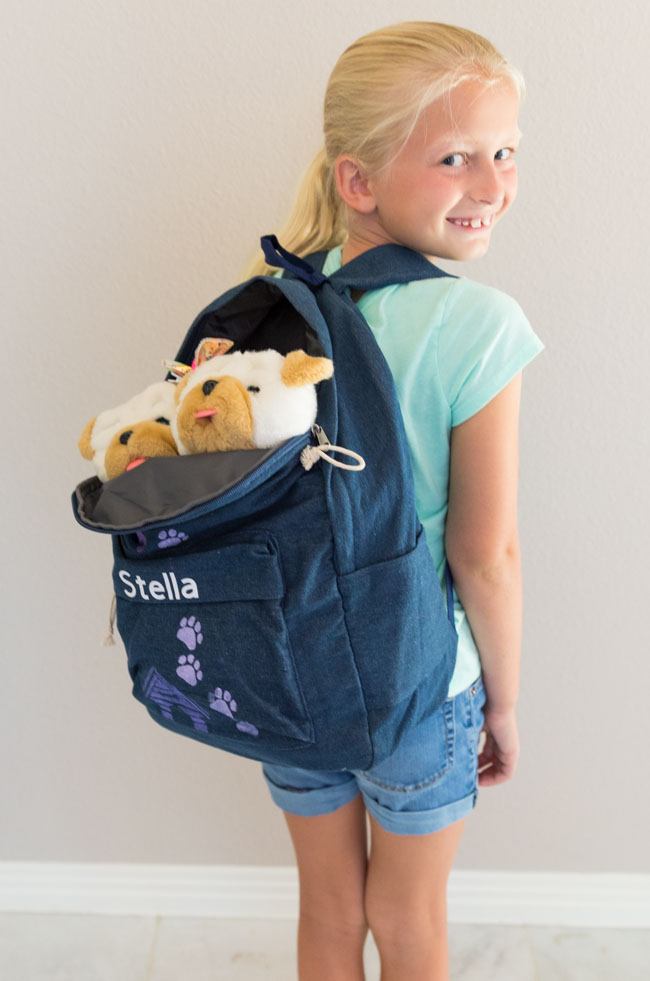
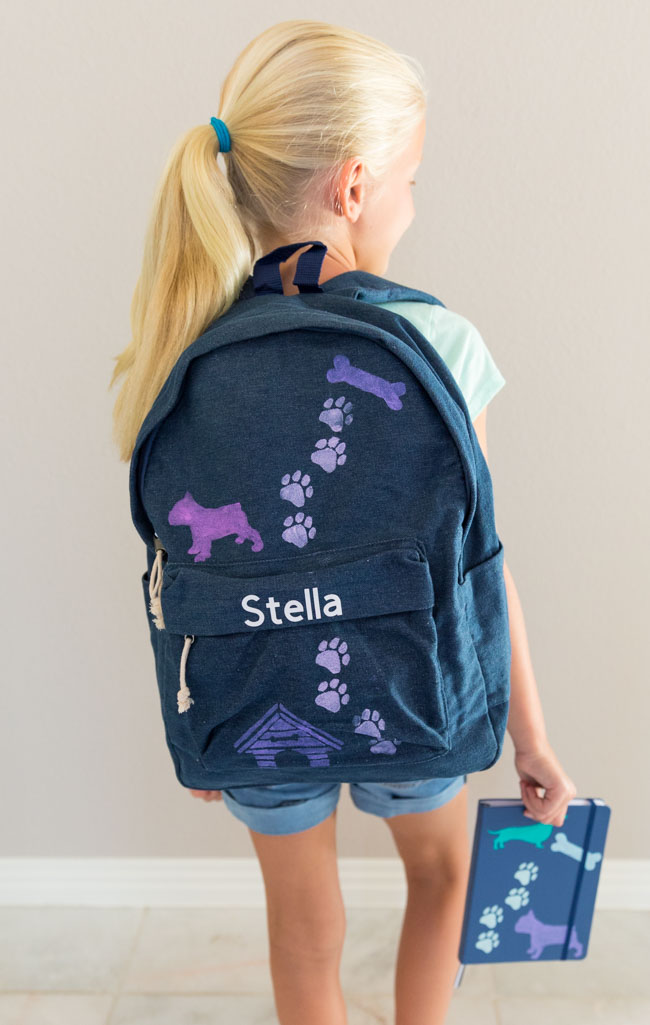
Stella was quick to use her backpack as a carrier for her stuffed bulldogs, Wrinkles and Twinkles. 😉
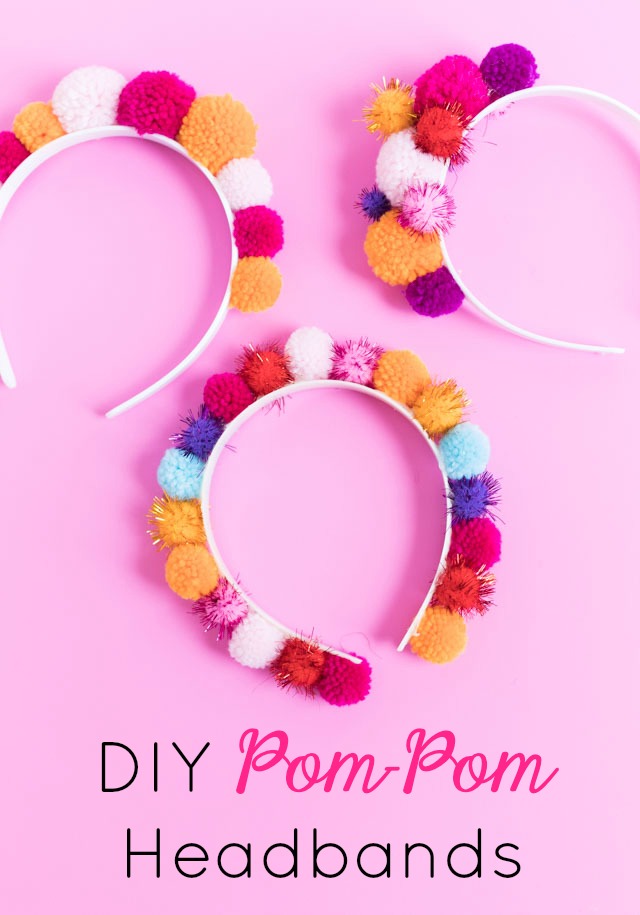
Don’t miss my other back-to-school craft ideas such as this pom-pom backpack and these vinyl covered notebooks!
This post is sponsored by Plaid Crafts. All expressed opinions and experiences are my own.

Tell Stella I love the names of her bulldogs. Pat S
I sure will! She loves those little dogs and takes them with her wherever she goes!