Snow Wreath
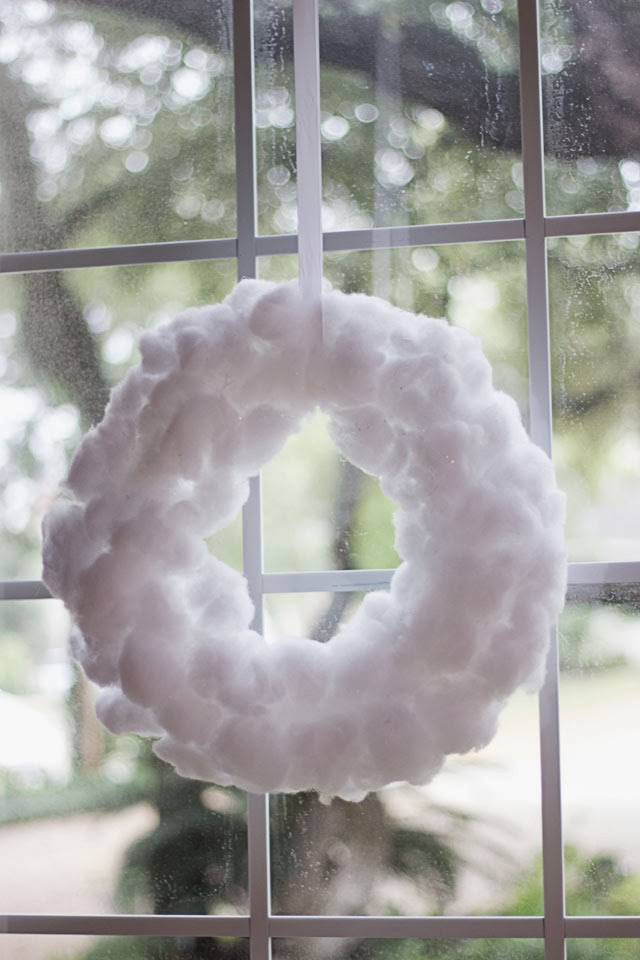
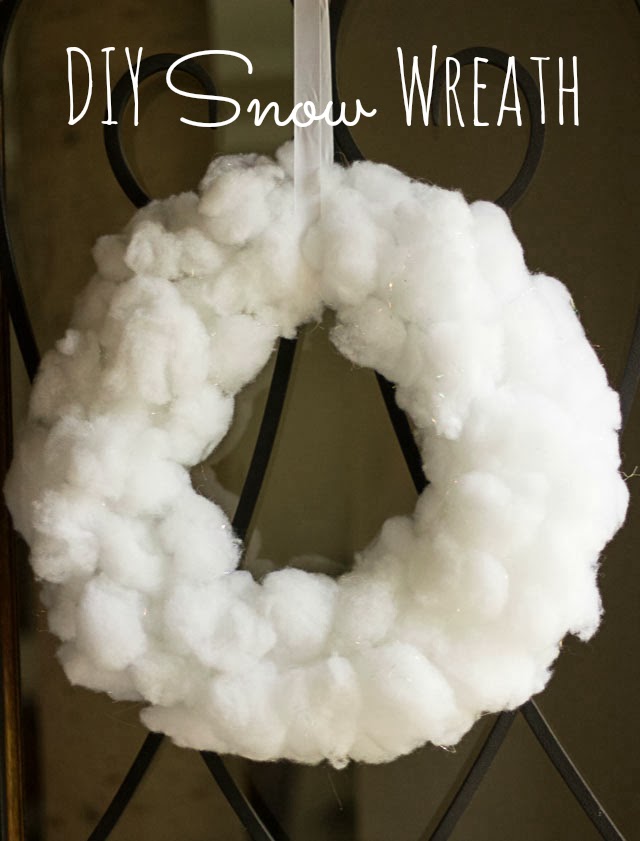
Yesterday I kicked off my holiday DIYs with snow ornaments, and up today is a snow wreath!
This post contains affiliate links. See our full disclosure.
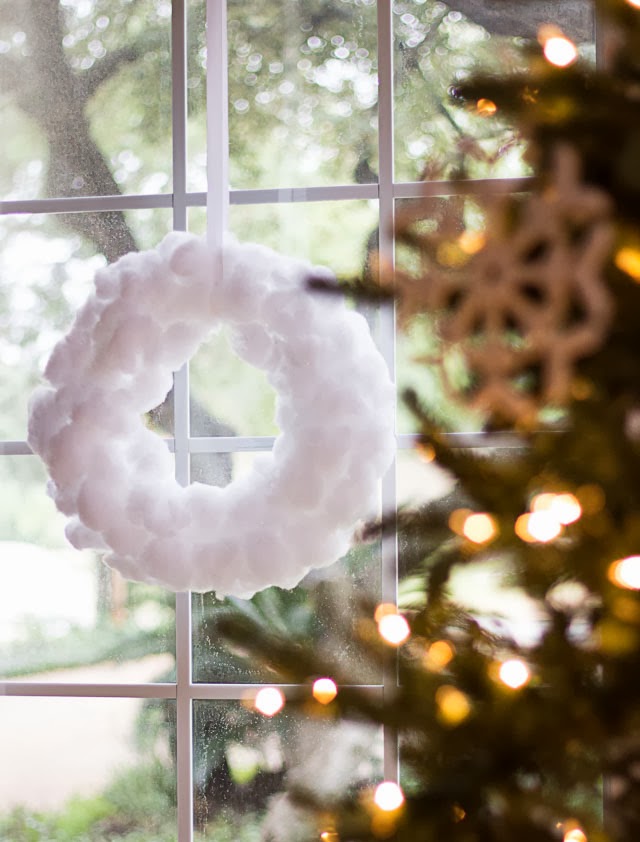
Both projects use the same basic material that you are bound to see in craft stores come Christmas – irridesent polyester fill. One bag that cost me $3 was enough for both my ornament and wreath projects – now that is what I call bang for the buck! I’m debating whether to hang this wreath on our front door or in our living room window by the Christmas tree. What do you think?
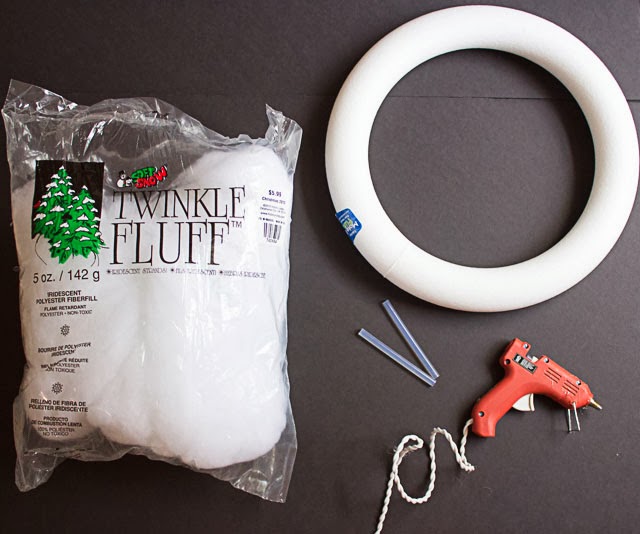
You can make this wreath for under $10 in under an hour. Here’s what you need:
Supplies for Snow Wreath
- Iridescent polyester fill (I used a bag of Twinkle Fluff on sale for $3 at Hobby Lobby)
- 14″ foam wreath form (I purchased mine for $5, but if you use your 50% off coupon that is often available at craft stores, you could get it for $2.50!)
- Hot glue gun
How to Make a Snow Wreath
1. Start by pulling off a handful of the fill and shaping into snow balls – vary the sizes a bit.

2. Put a dab of hot glue on the wreath and stick a snowball on top.

3. Continue around the wreath until it is filled. You can shape the balls a bit to fill in any holes. If you are hanging the wreath in a window, you may want to add snowballs to the back of the wreath as well.

4. Hang with a ribbon and you’ve got yourself a wreath! The wreath is a little fragile so handle with care.

Hope this wreath and the snow ornaments give you some fun crafts to try out. If you like this snow wreath, then be sure to check out the tutorial for my Pom-Pom Snowball Wreath for another idea for a snow filled wreath.








Very simple to make and so classy looking. Love both of them. Thank you for tutorial.
Deirdre.
Thanks so much Deidre! I hope you try them!