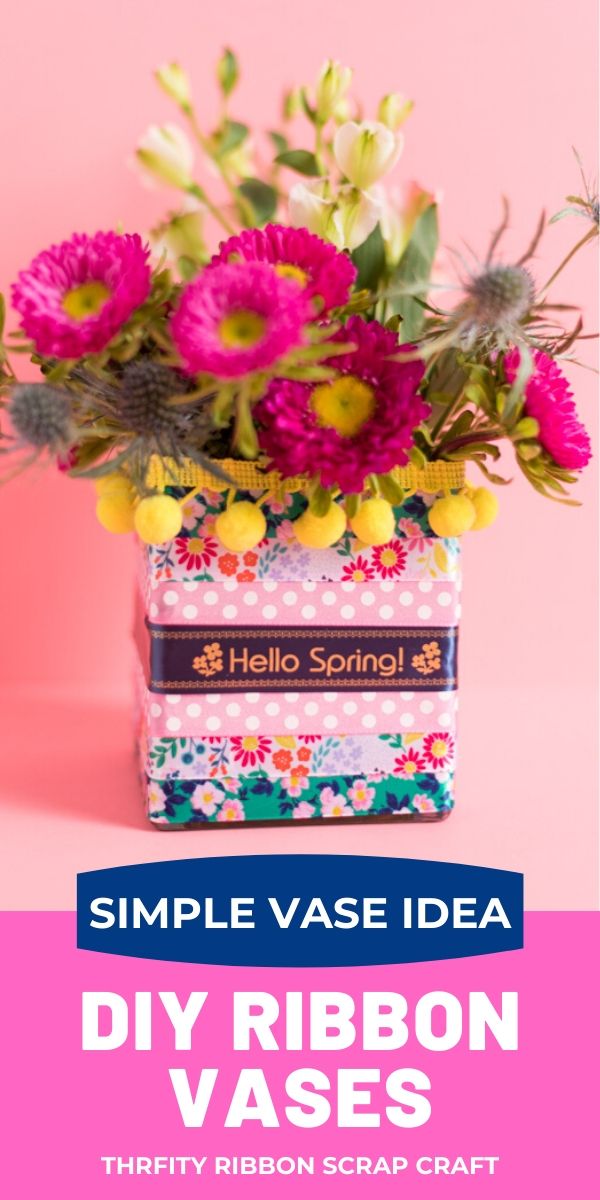
DIY Ribbon Vases with P-Touch Embellish Elite
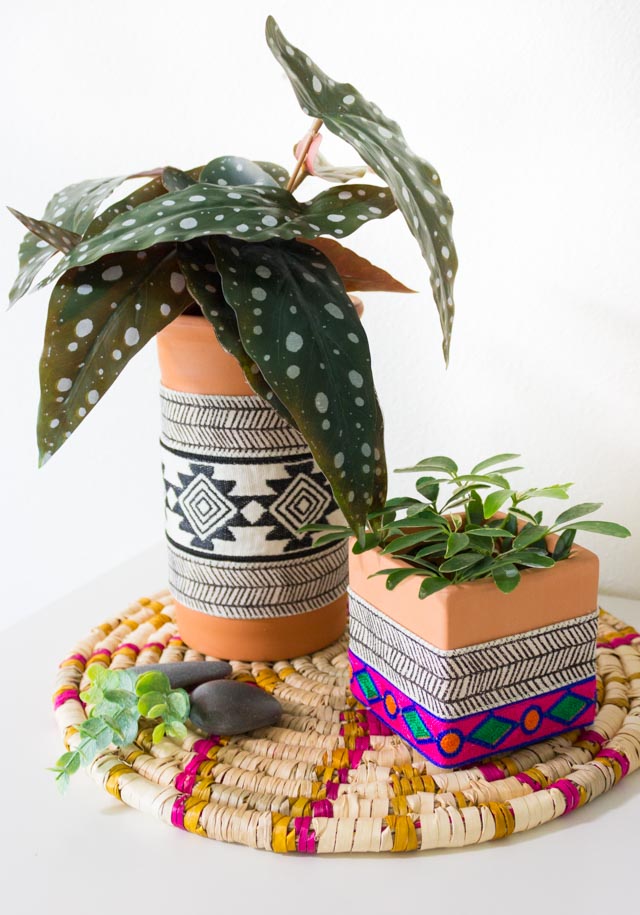
How to Decorate Vases with Ribbons
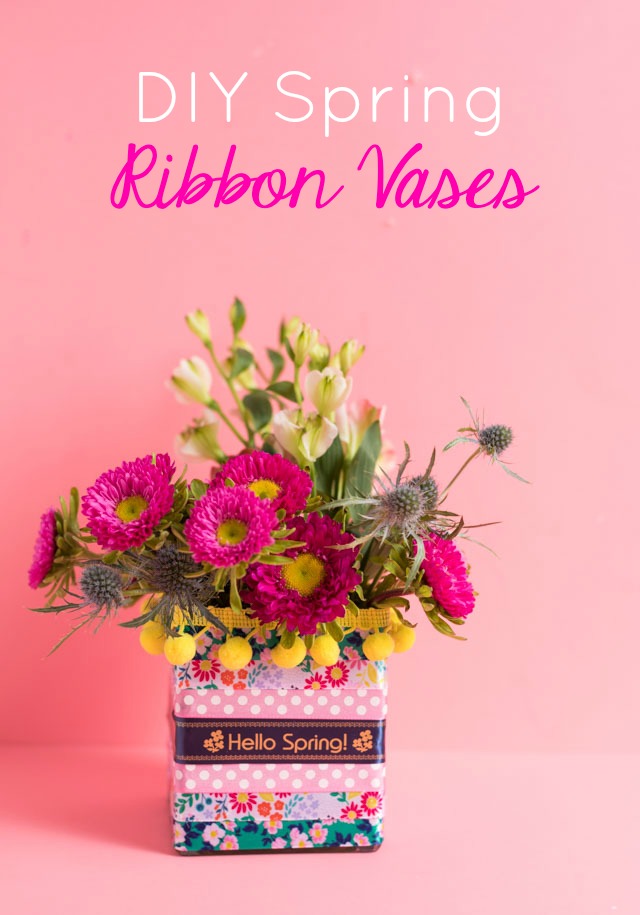
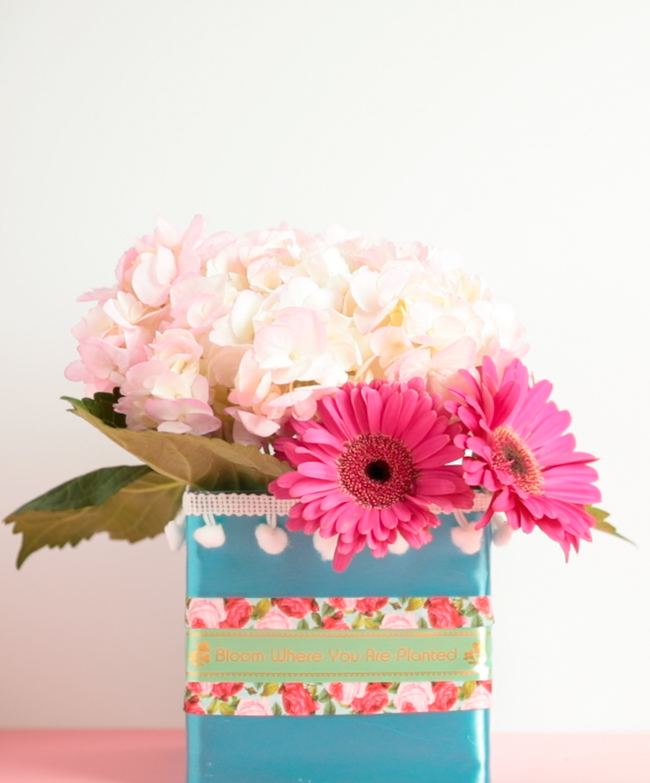
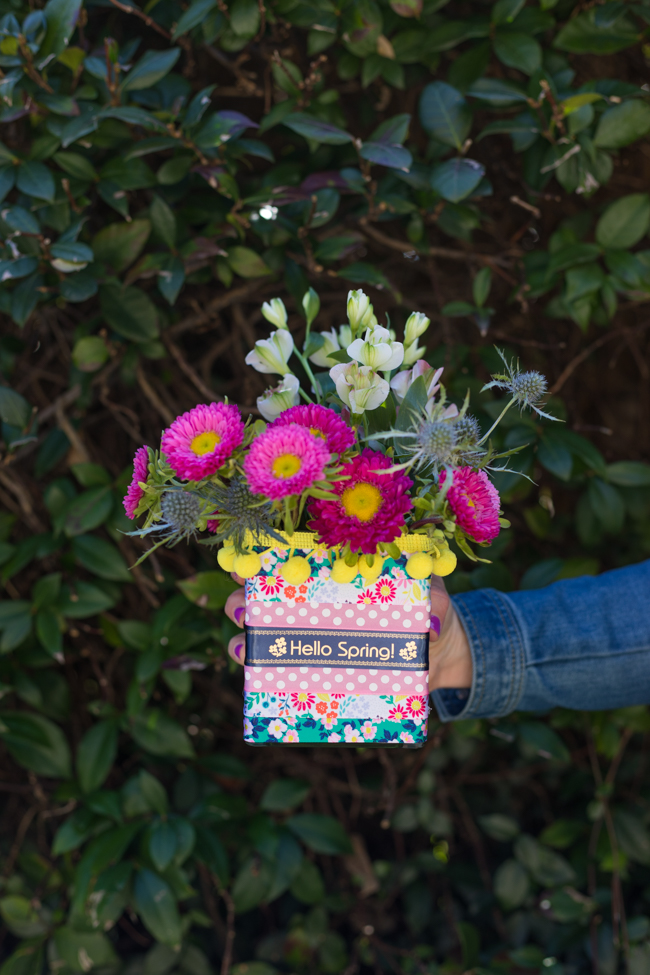
Spring is almost here and nothing says spring more than flowers! I love indulging in a fresh bouquet of flowers from the grocery store at this time of year. Rather than putting them in a plain glass vase, I created these easy DIY ribbon vases to give the bouquets an extra dose of cheerfulness. I partnered with Brother to use the new P-touch Embellish ELITE Ribbon and Tape Printer to create personalized ribbons for the vases. I chose spring sayings such as “Hello Spring!” and “Bloom Where You Are Planted”, but you can personalize the ribbons however you like. Wouldn’t these vases be fun to make for a Mother’s Day or teacher gift?
This post is sponsored by Brother. All content and opinions are my own.
Did you know that March is National Craft Month? It is the perfect time to try out a new craft technique or tool, and this particular project can be done in under 30 minutes. That’s my kind of craft!
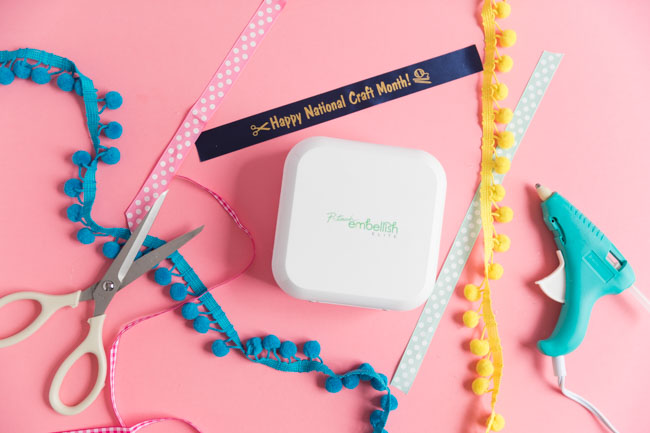
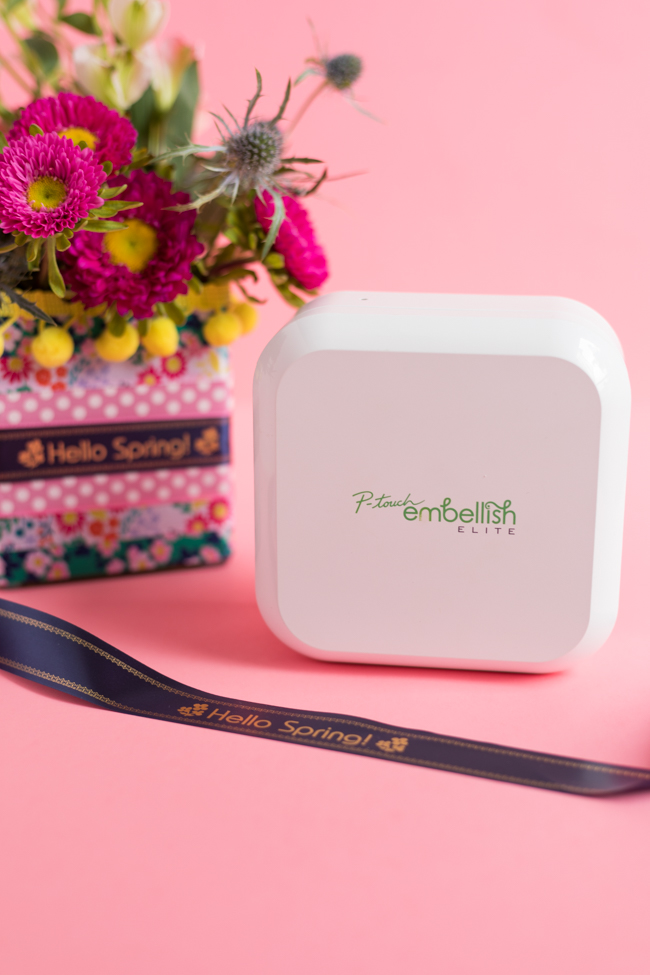
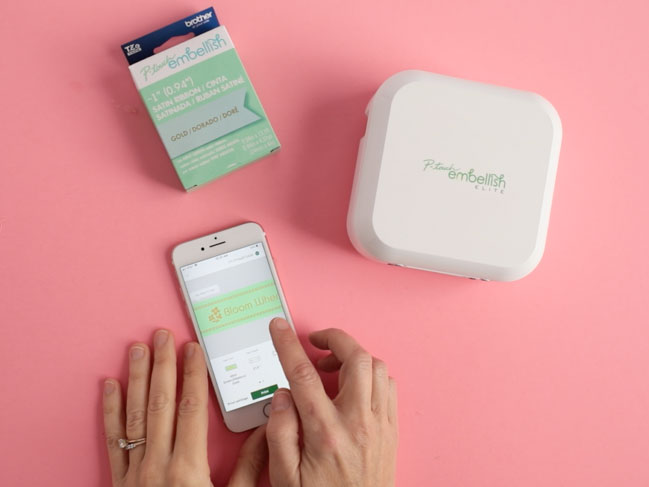
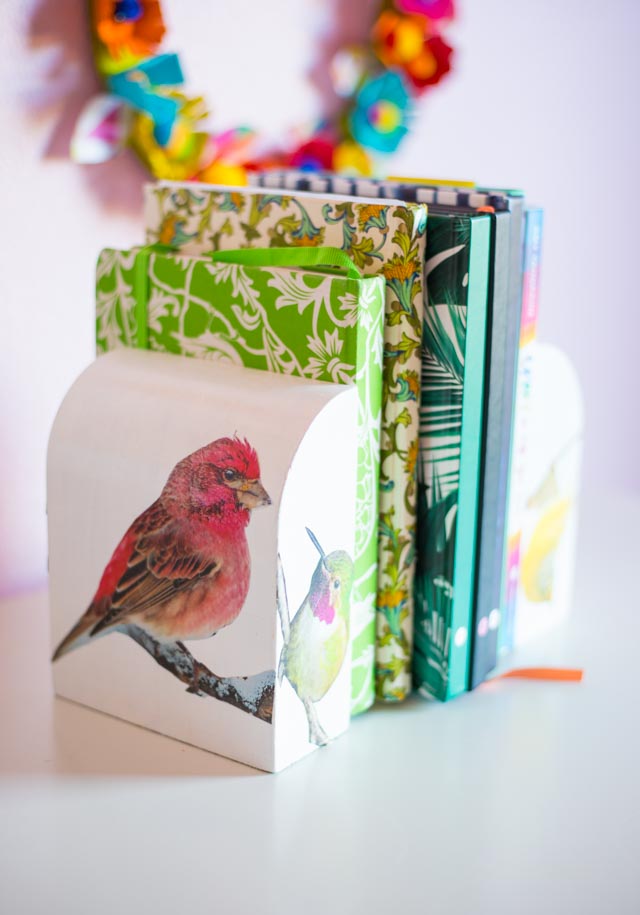
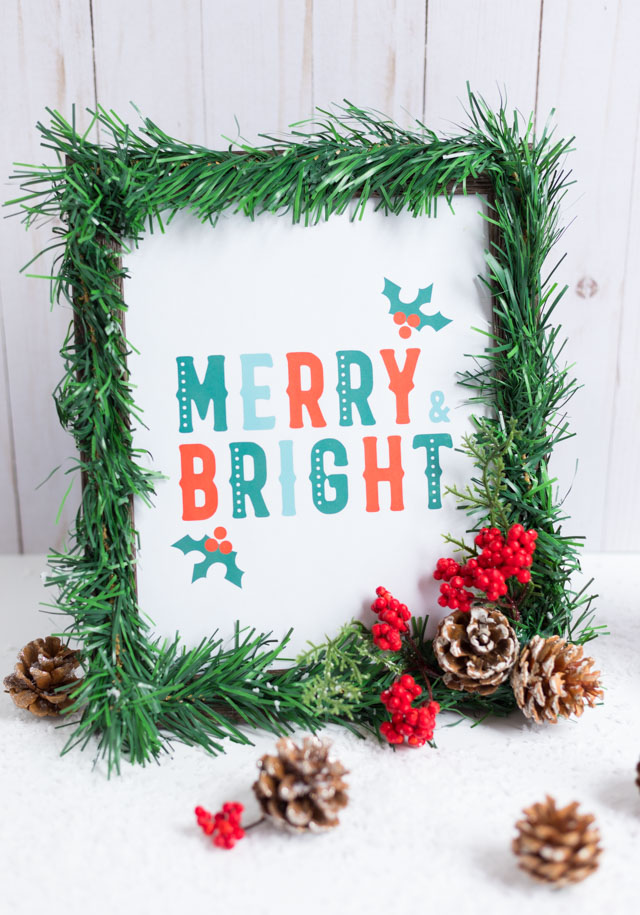
The P-touch Embellish ELITE is the latest tool in my crafting toolkit and I am hooked! You may remember these personalized ornaments I made for Christmas using the printer. Brother offers a variety of satin ribbon in different colors, including lots of pretty pastels with gold print for spring. The P-touch Embellish ELITE is Bluetooth® enabled, has a rechargeable battery and at just five inches wide is oh-so-cute! If you’re looking to expand your crafting toolbox for National Craft Month, this is definitely a handy one to have at your disposal.
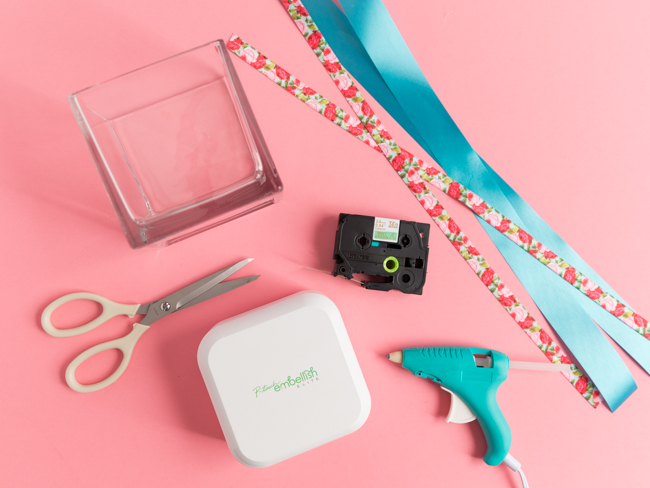
Supplies for DIY Ribbon Vases
- Brother P-touch Embellish ELITE
- P-touch Embellish ~1″ Wide Satin Ribbons
- Square or rectangular glass vase
- 1/4″ – 1″ ribbon
- Pom-pom trim
- Rickrack
- Hot glue
- Scissors
How to Make Ribbon Vases with P-touch Embellish ELITE
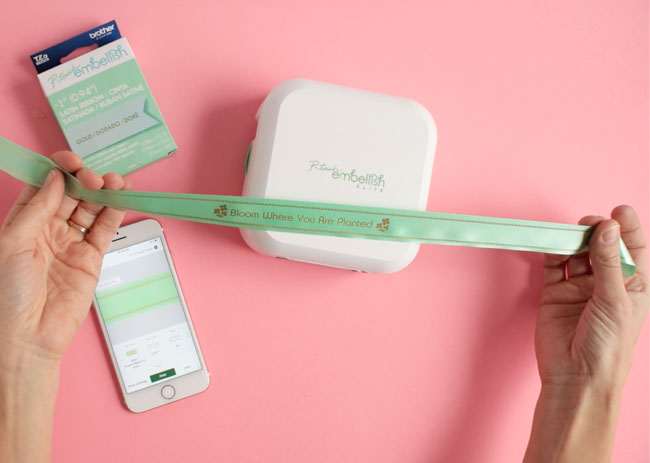
Step 1: Measure around the vase to determine the length of ribbon you will need. Use the P-touch Embellish ELITE and free Design&Print app to design your ribbon. You’ll want to size the font so that all the words fit within the front of your vase. You can add any variety of icons and borders to the ribbon. I added flower icons along with the saying “Bloom Where You Are Planted”.
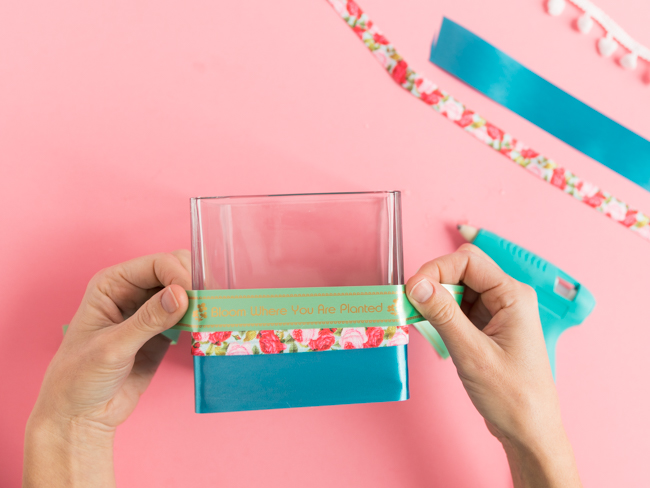
Step 2: Cut several lengths of different ribbons to cover your vase. Starting at the bottom corner of the vase, attach the first ribbon with a small dab of hot glue at each corner of the vase. Trim any excess ribbon with scissors.
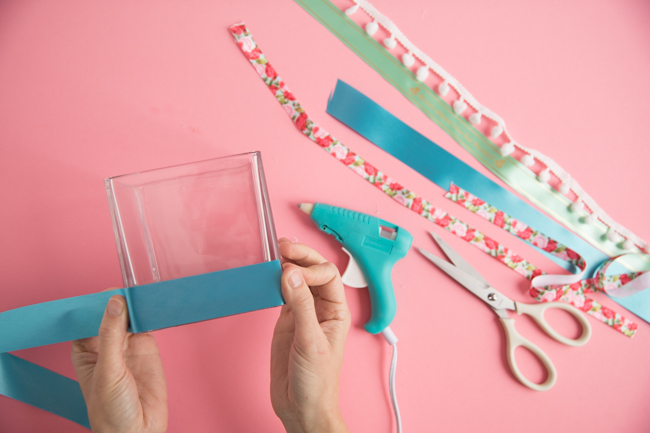
Step 3: Repeat with the rest of the ribbons, slightly overlapping each ribbon over the previous ribbon so that there are no gaps. For the personalized ribbon, center the words on the front of the vase and then glue.
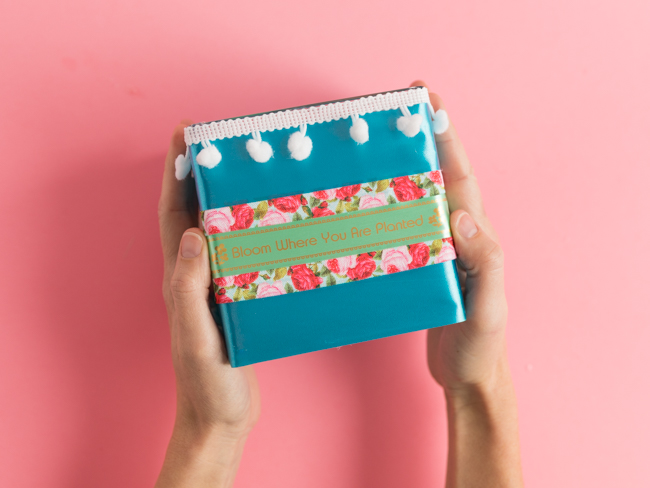
Step 4: Finish by gluing a length of pom-pom trim to the top of the vase.
Step 5: Add your spring flowers and display your vase proudly or gift it to a friend to spread some spring cheer!
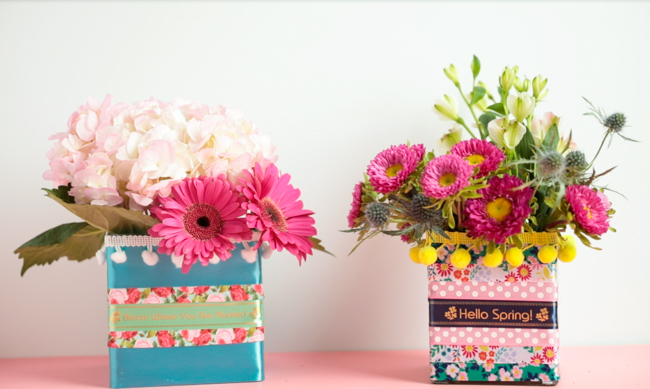
These vases are such an easy last minute gift idea and unexpected way to jazz up a plain vase you already have on hand.
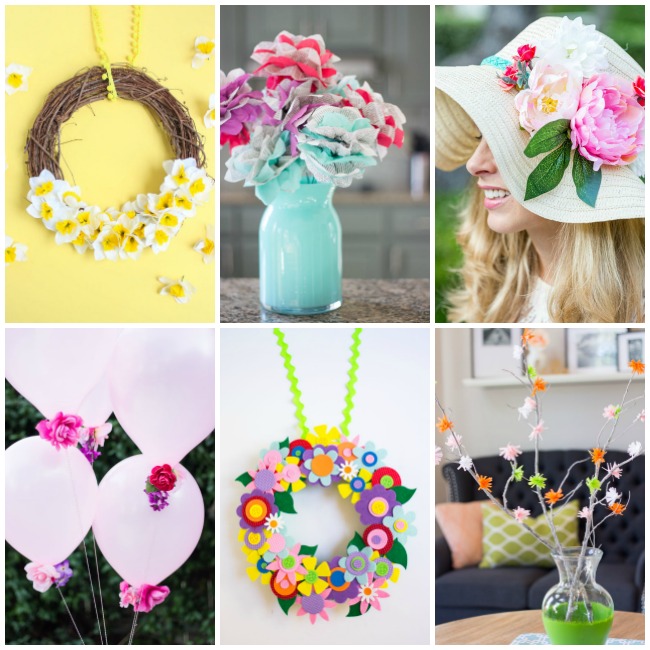
Like this spring craft? Then don’t miss these other flower craft ideas!
What a delightful way to personalise a vase. Thanks for sharing!