Ribbon Christmas Ornaments with Brother P-Touch Embellish Elite
DIY Ribbon Ornaments with Brother P-Touch
I love a creative handmade ornament project and these DIY ribbon Christmas ornaments were particularly fun to make because I got to personalize the ribbons! For this project, I partnered with Brother to try out their new P-touch Embellish ELITE Ribbon and Tape Printer. I had never used a label printer before, so I was in awe that you could add an endless variety of text, symbols and frames to satin ribbon and tape, all from the compact P-touch Embellish ELITE printer and an app on your phone!
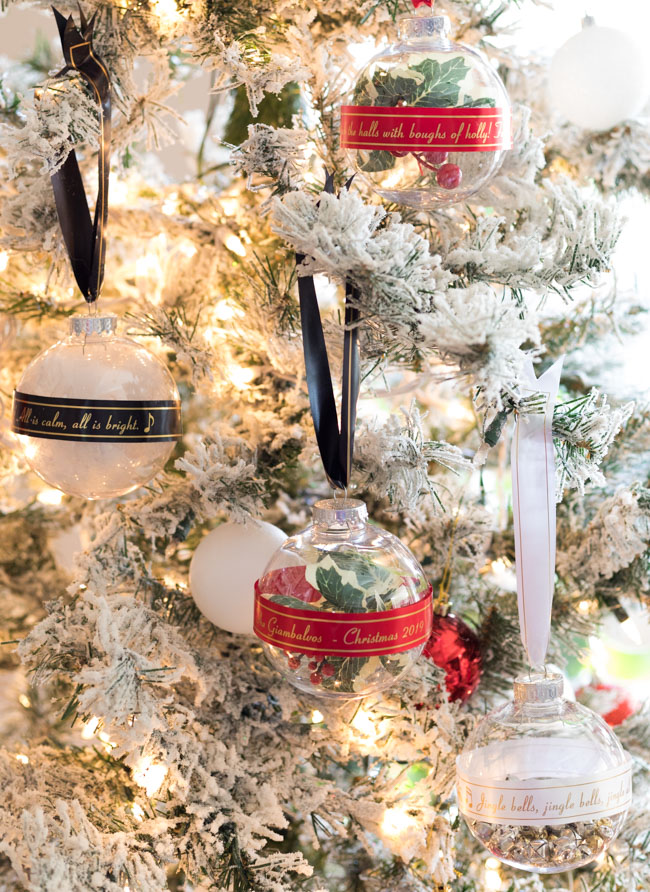
I tend to be pretty low-tech when it comes to my crafting, but the simplicity of the P-touch Embellish ELITE makes it one of my favorite new crafting tools! The results are simply gorgeous and take minutes to make. Check out the special 2019 ribbon ornament I made for our family:

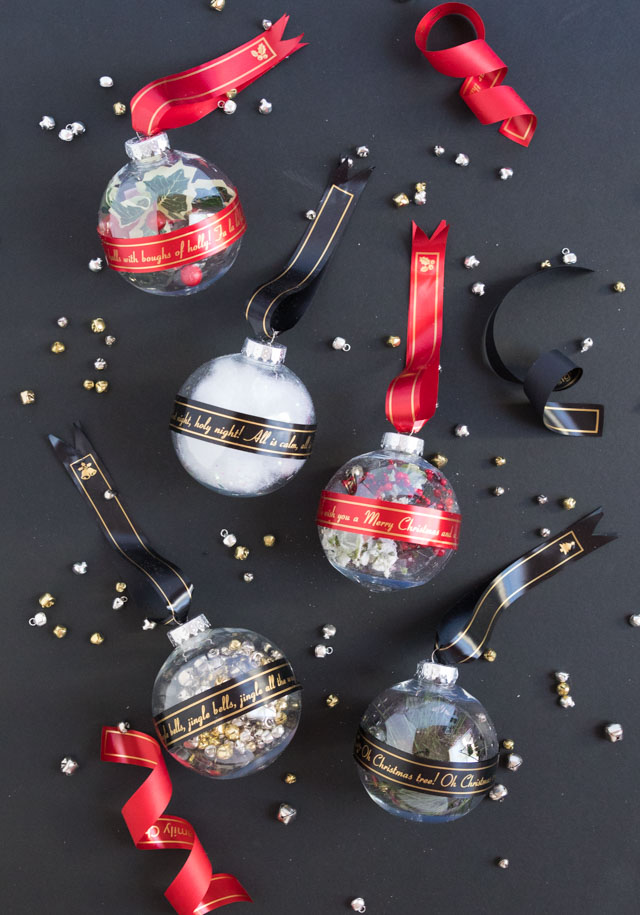
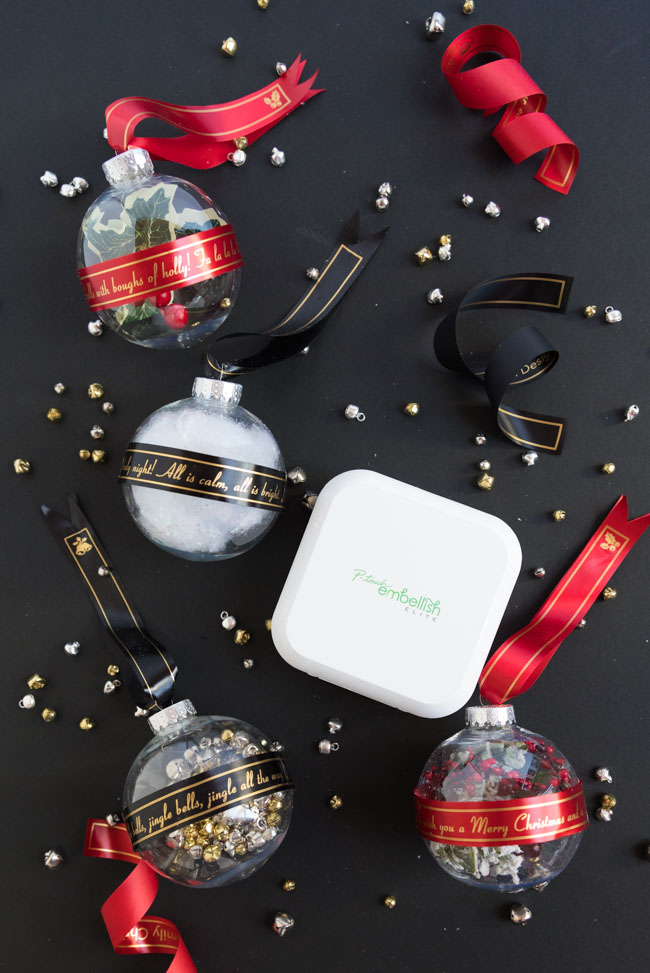
I also used the ribbon printer to create a variety of ornaments inspired by my favorite Christmas songs. I chose classic songs that are public domain such as “Jingle Bells” and “Joy to the World”. In addition to customizing the ribbon with the songs, I filled the clear ornaments with mini jingle bells (for “Jingle Bells”), faux holly berries (for “Deck the Halls”), faux greenery (for “Oh Christmas Tree”) and faux snow (for “Silent Night”).
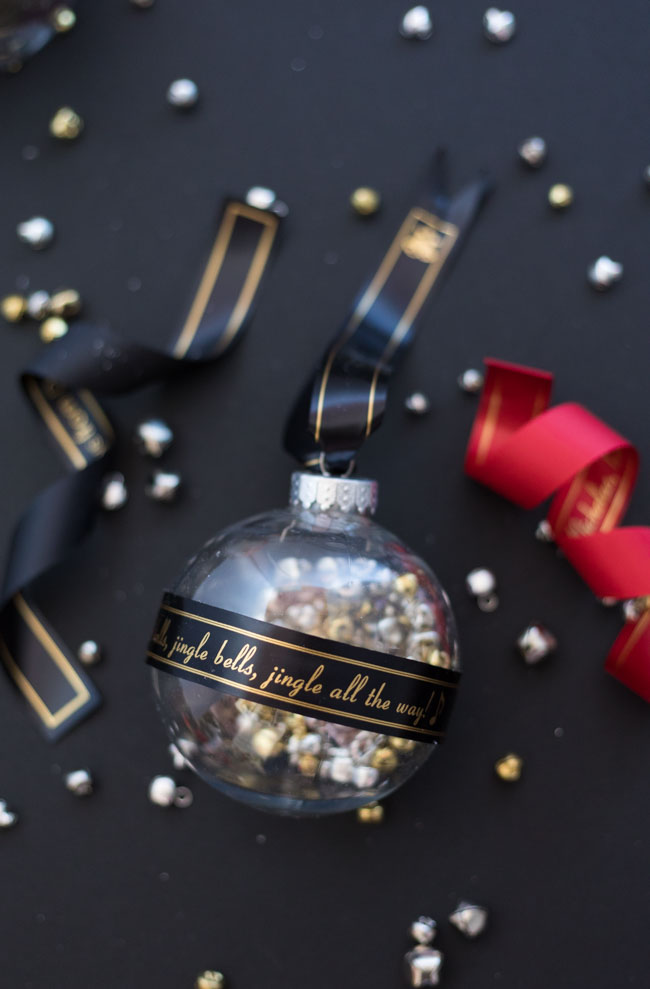
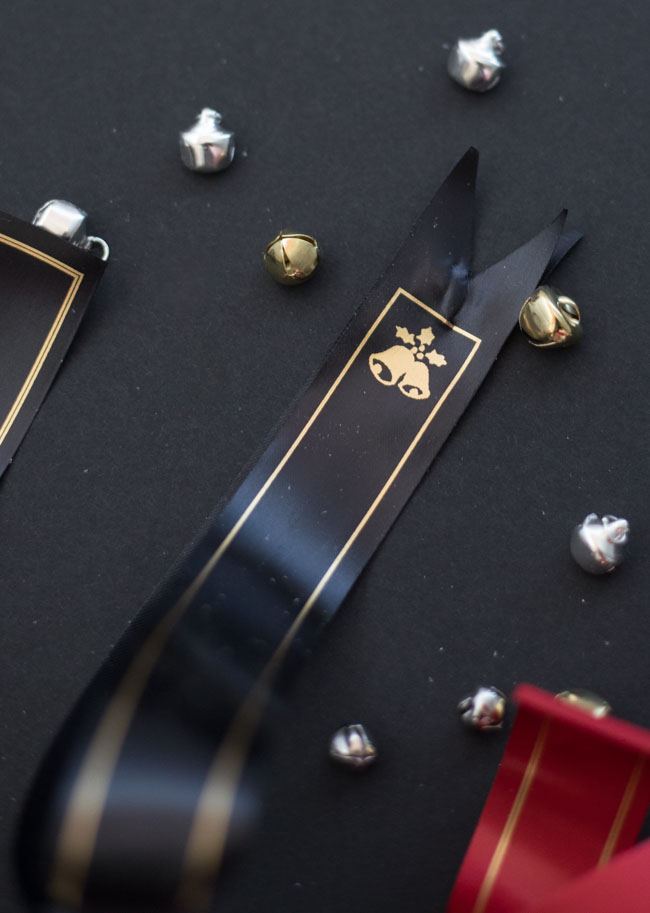
Even the ribbon hangers were customized with frames and symbols from the P-touch Embellish ELITE!
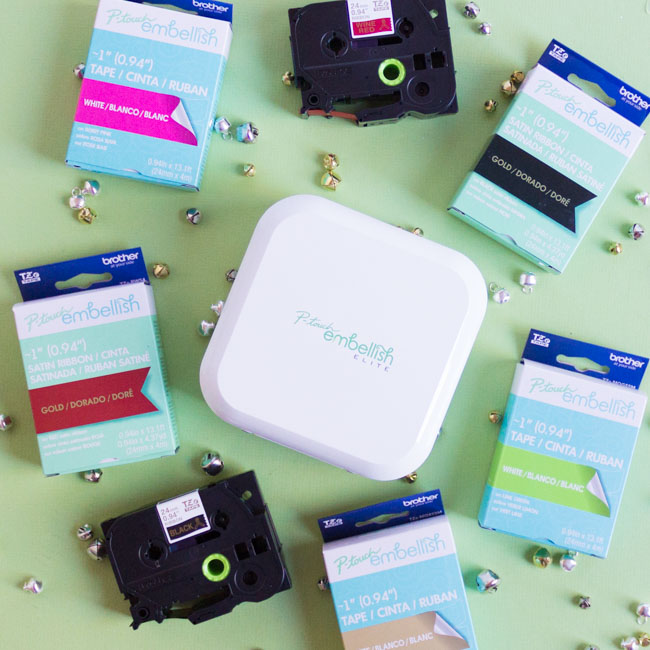
The P-touch Embellish ELITE is Bluetooth® enabled, has a rechargeable battery and at just five inches wide is oh-so-cute! It has the ability to print on a variety of P-touch Embellish ribbons and tapes. A cartridge of the ~1″ white satin ribbon with gold print automatically comes with the P-touch Embellish ELITE. You can find all the available ribbons and tapes here.
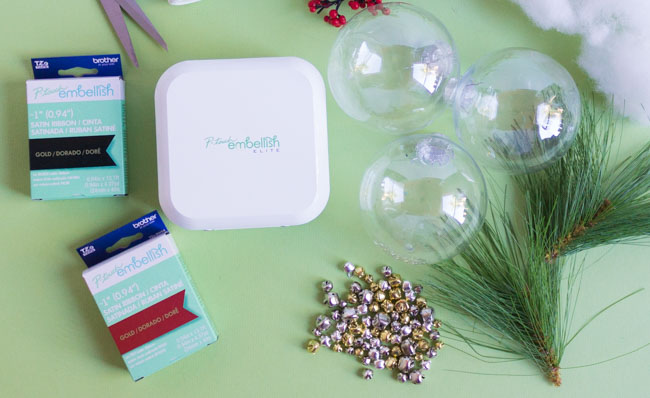
Supplies for Christmas Ribbon Ornaments
- Brother P-touch Embellish ELITE
- P-touch Embellish ~1″ Wide Satin Ribbons
- 4″ clear plastic ornaments with removable top
- Craft glue
- Ornament fillers such as jingle bells, faux berries and greenery and faux snow
How to Make Ornaments with P-touch Embellish ELITE
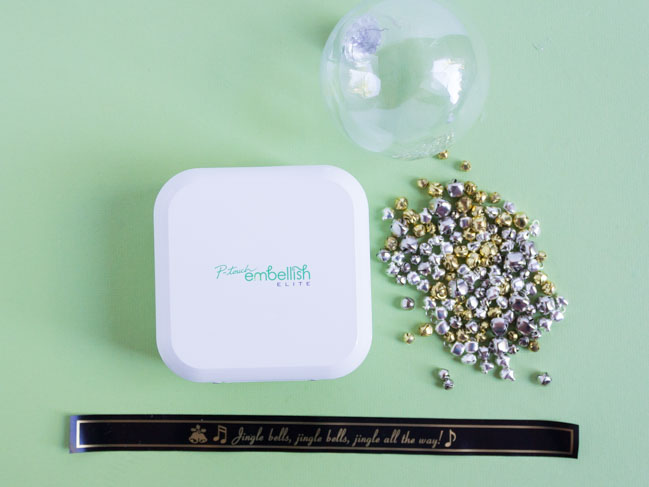
1. Use the free P-touch Design&Print App to design your ribbon.
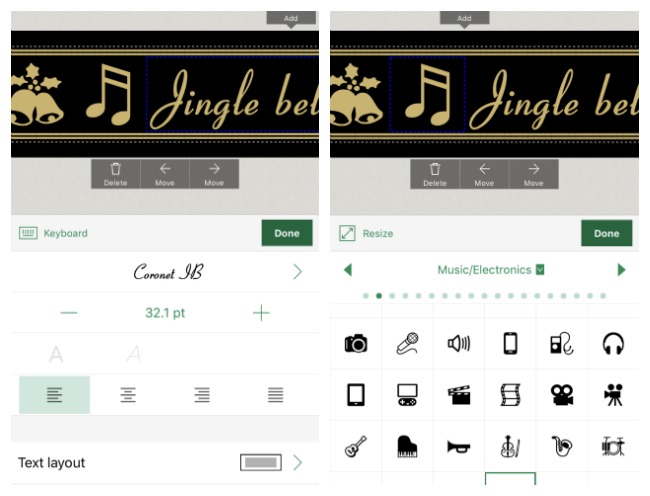
To create my ribbons I chose the following specifications on the app:
- Font: Coronet
- Three symbols (e.g., Christmas bells, musical notes)
- Frame: Simple
- Tape Length: 13″
- Label alignment: Center
- Text direction: Horizontal
- Margin: Narrow (found under “Print Settings”)
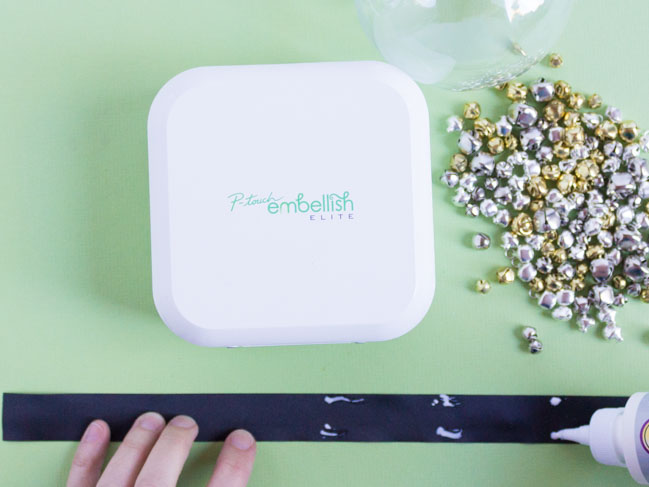
2. Add a small amount of craft glue to the back of the ribbon. I prefer quick drying craft glue to hot glue, which can cause bumps under the ribbon.
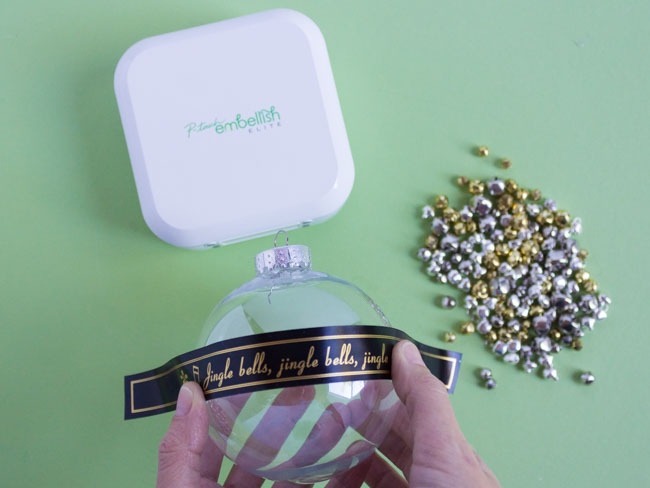
3. Wrap the ribbon around the center of the ornament and secure in place.
4. Fill the clear ornament with your chosen filler.
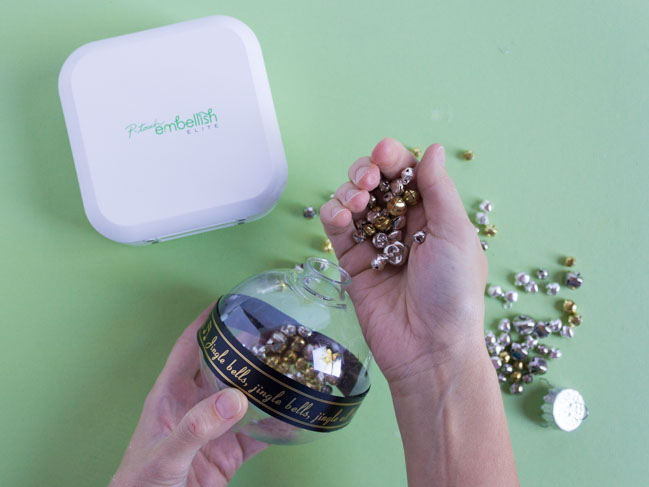
5. Use the P-touch Embellish ELITE to create a ribbon hanger for your ornament. I used the following specifications for my ribbon hangers:
- Frame: Simple
- Tape Length: 13″
- One symbol, no font
- Text direction: Vertical
- Margin: Wide (found under “Print Settings”)
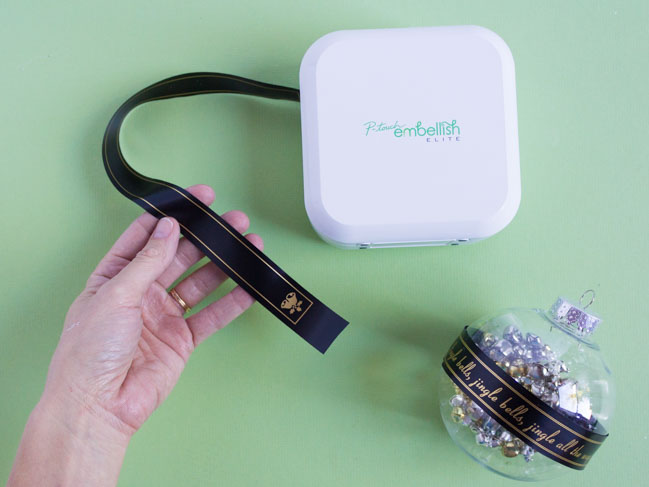
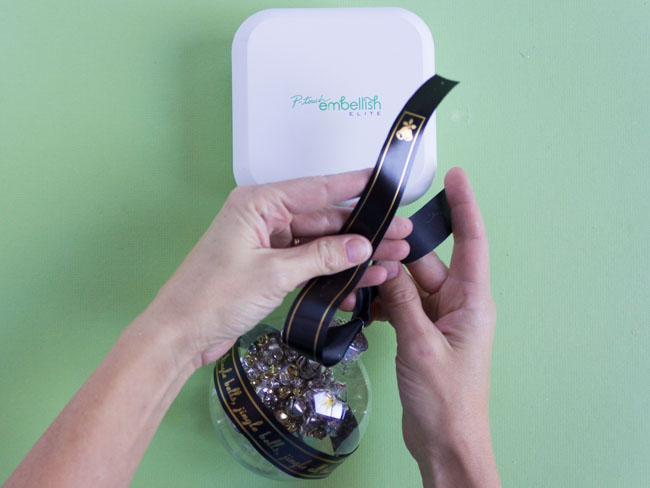
5. Loop the ribbon through the top of the ornament and secure the top ends together with a dab of glue one inch below the top of the ribbon.
6. Create a decorative notch in the top of your ribbon hanger with scissors.
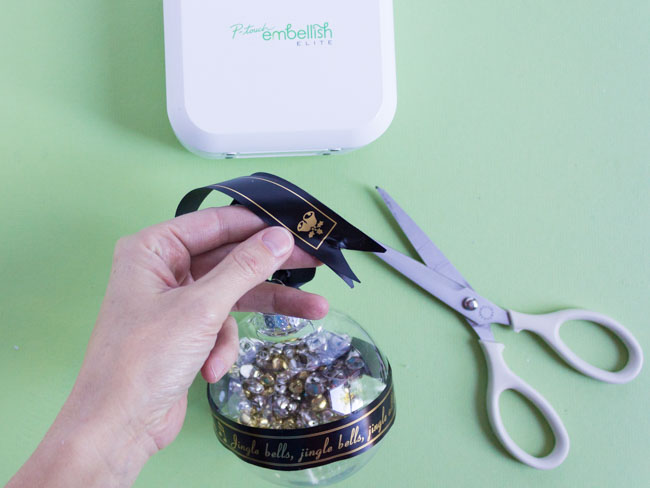
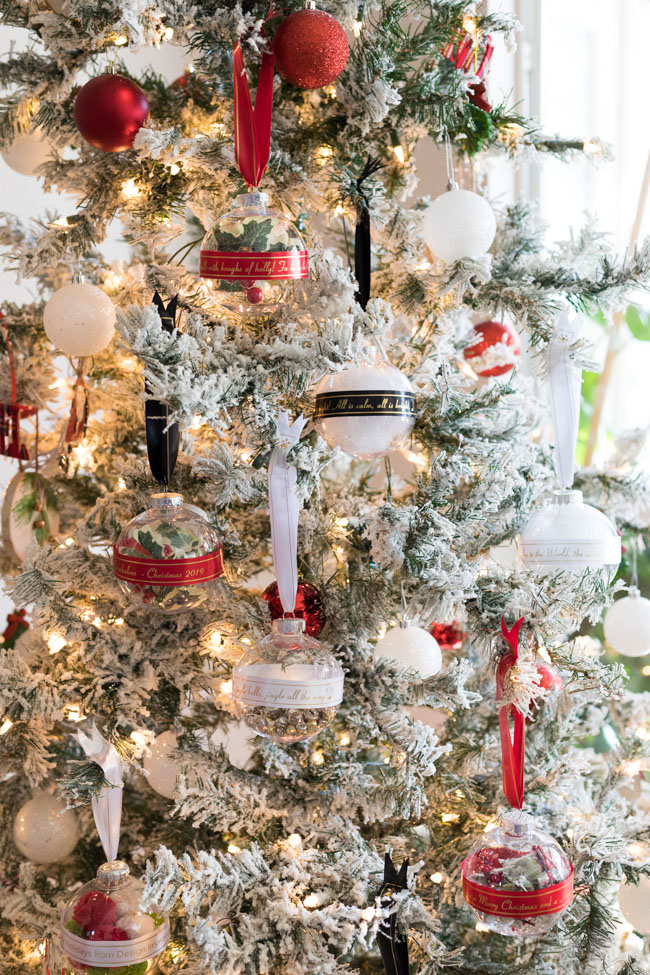
I used the P-touch Embellish ELITE to create a variety of ornaments for my tree inspired by classic Christmas songs! These would make such great gifts. You can use the printer to customize them however you like.
I love how these ornaments look on my tree. The pretty satin ribbons add a touch of elegance. Now that I have the Brother P-touch ELITE at my fingertips I can’t wait to use it for more projects throughout the year!
This post is sponsored by Brother. All content and opinions are my own.

