How to Make a Lighted Christmas Wreath

I love a good Christmas wreath craft, but a lighted Christmas wreath takes my crafting to a whole other level! It is amazing what the addition of fairy lights can do to the feel of a wreath. Especially during the holidays when that warm glow is so nice to have inside your home. I recently made this grapevine Christmas wreath for an upcoming charity fundraiser. I was asked by a local San Antonio organization called Family Service to make a wreath for their annual wreath auction. How could I say no? I hope it garners a high price for a good cause!

This post contains affiliate links. See our full disclosure.
I had lots of supplies on hand to play around with, including this PEACE sign that I’ve had for years. Unfortunately I can’t remember where I got it, and haven’t been able to find an exact replica online. But the beauty of this wreath is that you can improvise on it based on whatever supplies you have on hand or are calling your name at the craft store! Just start with a grapevine wreath base, wrap it with battery operated LED lights and you are halfway there!
Supplies for Grapevine Christmas Wreath
- Large grapevine wreath (I used a 30″ wreath)
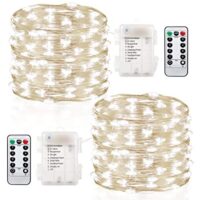
- Battery operated fairy lights (LED string lights)
- Snowy pine picks or other winter greenery
- Small Christmas bulb ornaments
- Pinecones
- Hot glue
- Floral wire
- (Optional) PEACE or other holiday saying (I used a sign a had on hand)
How to Make a Lighted Christmas Wreath
1. If you are attaching a sign to the front of the wreath, such as my PEACE sign, make sure it is big enough to stretch across the front of the grapevine wreath. Attach the sign to the wreath with floral wire or hot glue.

2. Add a variety of wintery greenery to the base of the wreath such as these snowy pine picks. Secure in place with a dab of hot glue at the base of the pick.

I also added some wintery white greenery for contrast. Look for these at your local craft store. I used a pair of wire cutters to trim smaller pieces from the main stem.


3. Use small bulb ornaments and pinecones to fill in the gaps between the greenery.

4. Once you have decorated the base of your wreath, wrap it with a set of fairy lights. Start with the battery pack at the bottom back of the wreath and work your way around the wreath. Wrap the lights around the grapevine and scatter throughout the greenery on the bottom of the wreath. Secure the battery pack to the back of the wreath with floral wire.

5. Turn on your wreath and watch it glow! These cool fairy lights come with a remote and different settings to make your wreath really shine!

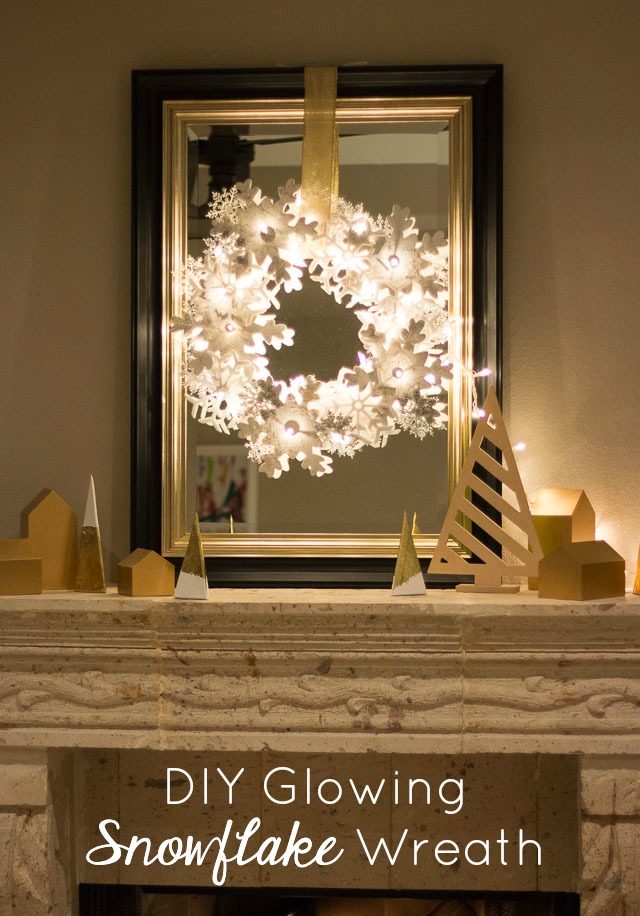
If you like this lighted Christmas wreath, then be sure to check out my Glowing Snowflake Wreath tutorial!

DIY Lighted Christmas Wreath (PRINTABLE INSTRUCTIONS)
Adding fairy lights to a grapevine wreath is so easy to do and creates a gorgeous glow for Christmas. You can improvise on this wreath based on the supplies you have on hand.
Materials
Instructions
- If you are using a saying like my PEACE sign, add it to the front of your wreath and secure in place with hot glue or floral wire.
- Add a variety of faux winter greenery, pine cones, and small Christmas bulbs to the base of your wreath. Secure in place with hot glue.
- Wrap your wreath with a strand of battery operated fairy lights. Secure the battery pack to the back of the grapevine wreath with floral wire.
Notes
I used an extra large grapevine wreath (30") but any size of grapevine wreath will work for this. If you use a sign like my PEACE sign, make sure it is long enough to stretch across the front of your wreath. A wood or metal sign would look great!
Recommended Products
As an Amazon Associate and member of other affiliate programs, I earn from qualifying purchases.




Haeley, The fairy lights are really pretty on your wreath. I like that you can control them with a remote. Pat S
Wow– it turned out great!! Will definitely sell for $$$!