Pumpkin Week: Sand Art Pumpkins
DIY Sand Art Pumpkins
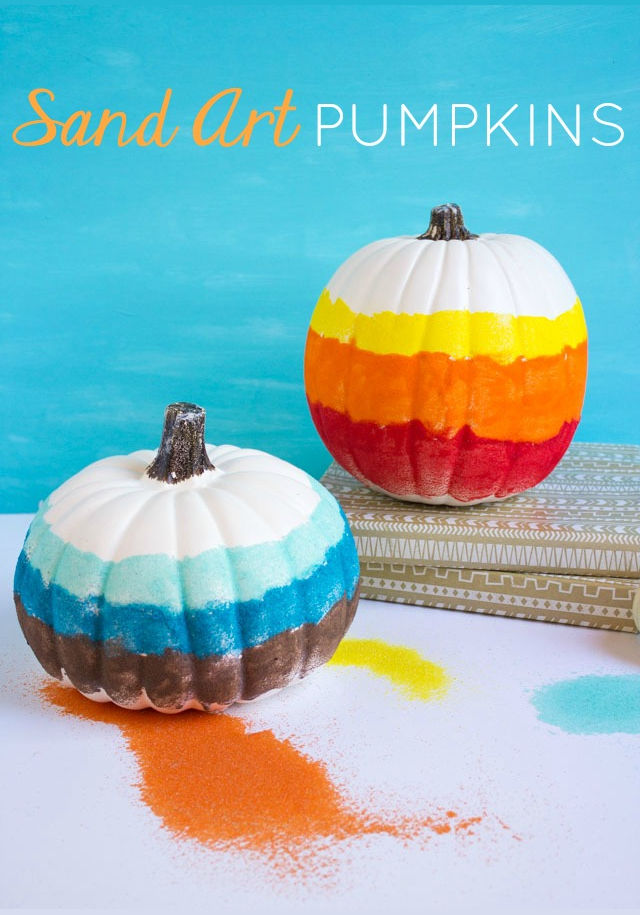
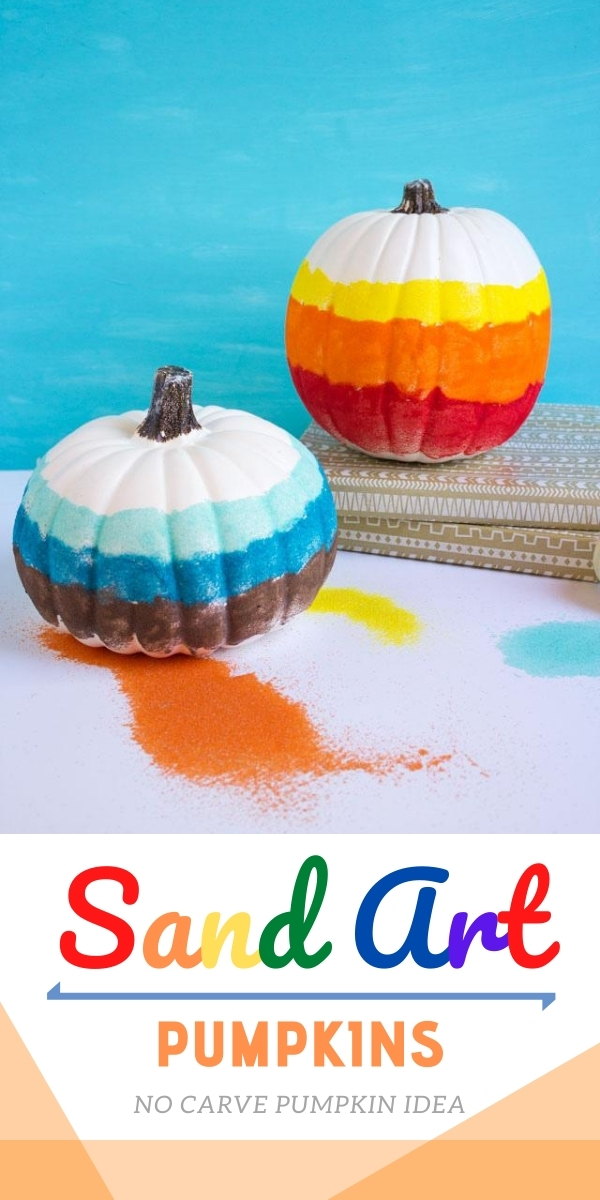
Introducing my sand art pumpkins! The idea for Day 4 of Pumpkin Week is pretty out there. Just when you thought I had gone crazy with cupcake liners, I decided to throw sand on my pumpkins! 😉 These pumpkins are my latest attempt to relive my childhood love of making sand art.

My sister and I used to spend our summers making bottles and bottles of colored layered sand (actually we used table salt and food coloring, but same idea) on our grandparents’ back porch. In my adult life, I’ve used sand to make fall terrariums, modern framed art, and even Valentine cards. If you also have fond childhood memories of making sand art, these pumpkins are for you!

You can use as many colors, and create as many layers on your pumpkin as you want. Just start from the top, brush on a band of Mod Podge, and cover with sand! The sand adds a fun organic texture to the pumpkins.I used a variety of colored sand from Oriental Trading for this project. The colors really pop against the white pumpkins.

This post contains affiliate links. See our full disclosure.
Supplies for Sand Art Pumpkins
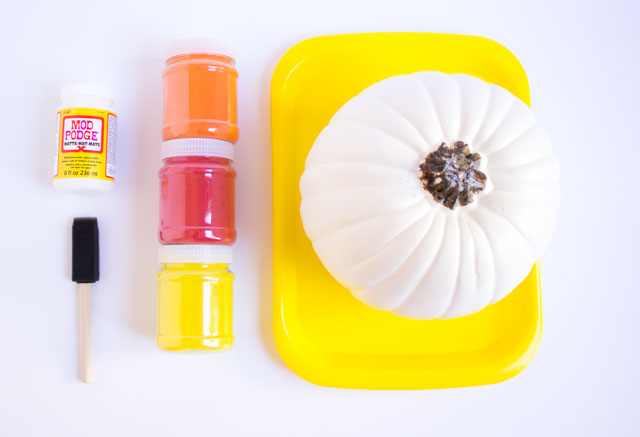
- White pumpkins (I used 9″ faux craft pumpkins)
- Colored sand
- Mod Podge
- Foam brush
- Craft tray (or something to collect excess sand)
How to Make Sand Art Pumpkins
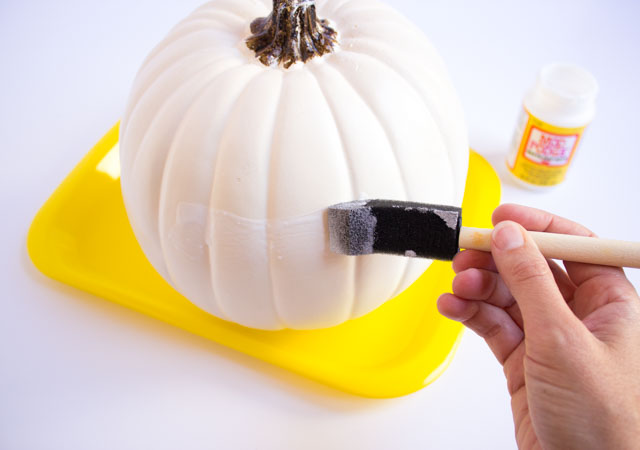
Step 1: Add a band of Mod Podge to the pumpkin
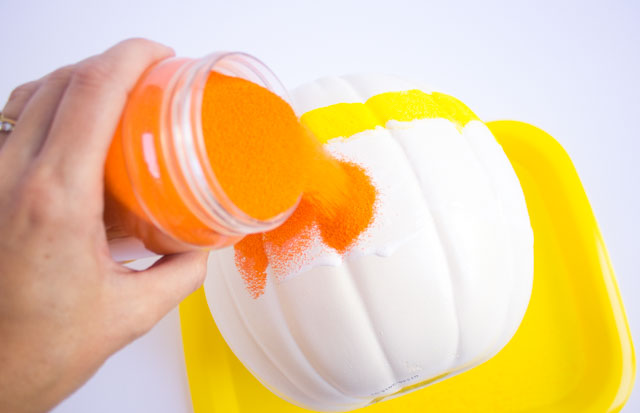
Start a horizontal band of Mod Podge around the pumpkin using a foam brush. You’ll want to work from top to bottom, so start this first band where you want the highest point of sand. Add a good amount of Mod Podge but not so much that it drips.
Step 2: Sprinkle on sand
Place the pumpkin on a craft tray and then pour sand over the area with Mod Podge, tapping the pumpkin on the tray to catch the excess. That way you can prevent a huge mess, and also reuse the sand! This is a good activity for outside, especially if kids are involved. 😉
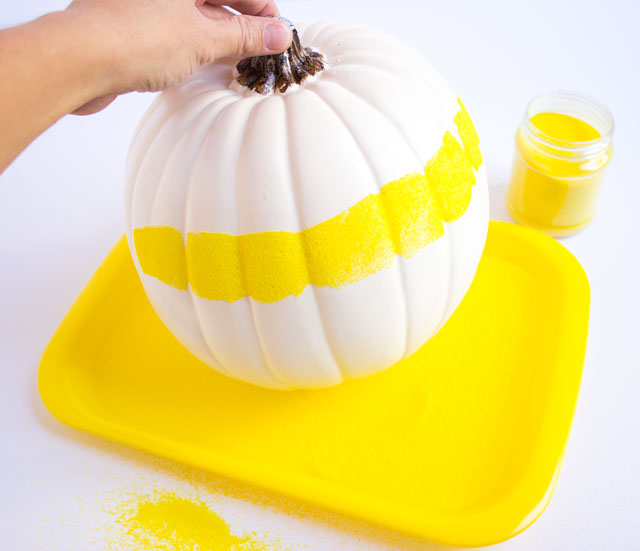
Add more Mod Podge if needed to wrap the band all around the pumpkin, and pour on more sand.
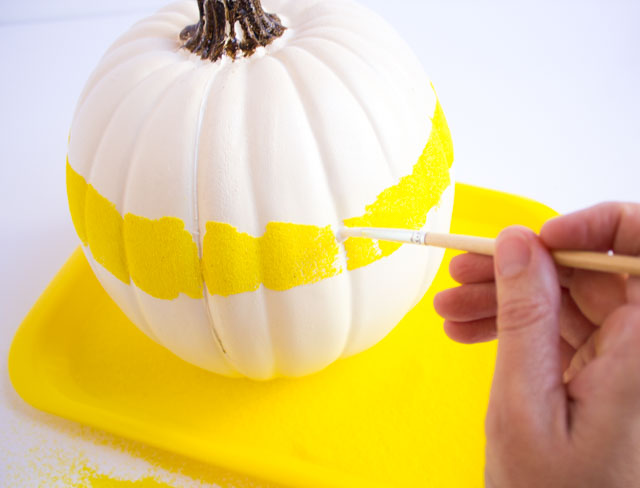
Step 3: Fill any gaps
If needed, use a small brush to add Mod Podge to any crevices that didn’t get covered with sand.
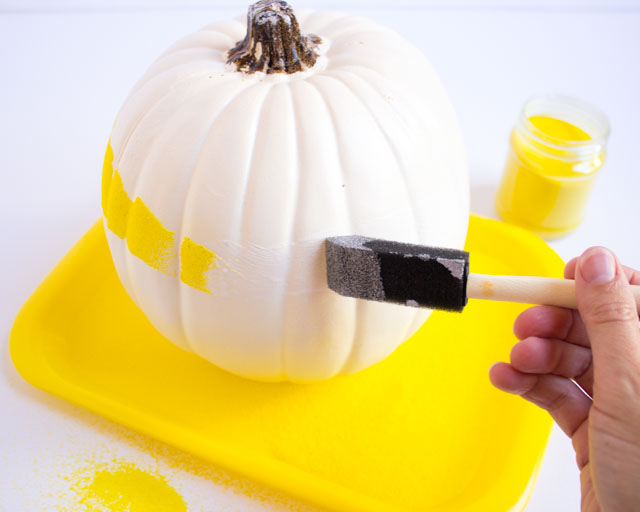
Step 4: Repeat steps to create more bands of color
Start another layer of Mod Podge directly below the first and cover with a different color of sand. Make each band as wide as you want. Repeat until you have created all the bands of color you want!
These pumpkins are best for keeping indoors. The sand will stay on well as long as handle them with care!
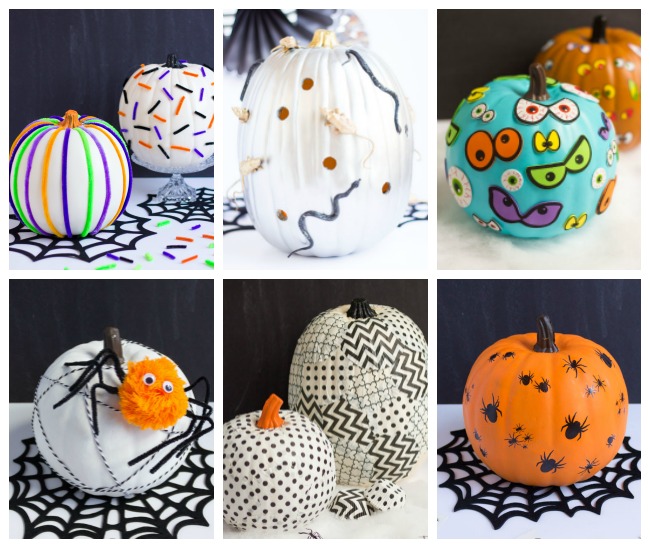
Like these sand art pumpkins?
Then don’t miss my other pumpkin decorating ideas!