DIY Paper Doily Flowers
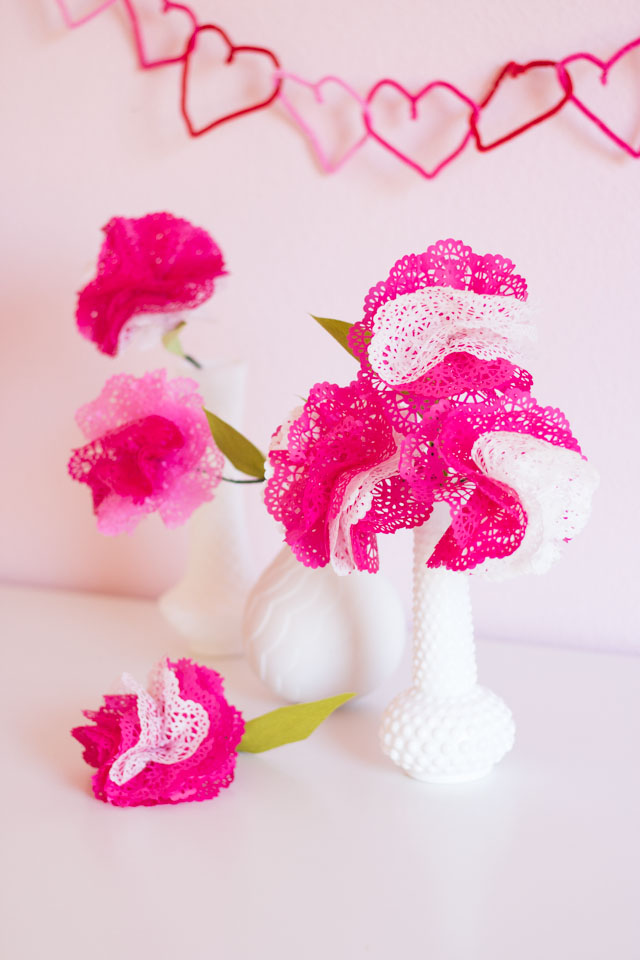
DIY Paper Doily Flowers
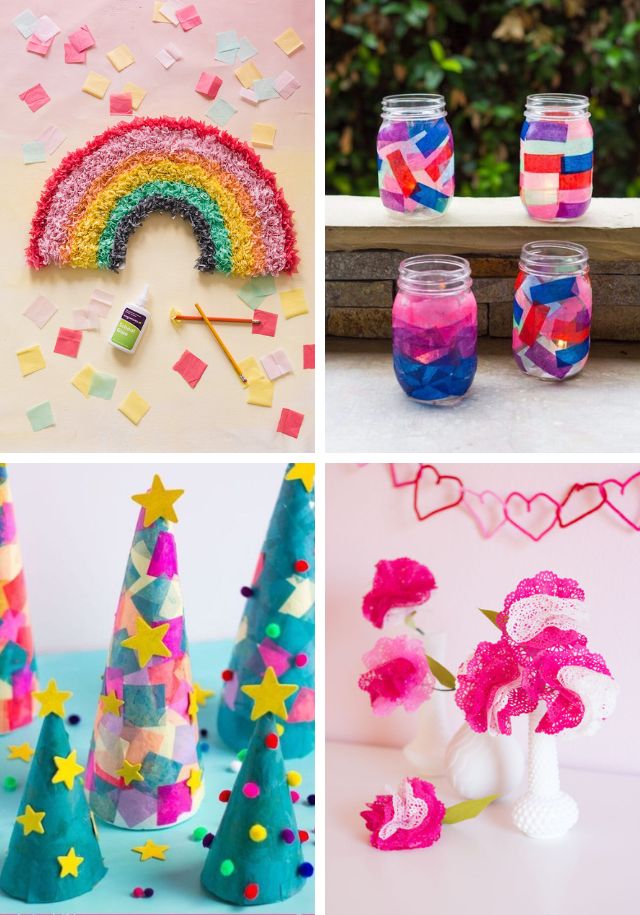
Introducing my DIY paper doily flowers! I love paper flowers. I love that they last forever – like these giant paper roses I made over 3 years ago that are still on my desk! They can be as colorful and creative as you want – like these cupcake wrapper flowers I made for a fiesta party. So when the folks at Martha Stewart sent me their new doily punch, I knew exactly what I wanted to make with it. Flowers!
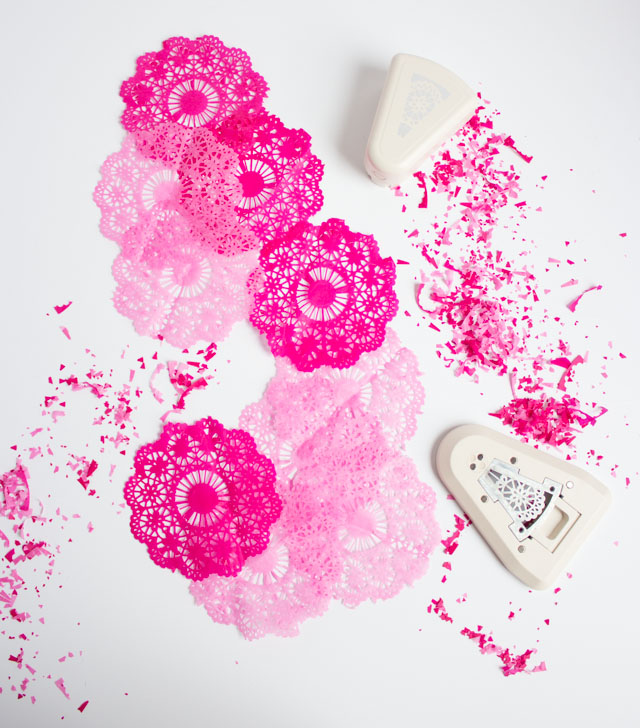
These delicate flowers are just doilies punched from tissue paper! However, you could always use lightweight paper doilies for the same results. Head to the dollar store to find some inexpensive paper doilies.
I was amazed that the Martha Stewart doily punch could make such an intricate pattern with just a few punches. There are so many possibilities for incorporating these doilies into projects!
This post contains affiliate links. See our full disclosure.
Supplies for DIY Paper Doily Flowers
- Doily Punch (or pre-made paper doilies)
- Hot pink tissue paper
- White tissue paper
- 20 gauge stem wire
- Floral tape
- Double-sided crepe paper
- Darning / thick needle with pointed end
How to Make Paper Doily Flowers
Step 1. If you are making your own doilies with the doily punch, here are a couple tips:
- I recommend punching through several layers of tissue paper at once. I was able to punch through 8 layers of tissue paper by taking 4 sheets and folding them over.
- The punch can be a little finicky with the delicate tissue paper. My preferred method for punching is on the floor, sitting up on my knees. I find it is easier than sitting at the table!
- Make sure the tissue paper is lying flat to get a clean punch through all the layers.
- If the punch doesn’t cut through all the layers perfectly, don’t fret. You can trim the doilies a bit and any imperfections won’t show once they are in flower form!
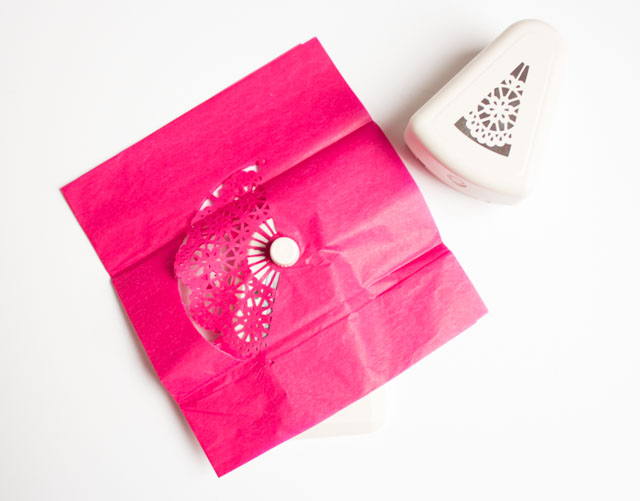
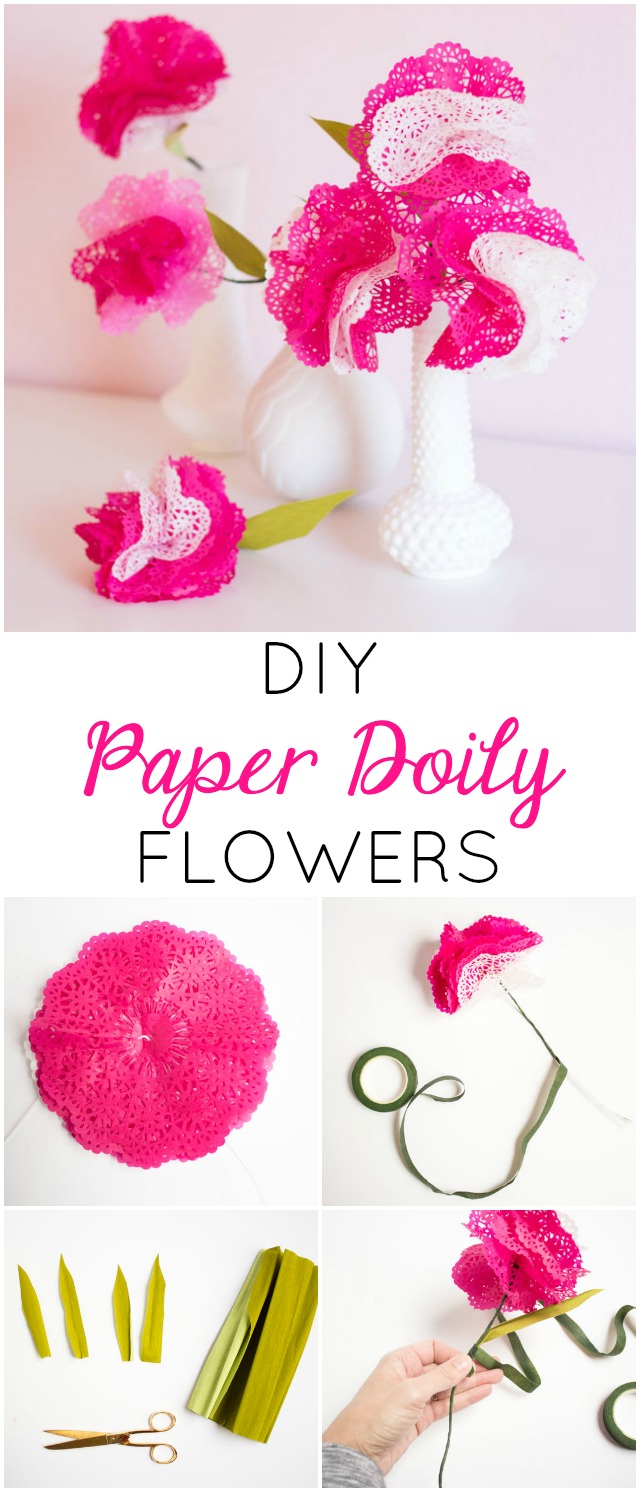
Step 2: Make 6 doilies per flower
Continue punching out as many doilies as you want. I used 6 doilies per flower but you can vary the amount to achieve the thickness of flower that you want.
Step 3: Assemble flower
To make a flower, stack 6 doilies on top of each other. I tried out different combinations such as 4 pink doilies and 2 white doilies. Then use a thick needle to poke two holes through the center of the doilies. This is where the floral wire will thread though to hold the doilies together.
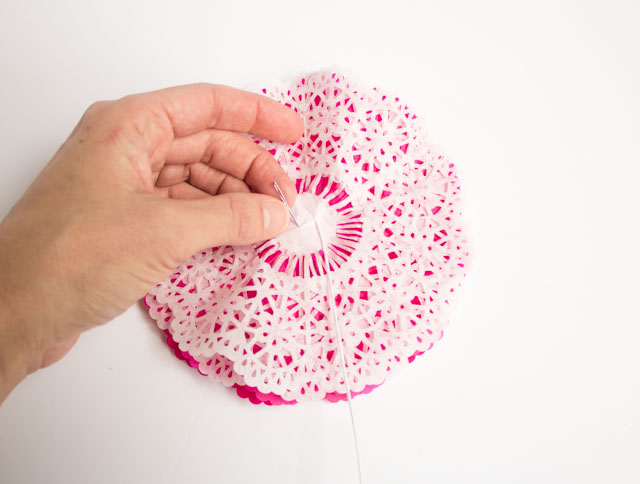
Step 4: Thread floral wire through flower
Thread a piece of floral stem wire through the holes. I used a very thin wire (22 gauge I believe!) because that is what I had on hand. You can use thicker wire as long as it bends easily. Carefully pull the floral wire through until the flower is positioned in the middle of the floral wire.
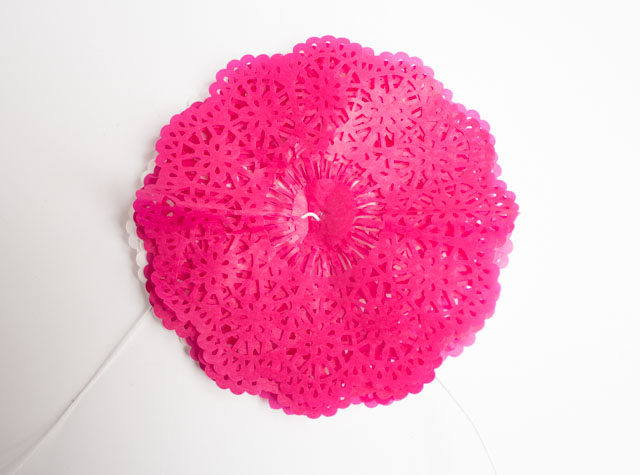
Step 5: Wrap wire with floral tape
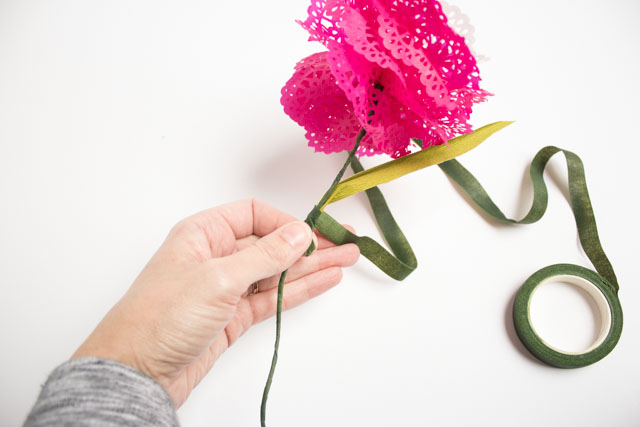
Bring the two ends of the floral wire together and pinch the doilies at the base to form the flower. Take your floral tape and start wrapping it tightly around the base of the flower, working down the floral wire. You want to pull tight and pinch as you work down the floral wire. If you haven’t used floral wire and floral tape before, it just takes a couple practice tries to get the feel for it!
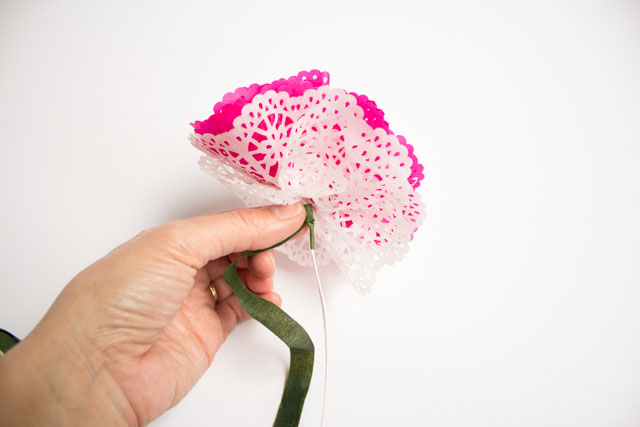
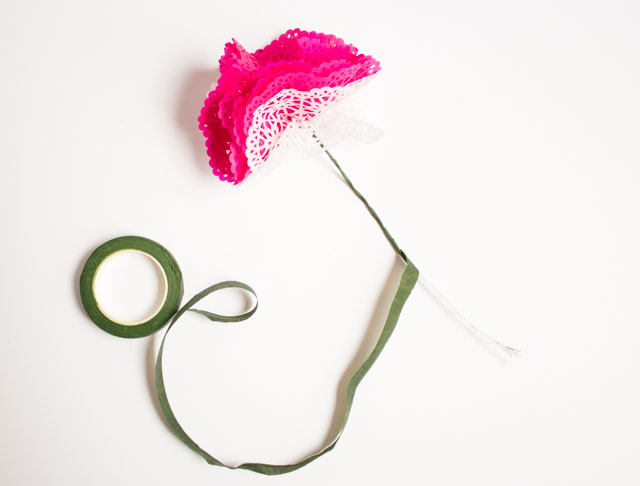
Keep wrapping the floral tape all the way down the end of the doubled up floral wire and trim.
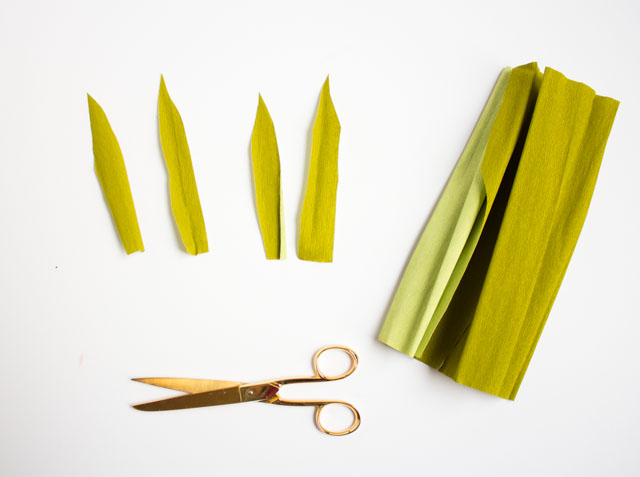
Step 6: Cut leaves from double-sided crepe paper
Step 7: Attach leaves to stem
Add the leaf by wrapping it around the floral wire stem and securing it in place by wrapping it tightly with more floral tape. You have your first flower! Once you get the hang of it, you’ll be able to assemble these flowers in just a few minutes a piece.
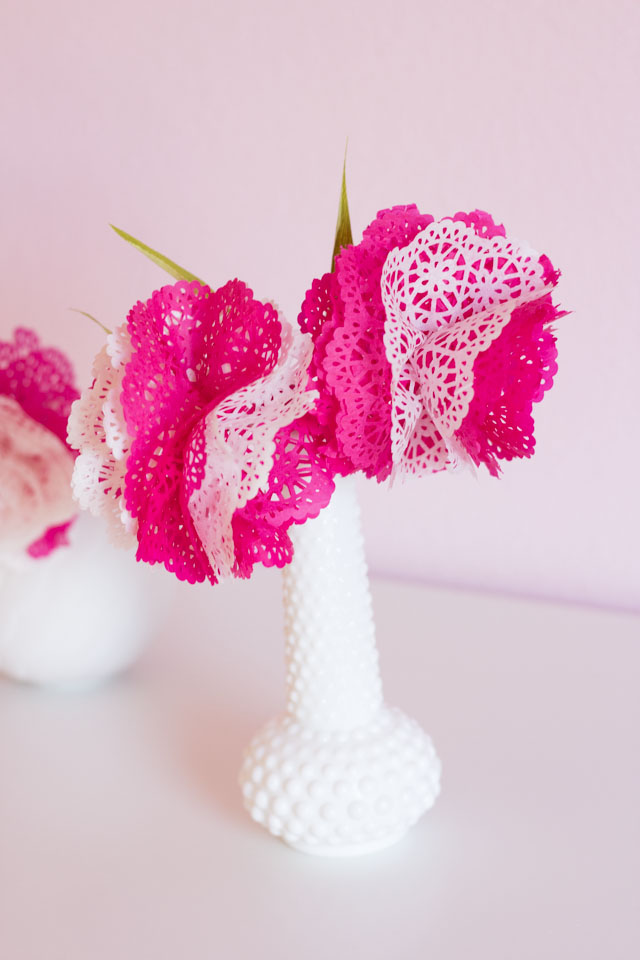
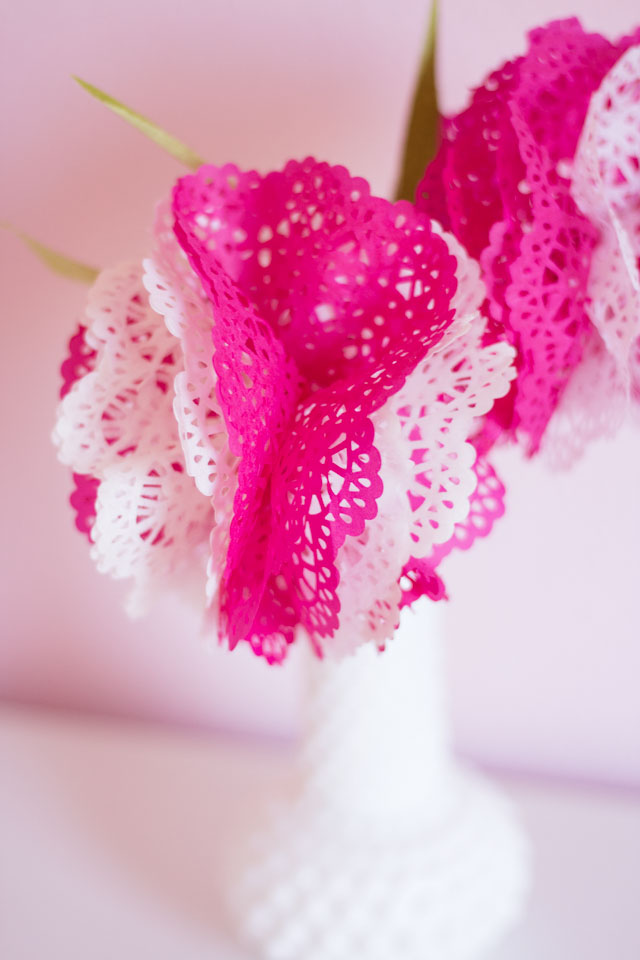
These would be such a pretty Valentine’s Day gift. I know I’m looking forward to enjoying these in my office for years to come!
Like these paper doily flowers?
Then don’t miss my top ideas for heart doily crafts!
This post is sponsored by Martha Stewart Omnimedia as part of the 12 Months of Martha program.






One Comment