DIY Glitter Ball Ornaments

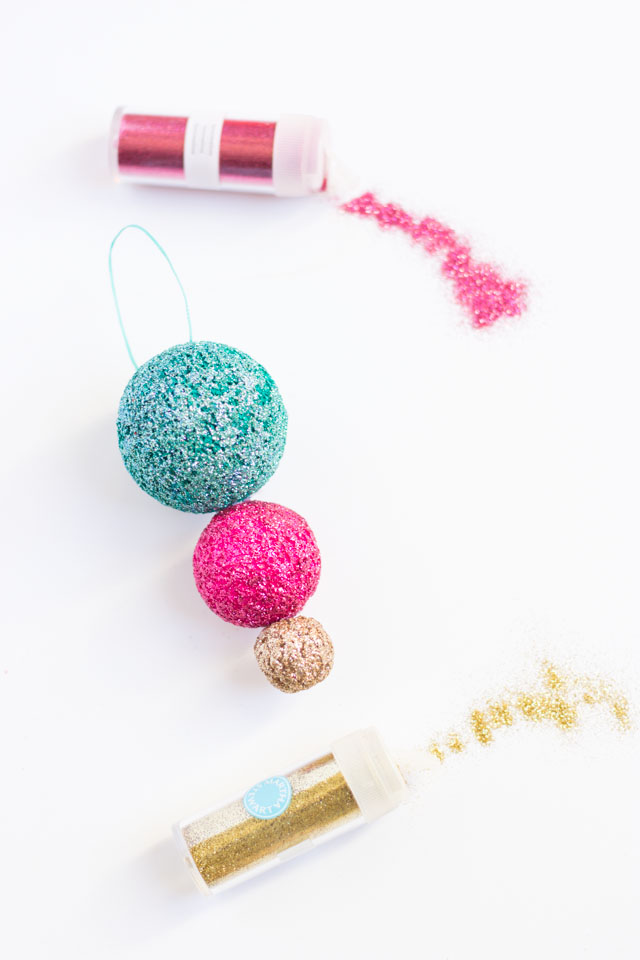
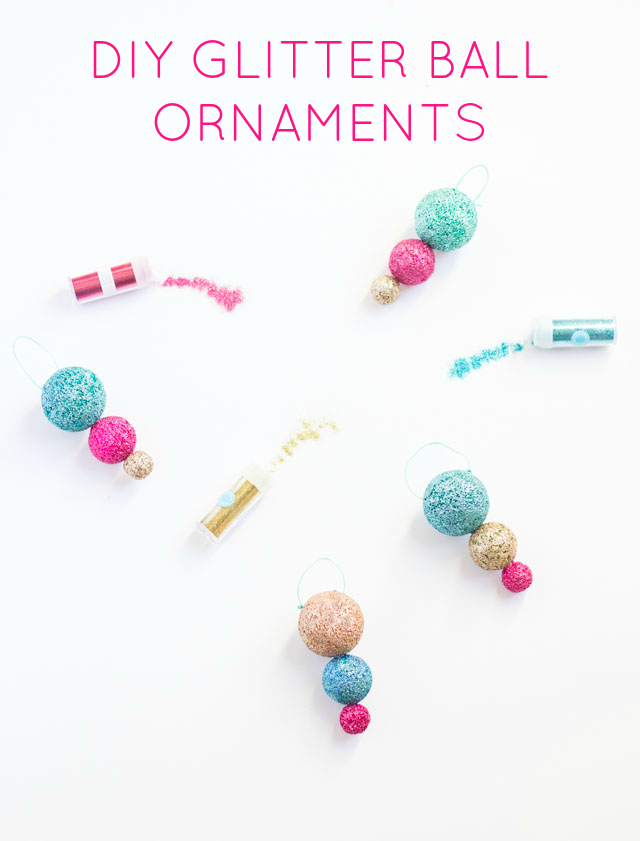
These pretty pendant shaped ornaments look expensive but they are just styrofoam balls covered with glitter – so easy, and so much better than store-bought!

This post contains affiliate links. See my full disclosure.
This is a fun project if your tree could use a bit more sparkle. Read on for instructions!
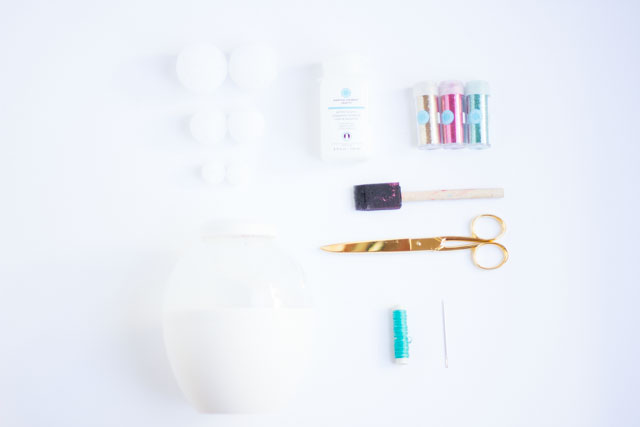
Supplies for Glitter Ball Ornaments
- Styrofoam balls in varying sizes (I used 2 inch, 1.5 inch, and 1 inch, balls)
- Martha Stewart Crafts glitter
- Mod Podge
- Small brush
- Thick thread
- Darning needle
- Hot glue
How to Make the Ornaments
1. Apply an even layer of glitter glue around the ball with your brush. Then drop it in the glitter shaker and sprinkle in a generous amount of glitter.
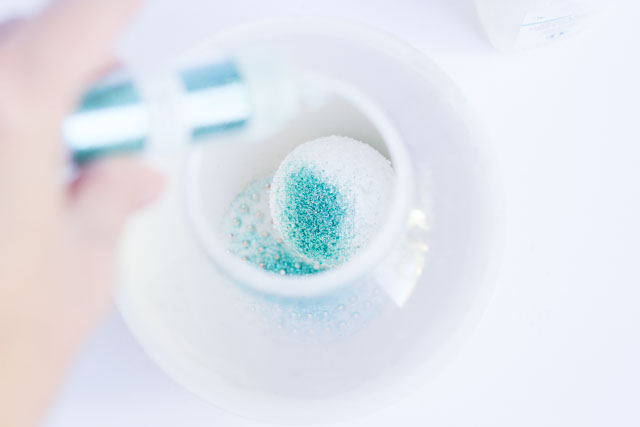
2. Put the lid on (tight!) and give it a good shake. Add more glitter if needed to fully cover the styrofoam ball. If you don’t use the glitter shaker, I would recommend having a paper plate under your ball when sprinkling it with glitter. Then you can fold up the plate and pour the excess glitter back into the jar! Repeat with different sizes of balls and different colors of glitter.
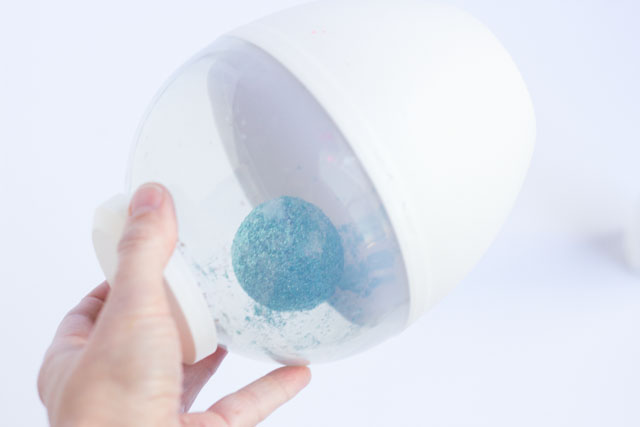
3. Let the glitter and glue dry on the balls completely. Once dry, you can either string 3 balls together (large, medium, small), or attach them with a dab of hot glue, which is what I did!
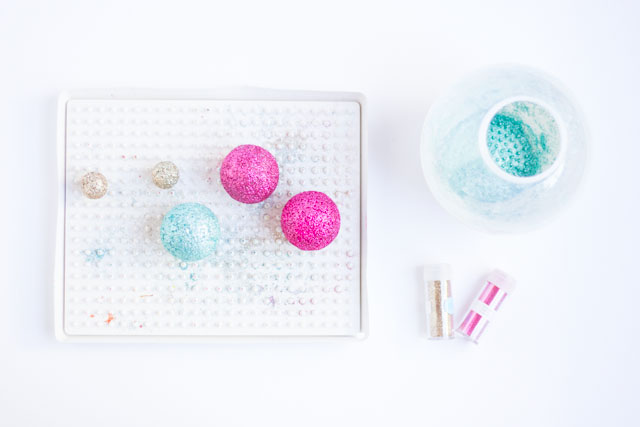
4. Create a string to hang them with by threading a darning needle and running it through the top of the large ball. Tie your string in a knot to create a loop and cut off any excess.

These really pick up the lights on the tree and shimmer so nicely at night!

I’m Like this DIY ornament idea? Then don’t miss all my other easy Christmas projects!
This post is sponsored by Martha Stewart Omnimedia as part of the 12 Months of Martha. All content and opinions are my own.

