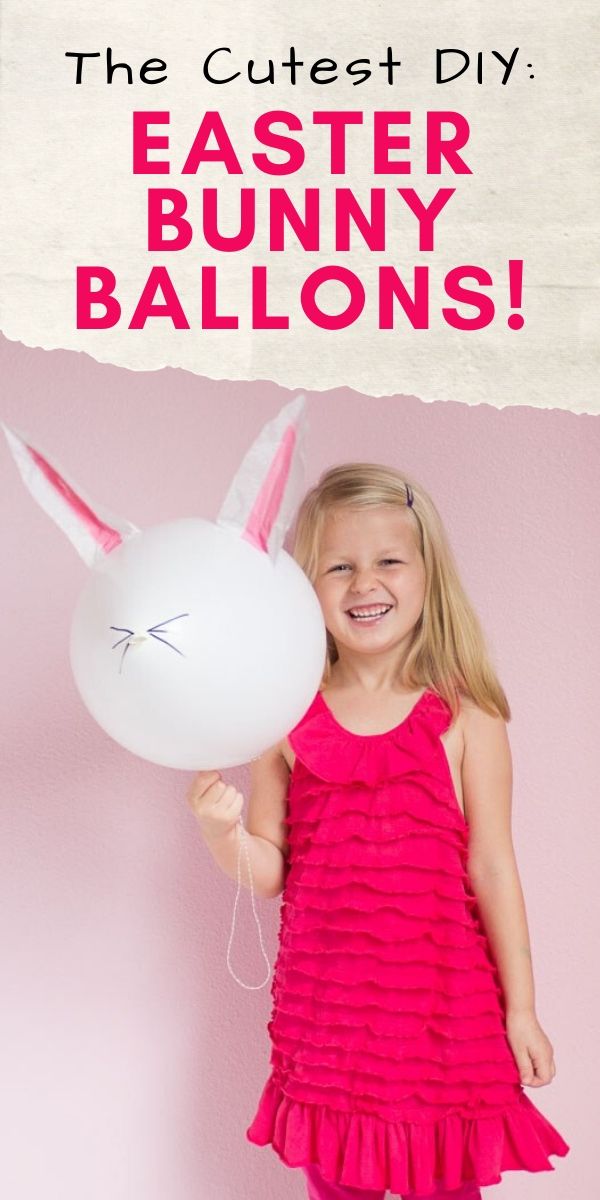
The Cutest DIY Easter Bunny Balloons!
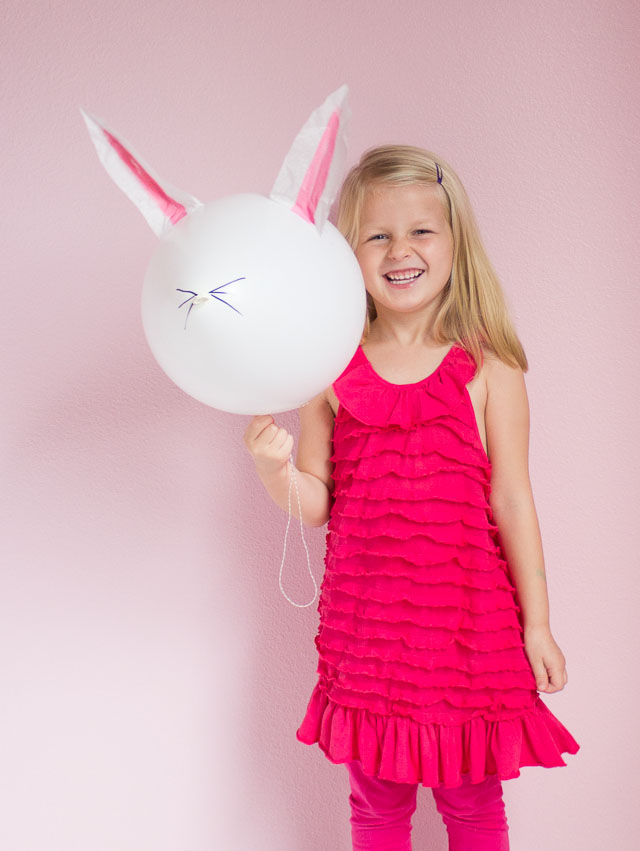
You didn’t think I would let Easter come and go without its own balloon DIY did you?!
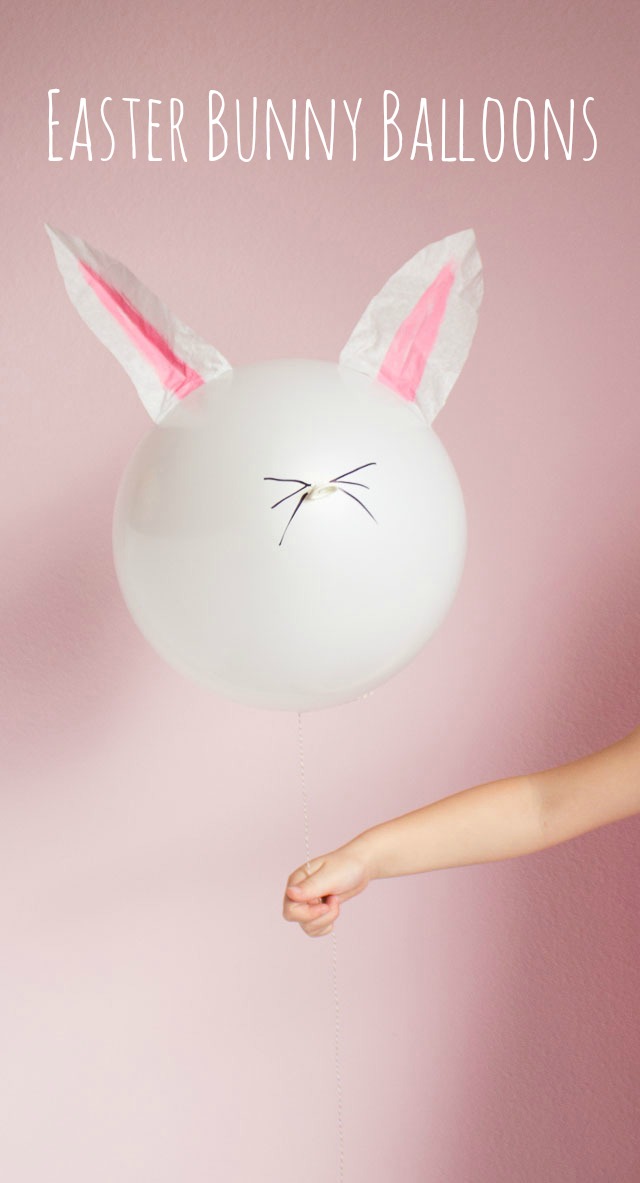
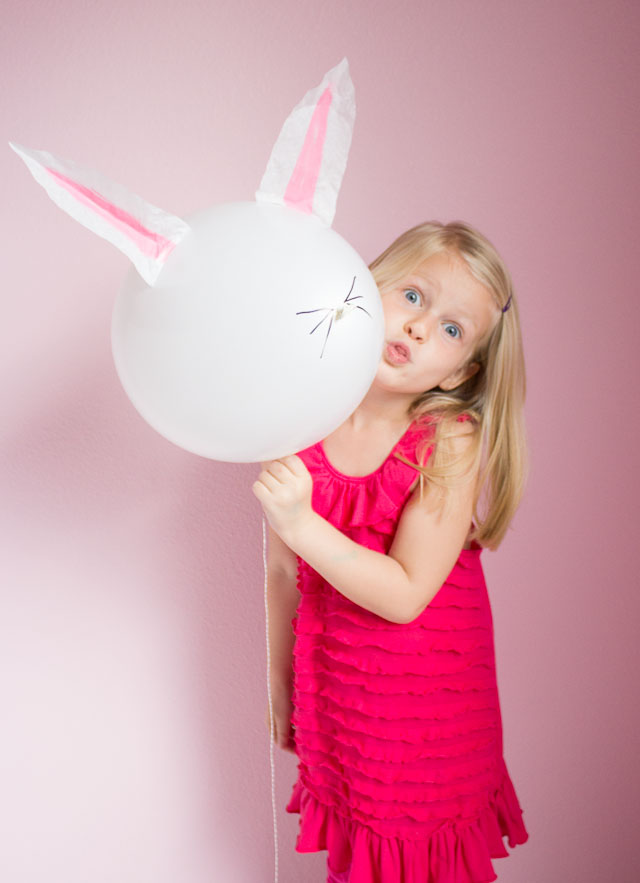
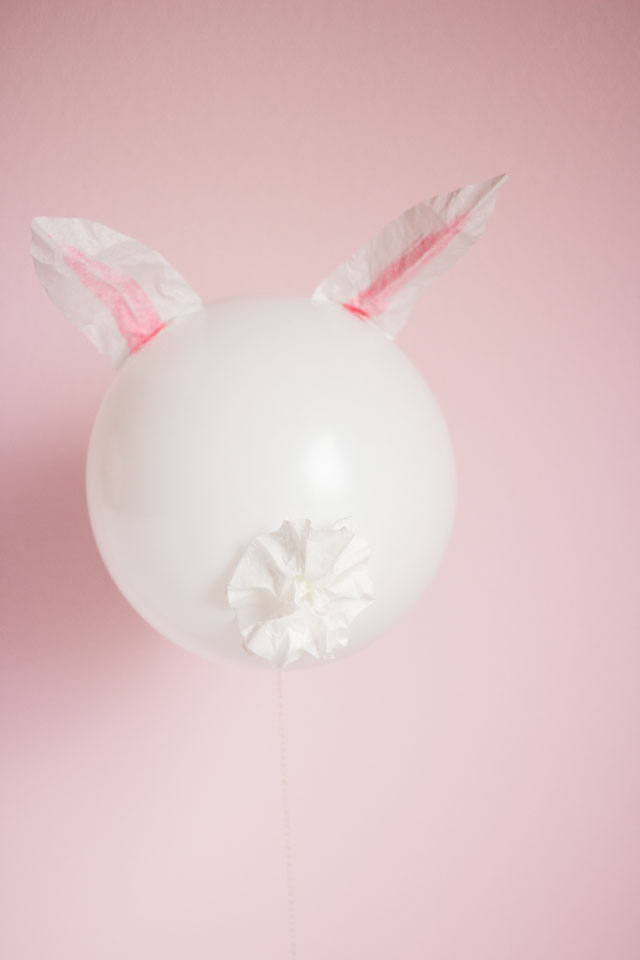
These little bunny balloons with their fluffy tails look just as cute from the back as the front!
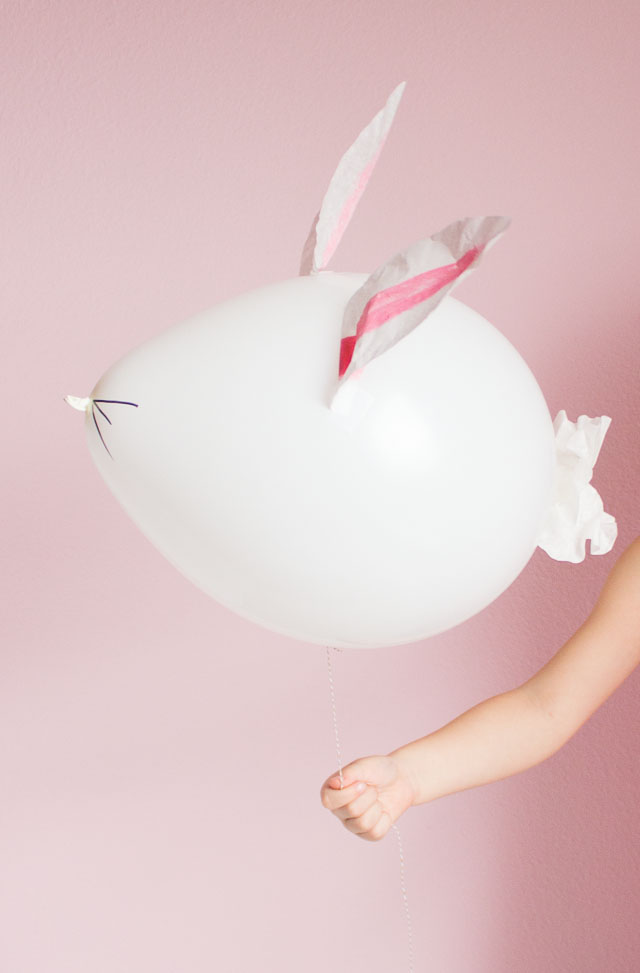
They look pretty silly from the side too! All you need are some helium balloons and coffee filters. Yep, coffee filters – they make the perfect lightweight floppy ears and fluffy tail!
This post contains affiliate links. See my full disclosure.
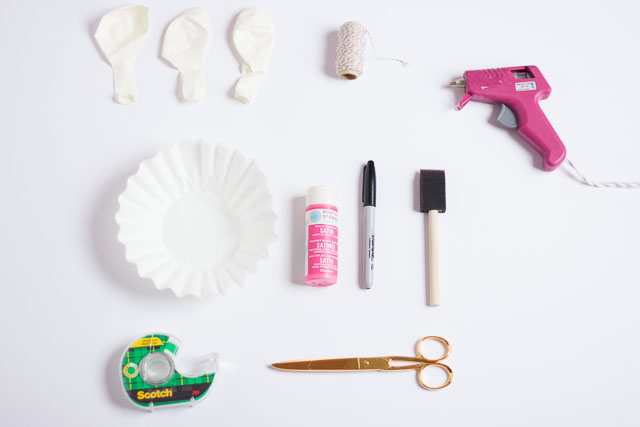
Supplies for DIY Easter Bunny Balloons
- 12″ white helium balloons
- Coffee filters
- Pink paint (you can also use a pink marker or crayon to color the ears)
- Foam brush
- Sharpie
- Tape
- Hot glue gun
How to Make Bunny Balloons
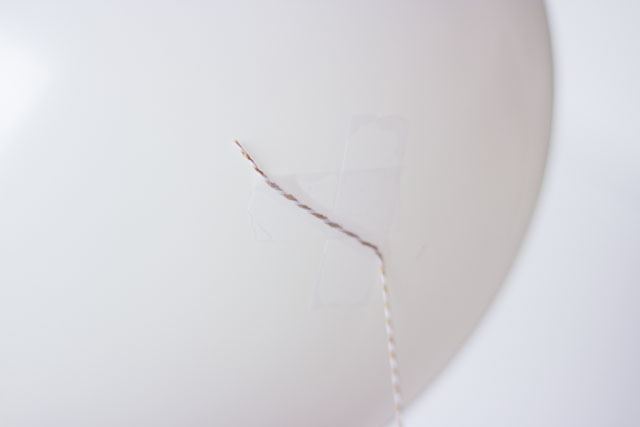
Step 1. Inflate your balloons with helium using a personal tank or at your local party store. If you want the balloons to last longer than 4-6 hours, have the party store add Hi-Float to the balloons. Once inflated, securely tape a string onto the underside of the balloon with two pieces of clear tape.
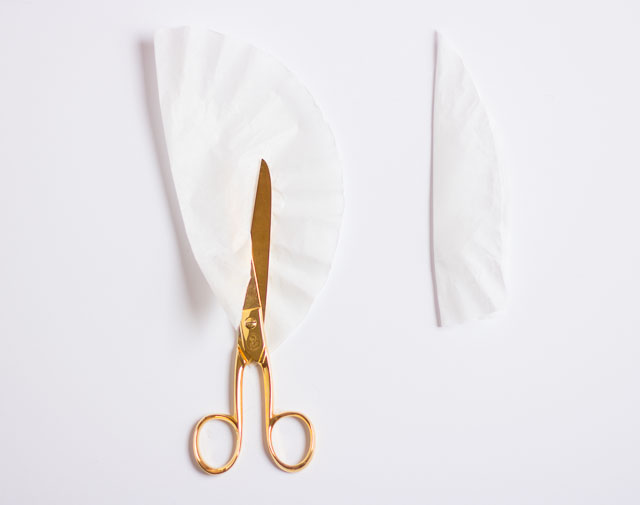
Step 2. Fold a coffee filter in half and cut out an ear shape. Repeat for a second ear.
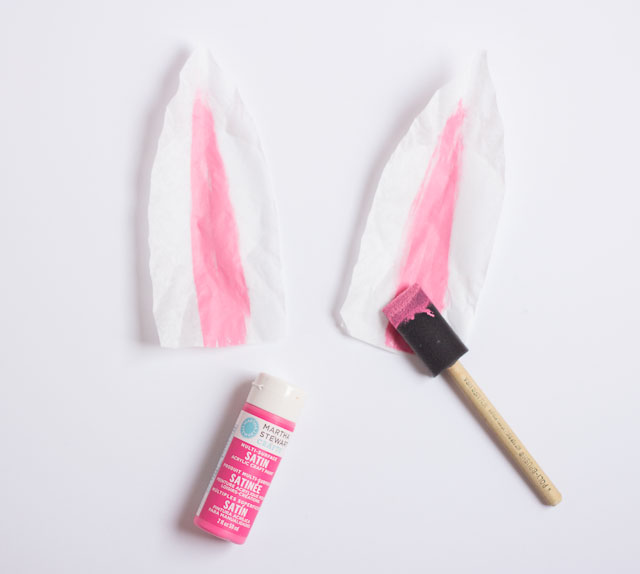
Step 3. Unfold the ears and add a little pink paint (or marker or crayon) to the center. Once dry, tape to the top of the balloon by folding under 1/2 inch of each ear to form a little “tab” that you can tape onto the balloon. I used to small pieces of tape on the sides of the tab, and one in the front of the ear to help it stand upright.
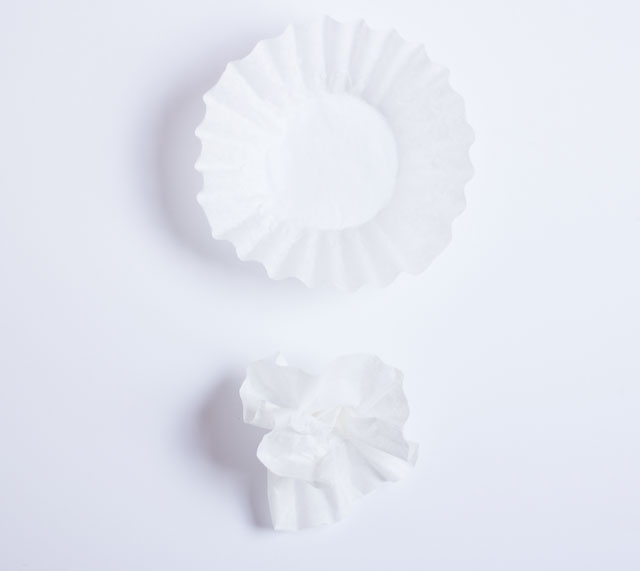
Step 4. Scrunch up a coffee filter to form the tail, add a small dab of hot glue and stick on the back of the balloon.
Step 5. Finish by drawing on some whiskers with a black Sharpie and you’re done!
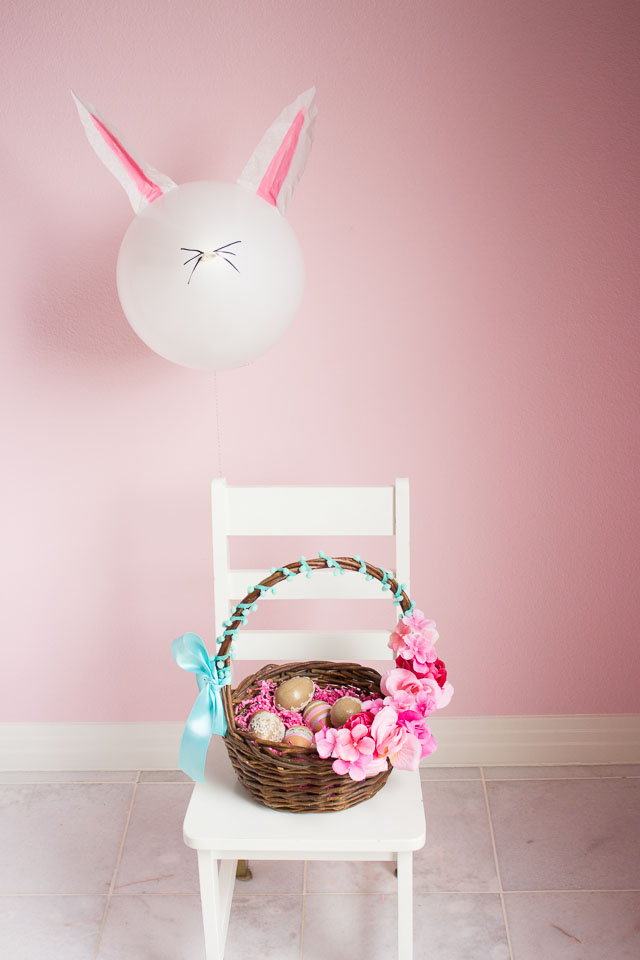
Wouldn’t these be fun paired with an Easter basket on Sunday morning? Warning, they may turn your kids extra silly! (This is what I get for pulling Stella away from her Legos to pose for a few photos for me!!)
