DIY Yarn Embroidered Desk Accessories
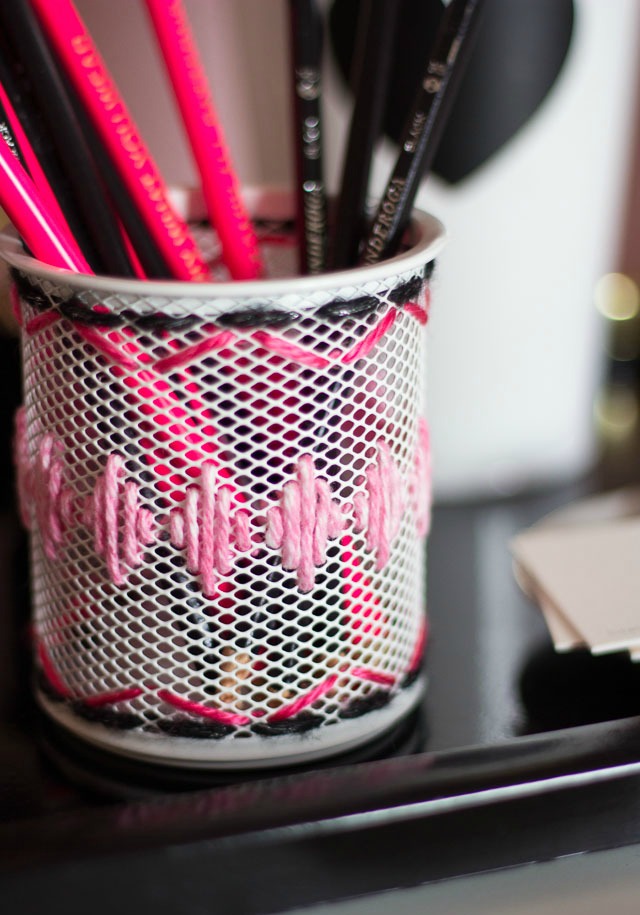
Yarn Embroidered Desk Accessories
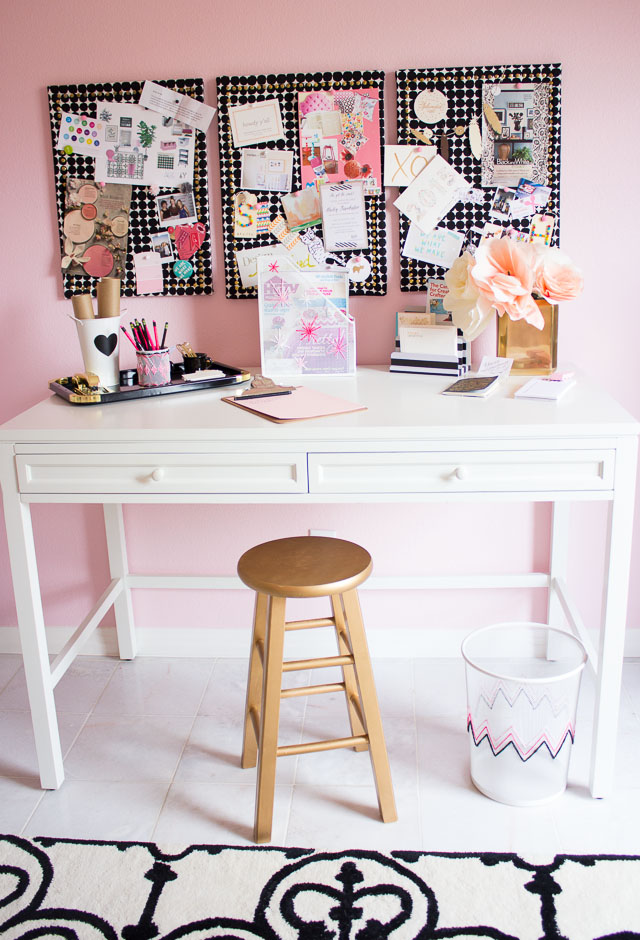
Introducing my DIY yarn embroidered office supplies! My office / craft room is my favorite 100 square feet in our home. Every time I step into it, no matter how messy it is, it makes me smile because it reflects all the things I love! From the pom-pom shadow boxes, to the pipe cleaner heart garlands, I’ve decorated with some of my favorite crafts. So when the The Container Store asked me along with a few of my favorite bloggers to dress up our desks for spring, I knew I wanted to make something that was very Design Improvised!
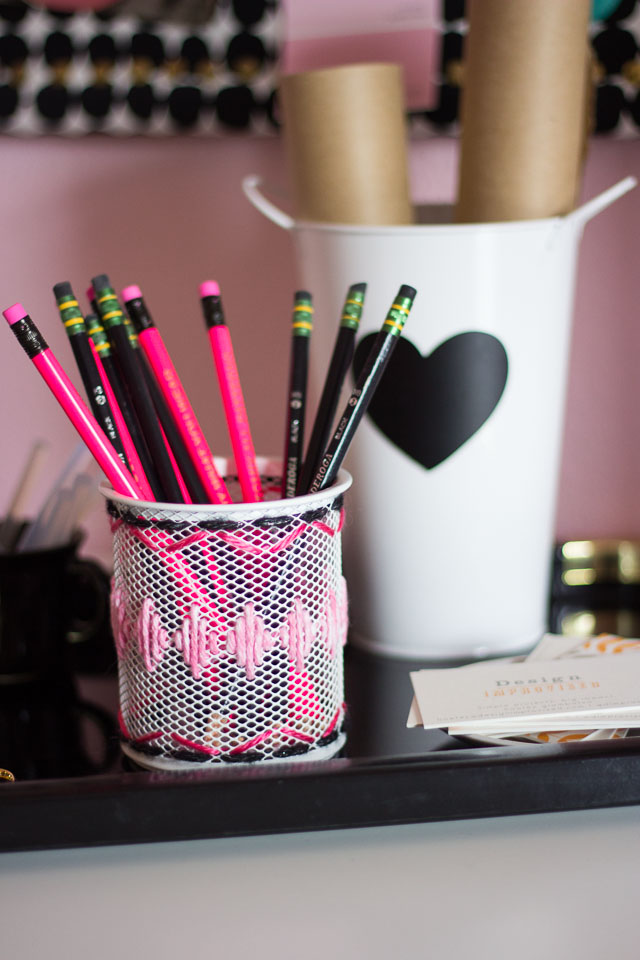
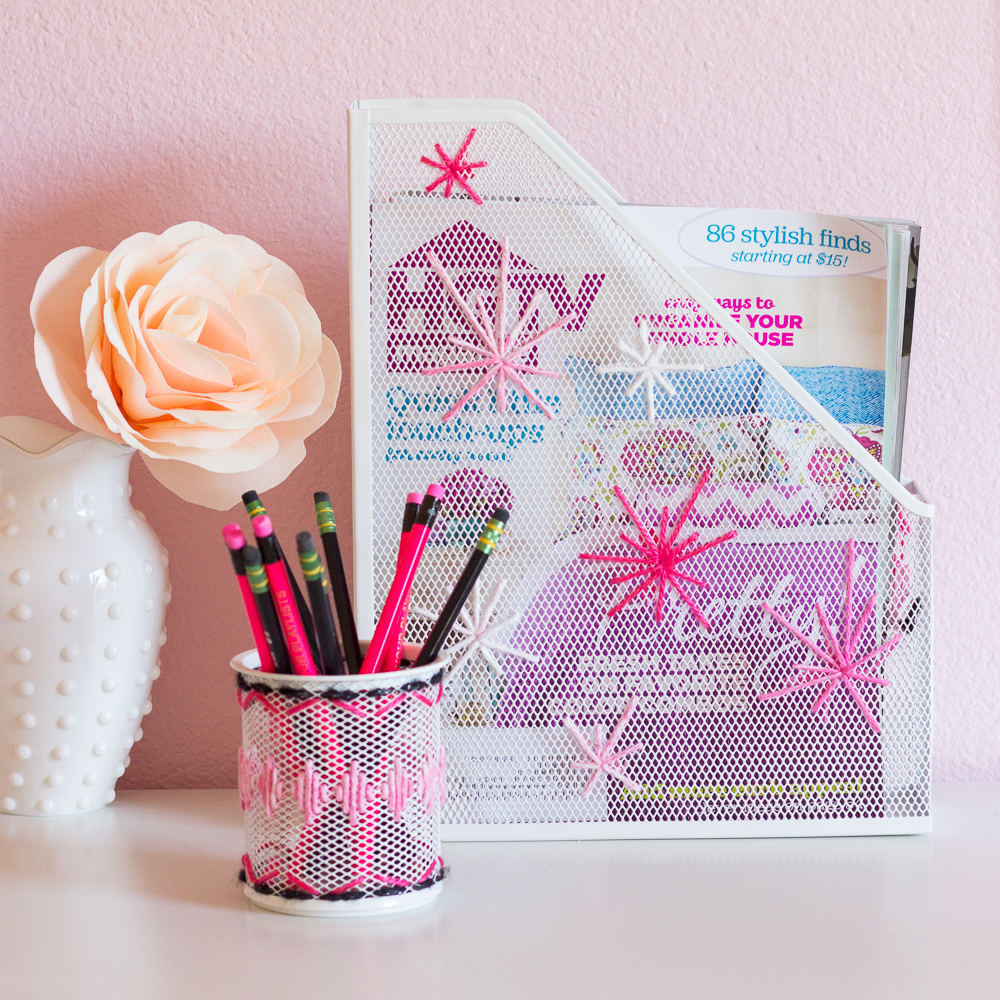
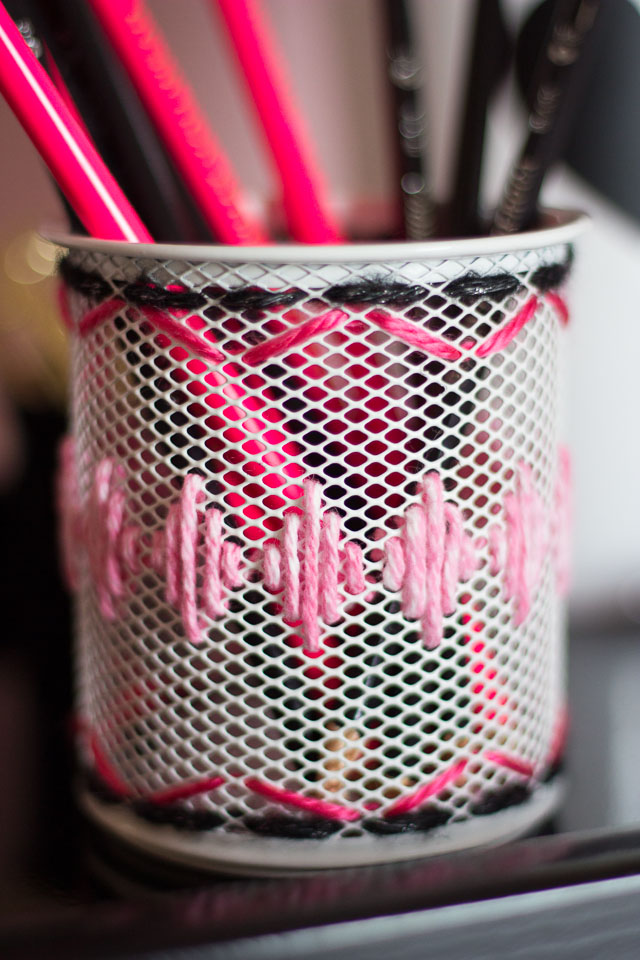
These yarn embroidered desk accessories are just that! Remember these baskets I embroidered with yarn last summer? Just like the baskets, these mesh desk accessories with their hundreds of little holes were calling out to me for a yarn makeover! I made a little desk set complete with a pencil cup, magazine file, and wastebasket. For each one I played around with some different types of stitches.
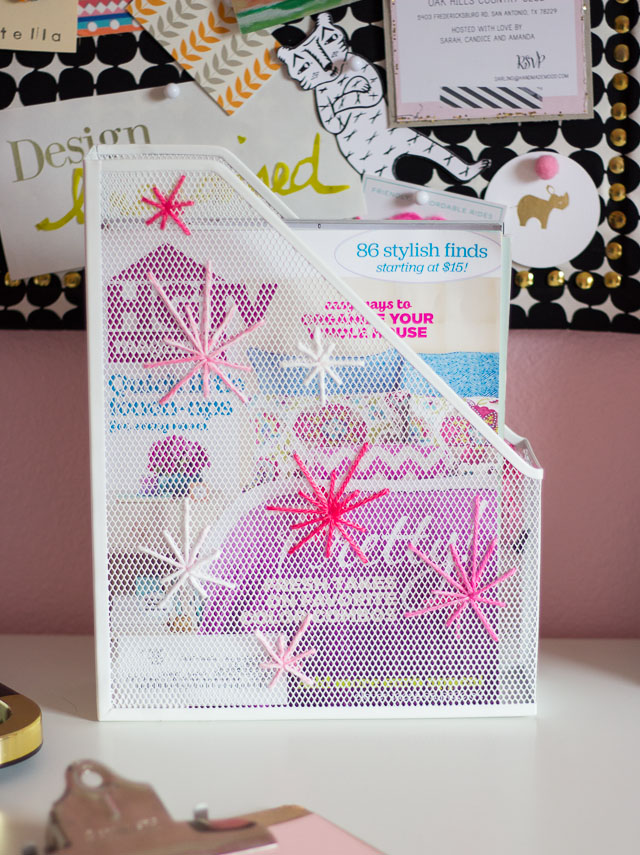
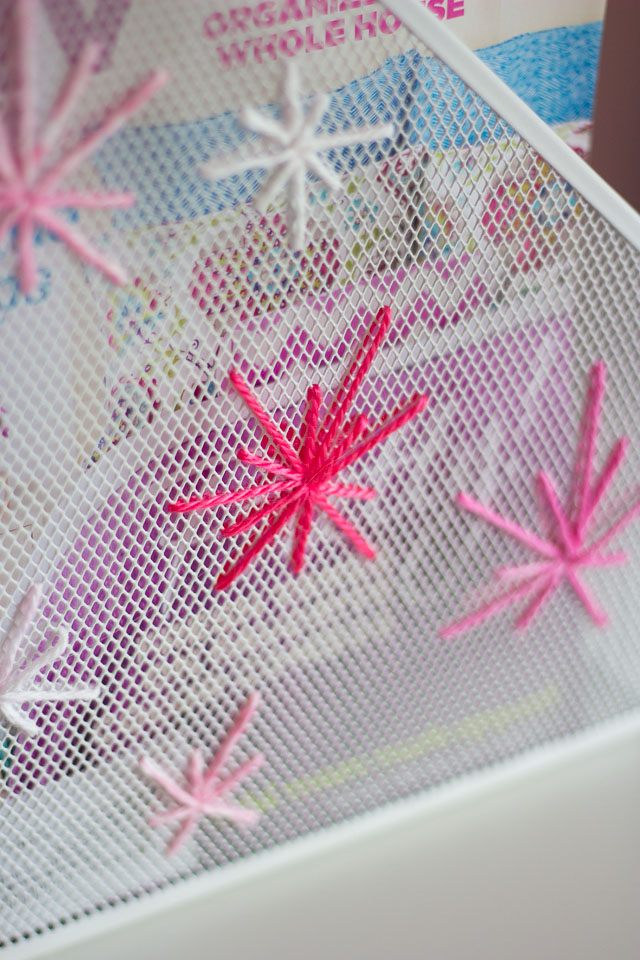
These little sunbursts might be my favorite! So easy and happy looking.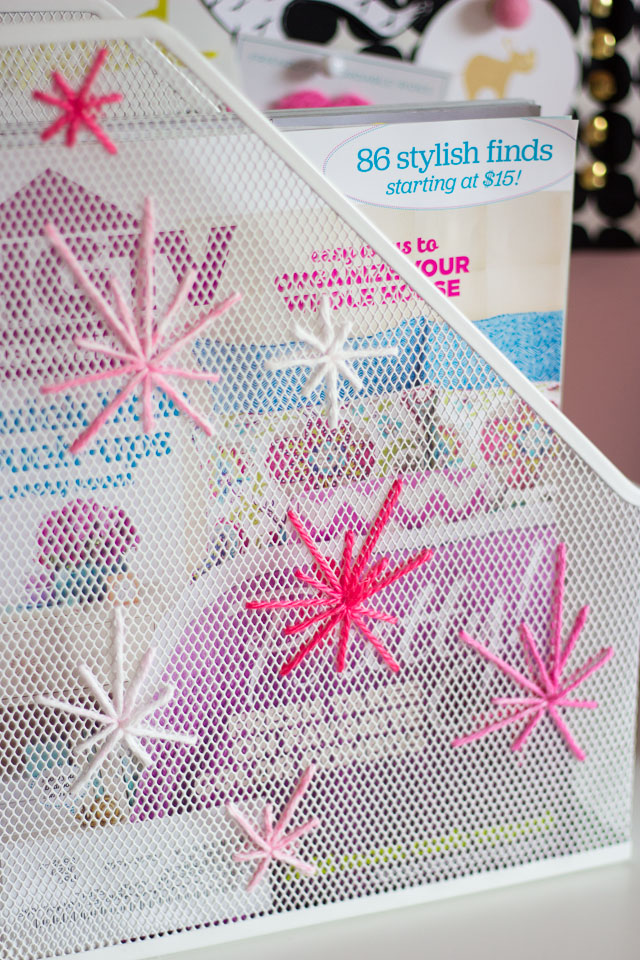
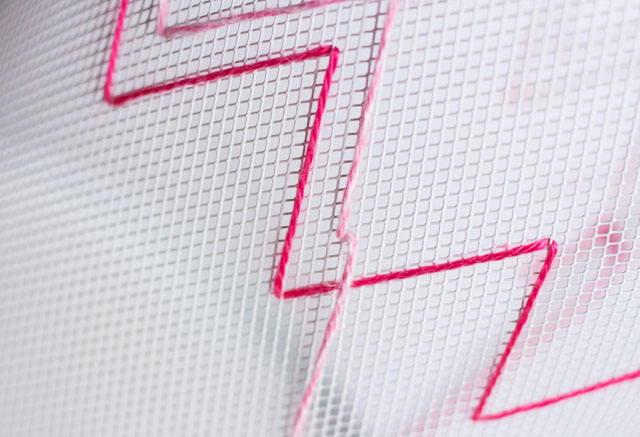
For the wastebasket, I made a simple zigzag pattern with three different colors of yarn.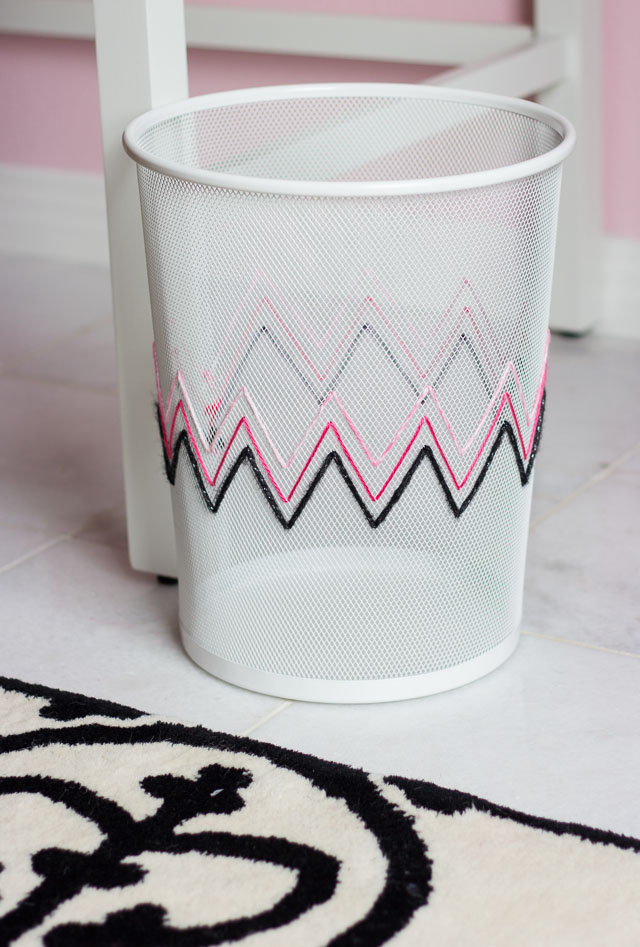
You can have fun playing around with different colors and thicknesses of yarn. For the stitches, I didn’t follow any guides, I just experimented and I recommend you do the same!
Supplies for DIY Yarn Embroidered Desk Accessories
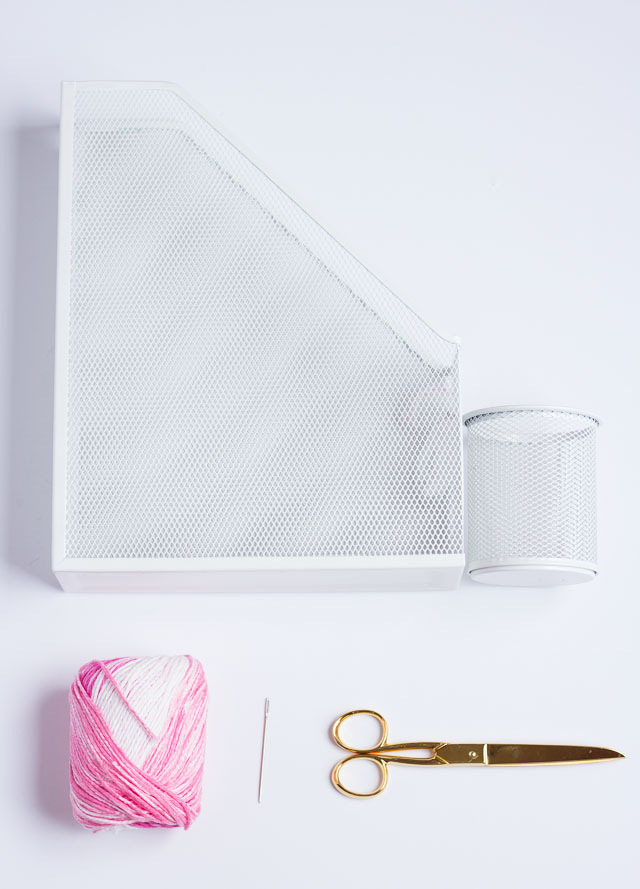
- The Container Store Mesh Collection
- Yarn
- Darning needle (choose one that is thin enough to go through the holes easily)
- Scissors
How to Make Yarn Embroidered Desk Accessories
Step 1. For the pencil cup I found the middle by counting down a vertical line of holes. I then started my design from the middle point of the cup.
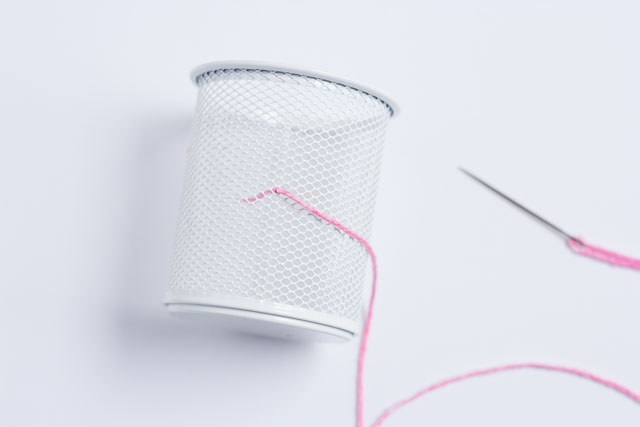
Step 2. I made a diamond pattern around the middle and then added a running stitch and zig zag around the top and bottom of the cup in different colors of yarn.
Step 3. For the magazine file sunbursts, I started in one hole and then made stitches at various lengths away from the center hole. I worked my way around in a circle and came back through the same center hole each time. If it becomes too hard to stick your need through the same hole, then you can use a hole right next to it. The main thing is that you want it to look like the stitches are all coming from a center point.
Step 4. For the zigzag, I really just eyeballed the first row (in hot pink) and then spaced the subsequent rows 4 holes higher than the previous row.
My new desk accessories are right at home in my pink office! There is really no wrong way to do make these, so just have fun customizing them for your own space. If you’re skilled at needlepoint, you can probably come up with some much more impressive designs than I did. These just scratch the surface!
