Thrifty DIY: Wine Cork Vases
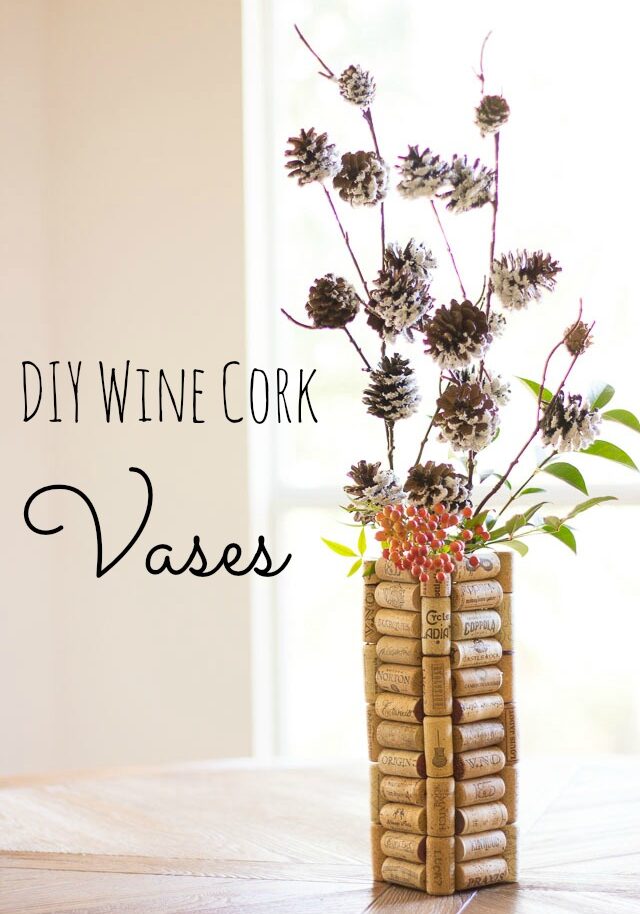
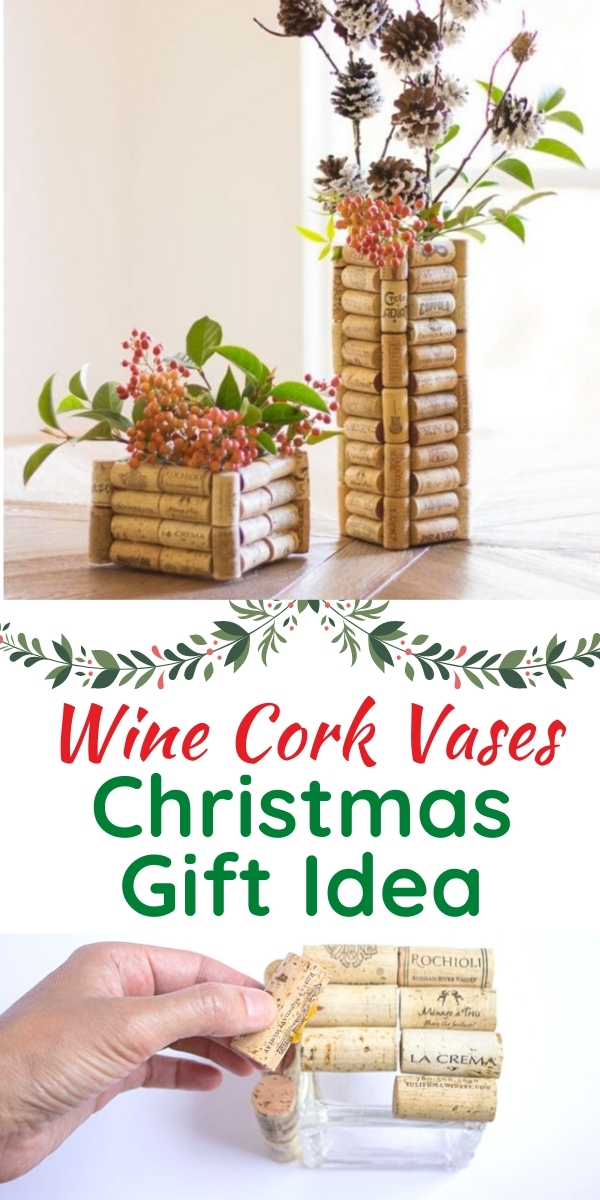
These wine cork vases are this month’s Thrifty DIY. Not only do they use florist vases found at my local Goodwill, but they also put to use all those wine corks you’ve been saving! For about $2 (and a considerable consumption of wine) you can make these vases in time for the holidays. Need wine corks fast? You can purchase recycled wine corks!
This post contains affiliate links. See my full disclosure.
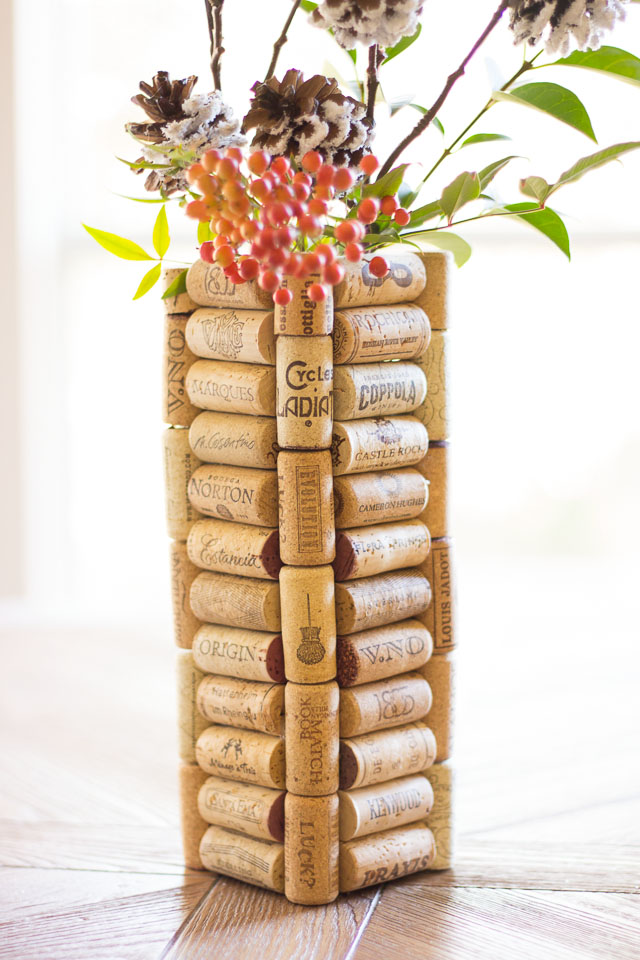
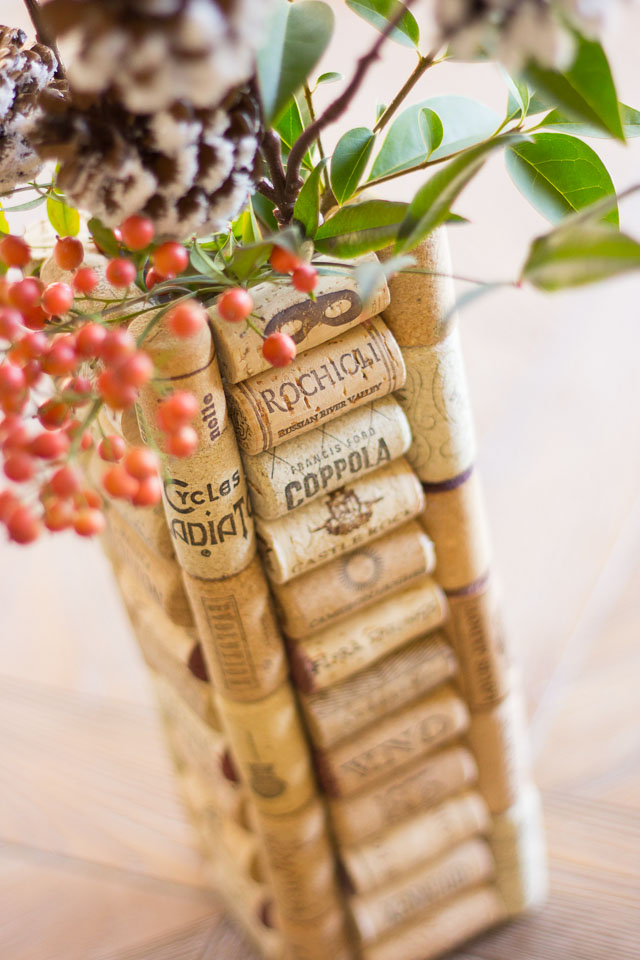
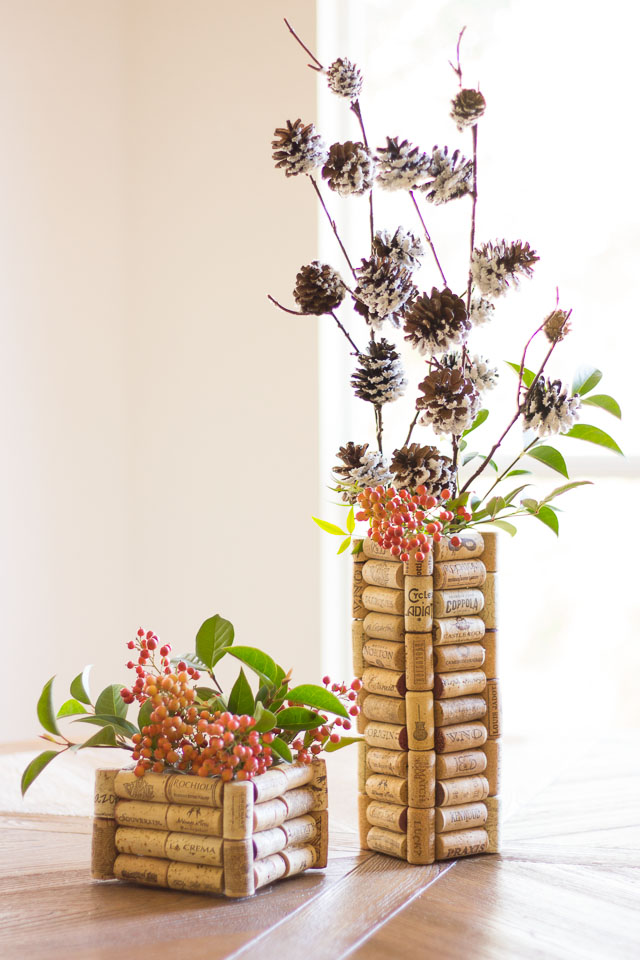
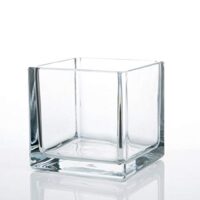
These vases can be made from any cube or rectangular shaped glass vessel. I made this tall one out of a bud vase and about 70 corks. I also made a smaller version from a square florist vase and 40 corks.
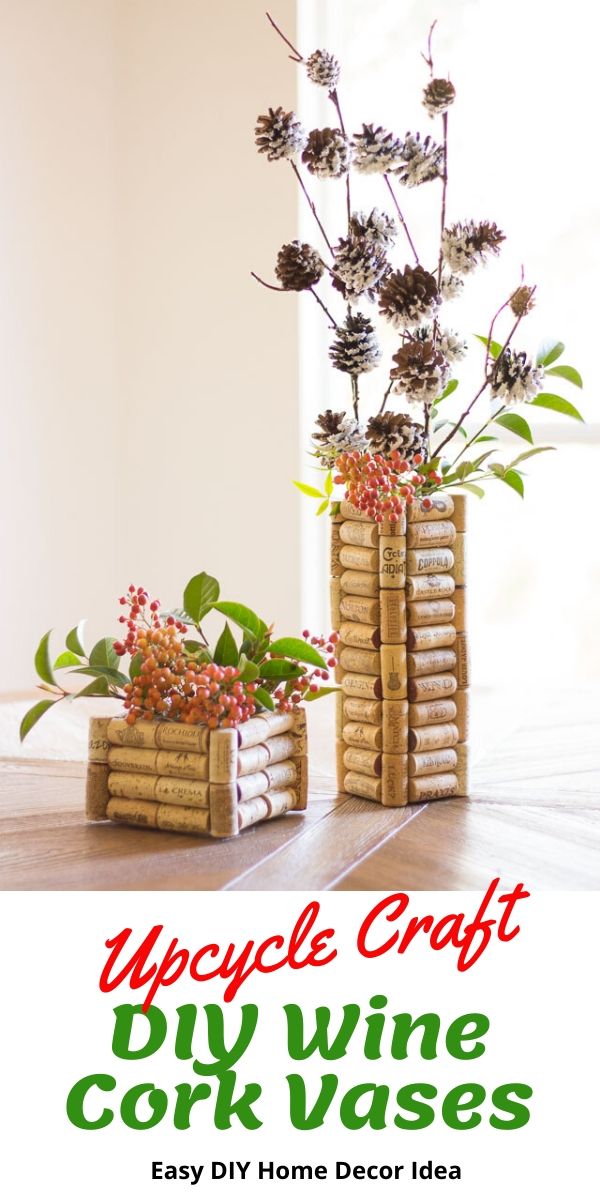
I’m always looking for a way to use my ever-growing wine cork collection, so I was excited that these were so easy to make! I think they would make for a really nice gift. So start rounding up your corks, head to your local Goodwill for some glass vases for $1 a piece and let’s get to work!
Supplies for Wine Cork Vases
- Cube shaped glass florist vases (bud vases work great!)
- Lots of wine corks (expect to need 40-70 per vase, depending on its size). Skip the rubber corks for this project – they don’t look as nice as the real thing
- Heavy duty craft glue like E6000
- (Optional) Knife to cut corks
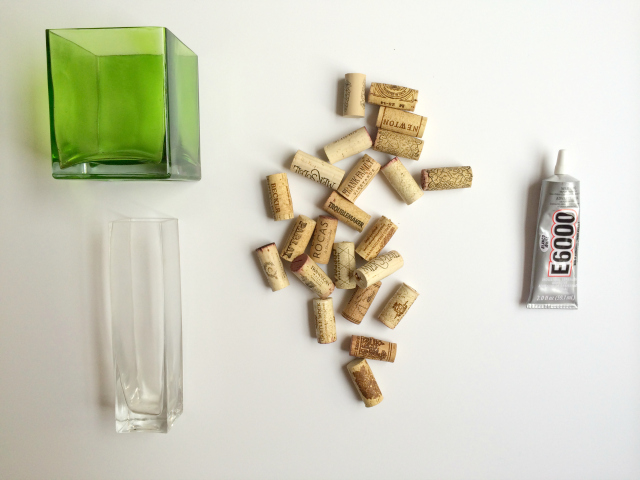
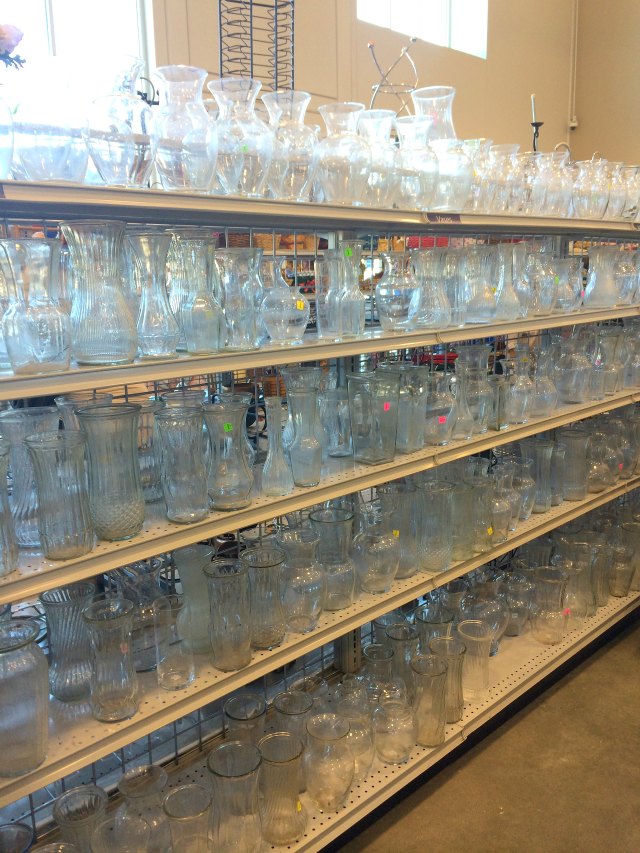
There is no shortage of glass vases at the Goodwill – the DIY possibilities are endless!
How to Make Wine Cork Vases
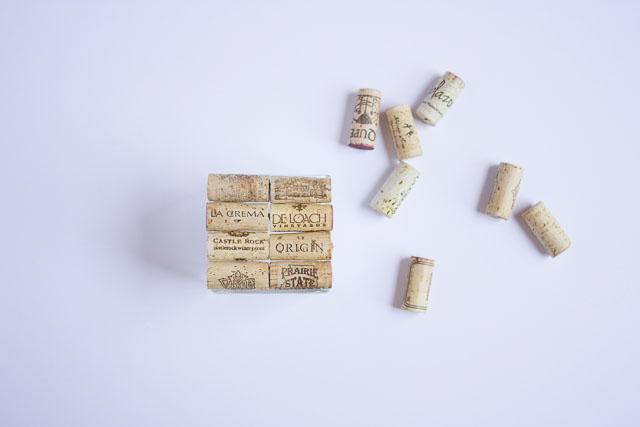
Step 1. Arrange corks on one side of the vase
You’ll want to look for corks of similar lengths to make the vase look best. Start by laying them out on one side of your vase until you find a mix that looks relatively uniform in size. This particular square vase fit two columns of corks perfectly. Depending on the width of your vase, you may have to trim some corks with a knife.
Step 2. Glue corks to vase
Start gluing the corks on one side of the vase by adding a good dab of glue (but not too much that it oozes out!) to the back side of the cork. Hold in place for a few seconds before moving on to the next cork. You can move the corks around slightly so that they are evenly positioned on the vase and all flush together while the glue is still wet. Let one side dry completely before moving on to the next side.
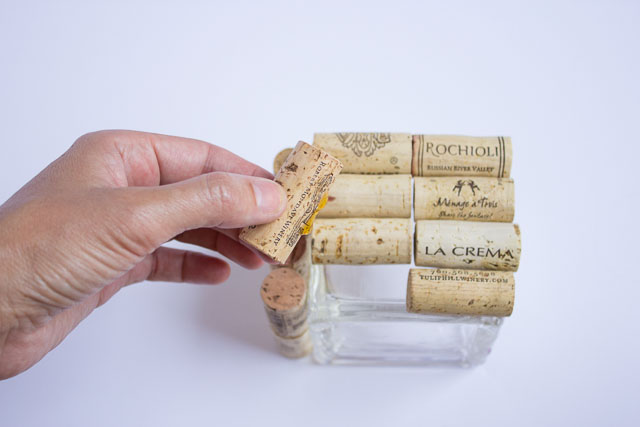
Step 3. Add corks to the vase corners
Finish the vase by gluing corks vertically down the side. I saved my thicker corks for the sides. You’ll find that there are some corks that are wider around and slightly shorter than others. These are the ones that work great for the sides! I cut a cork in half and added it to the top of each side to fit the vase properly.
Like this thrifty wine cork craft? Then don’t miss these other fun thrift store makeovers – all using items found at my local Goodwill!
This post was written in support of the Goodwill San Antonio. All content and opinions are my own.
Wine Cork Vases (PRINTABLE INSTRUCTIONS)
Make these wine cork vases using recycled corks and thrift store vases. A thrifty DIY that makes a perfect gift!
Instructions
- Select corks that are similar in size and line up the amount you will need to cover one side of your vase.
- Add each cork to the vase with a generous amount of glue on the back. Hold in place for a few seconds until it sets. Continue adding corks until you have covered one side of your vase. Let dry completely before moving onto the next side.
- Once you have covered the sides of the vase with corks, add a vertical row of corks along each corner of the vase.
Notes
Head to your local thrift store to find vases for $1-$2 a piece! Restaurants may also be a great source for free recycled wine corks.
Recommended Products
As an Amazon Associate and member of other affiliate programs, I earn from qualifying purchases.


Can you use a hot glue gun rather than the e6000 glue? If not, is e6000 the same as gorilla glue?
Hi Ellen, you can try hot glue, but I find that it doesn’t provide as permanent as a hold to glass as the other glues. The corks can pop off easily. I think gorilla glue and e6000 both work better.