Washi Tape Balloons
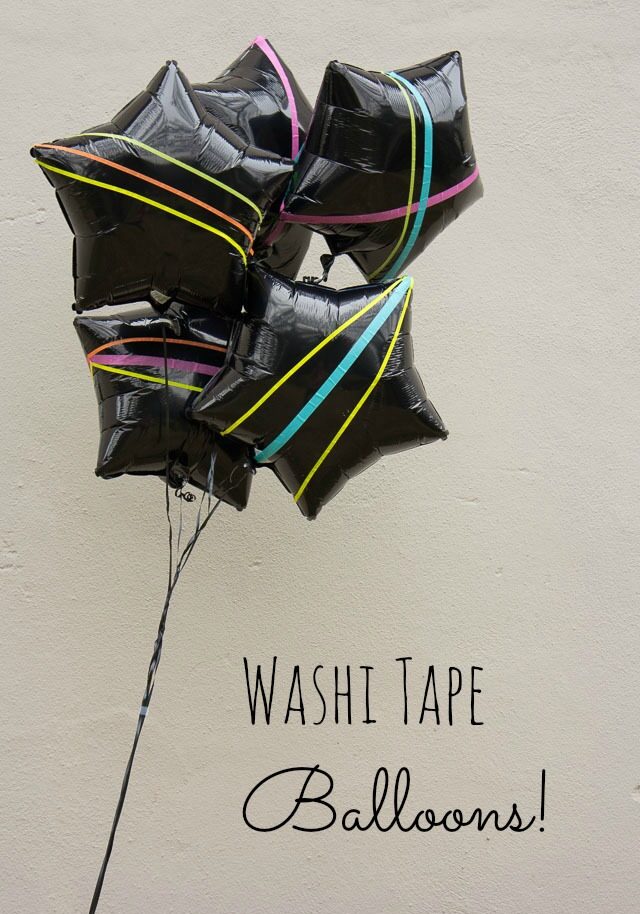
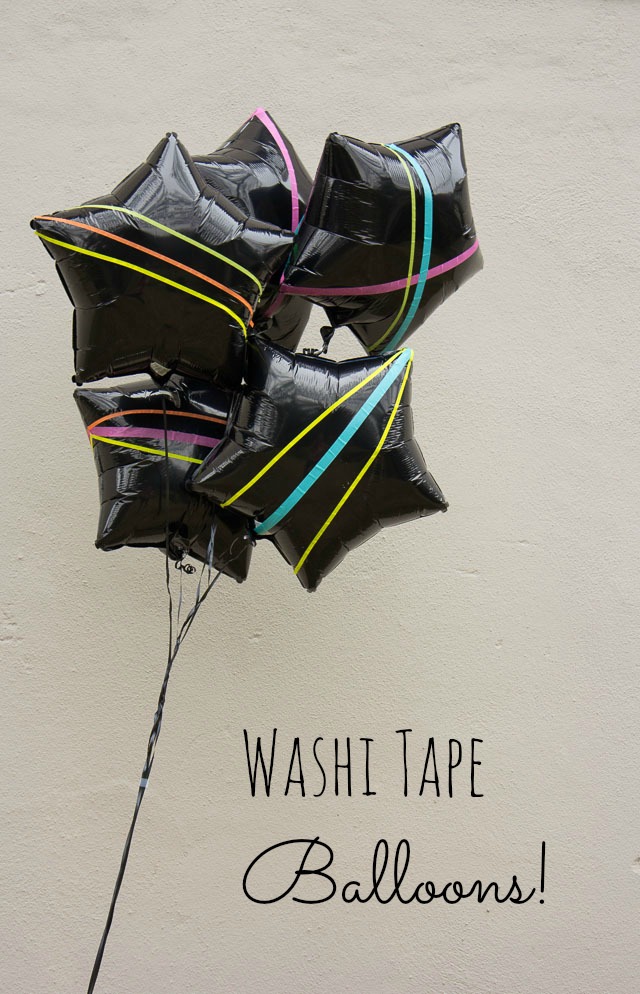
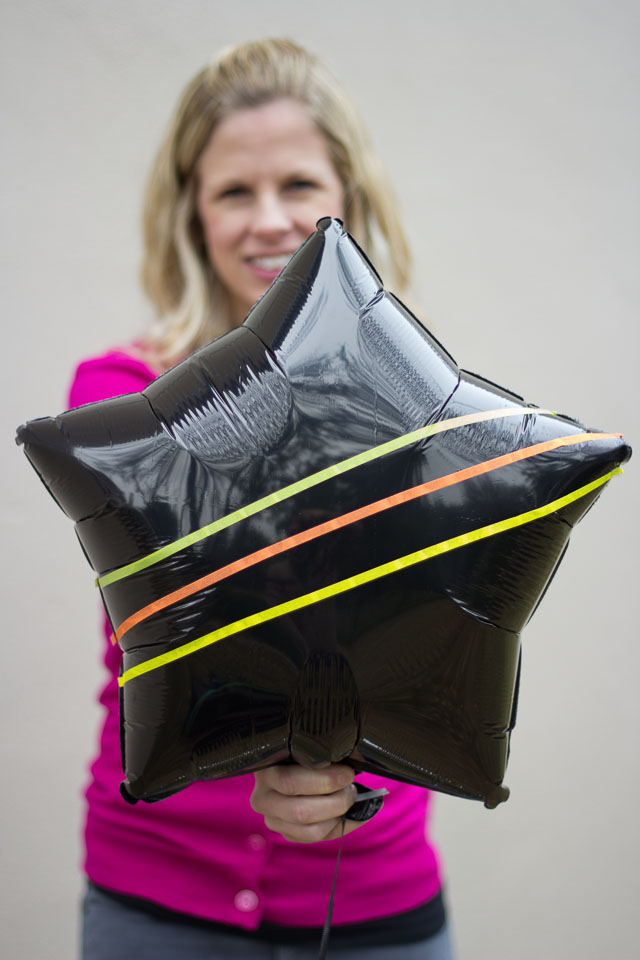
Supplies for Washi Balloons
(contains affiliate links)
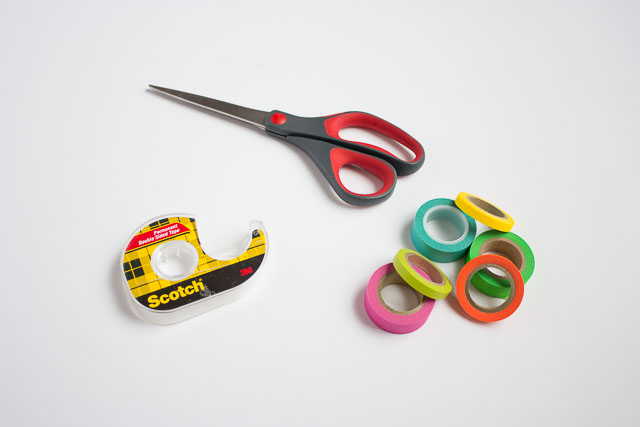
- Plain mylar balloons filled with helium (such as these black star balloons)
- Washi tape (I used a neon set which included some rolls of thin tape)
- Scissors
- Double-sided tape
How to Make Washi Balloons
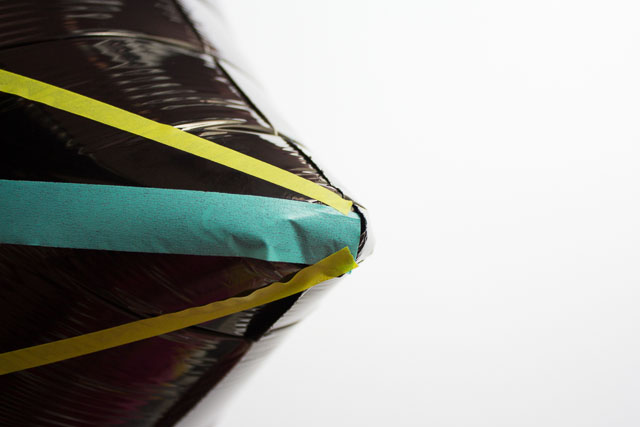
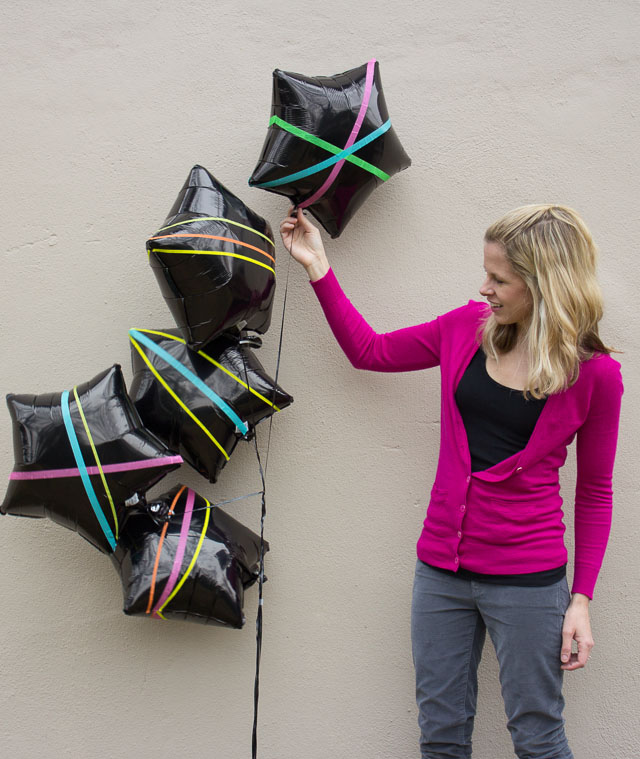
2. I duplicated the same pattern on both sides of my balloon and tried to match up the tape edges as closely as possible. One thing that is great about washi tape, is if you need to reposition the tape or spread it out smoother, you can easily peel it off and reposition it without popping the balloon.
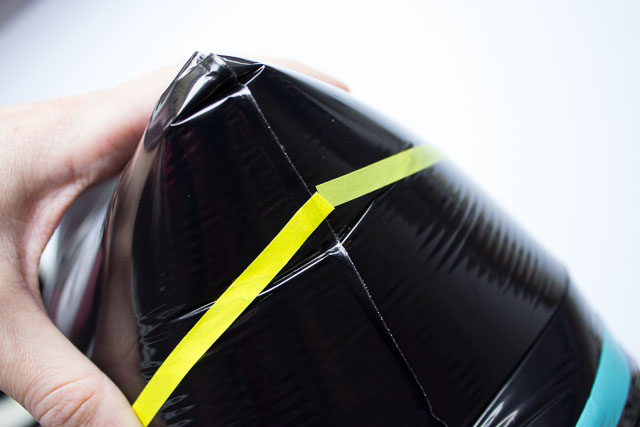
3. A few of my pieces of washi tape wanted to curl up on the end rather then stick to the balloon. If that happens to your balloons, just use a tiny piece of double-sided tape at the end of the washi tape strip to secure it permanently to the balloon.
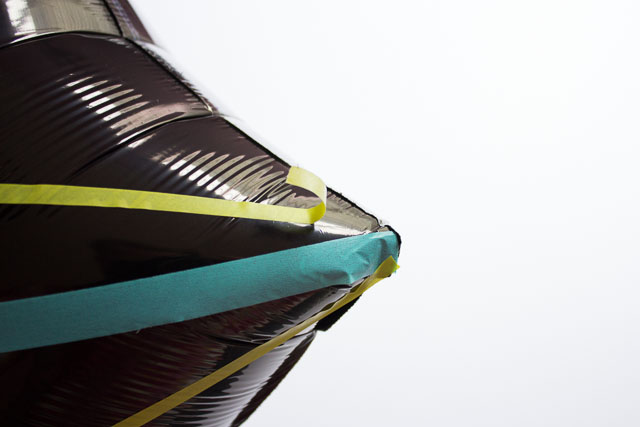
Note: the more tape you add to a helium balloon, the more you will weigh it down. I found that 3 strips of washi tape wrapped all the way around the balloon was the maximum I was able to use without weighing down the balloon. Larger balloons may be able to handle more tape.
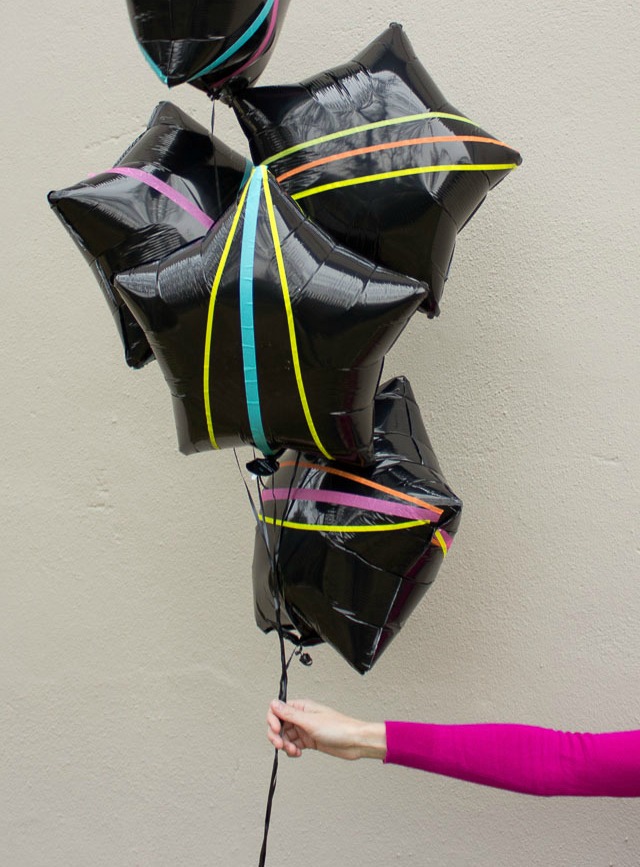
The cool thing about mylar balloons vs. latex helium balloons is that they will stay floating a lot longer. These are still looking great a week after I made them!
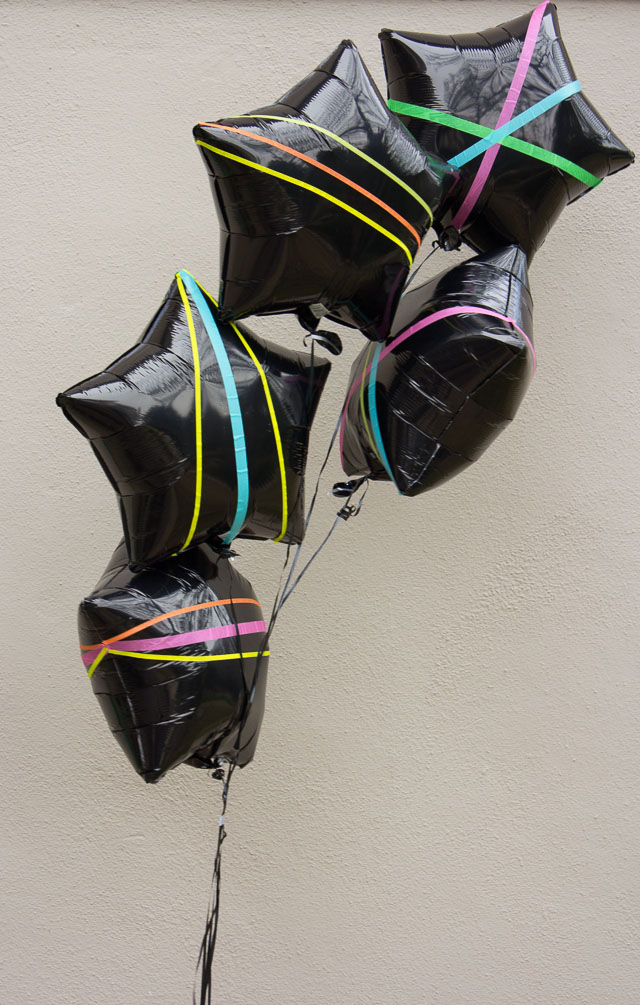
I like the contrast of the neon stripes against the black balloons but I’m excited to try out different color and combinations. What types of washi balloons would you make?
Want to see my other balloon projects? Check out my DIY pom-pom balloons and heart balloons!

