How to Make Lace Easter Eggs
How to Make Lace Easter Eggs
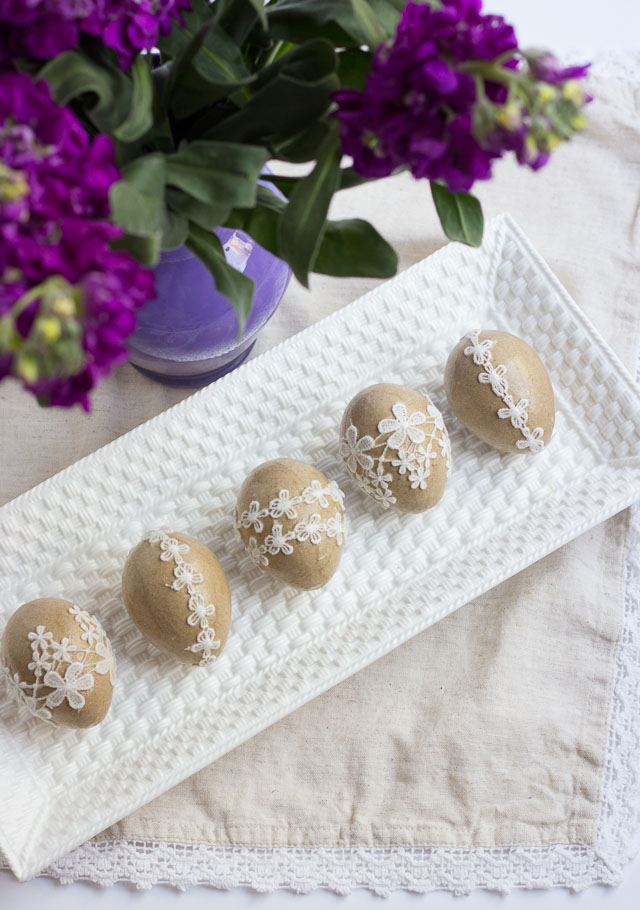
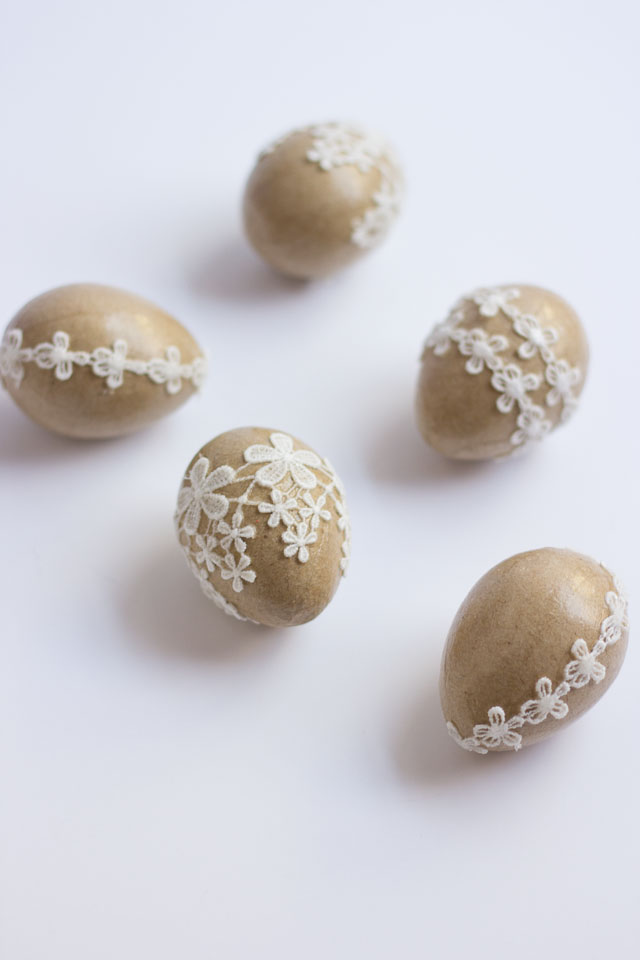
Spring is here (finally!) and Easter is around the corner – time to start decorating some eggs! These delicate lace eggs are simple to make and will last for many Easters to come.
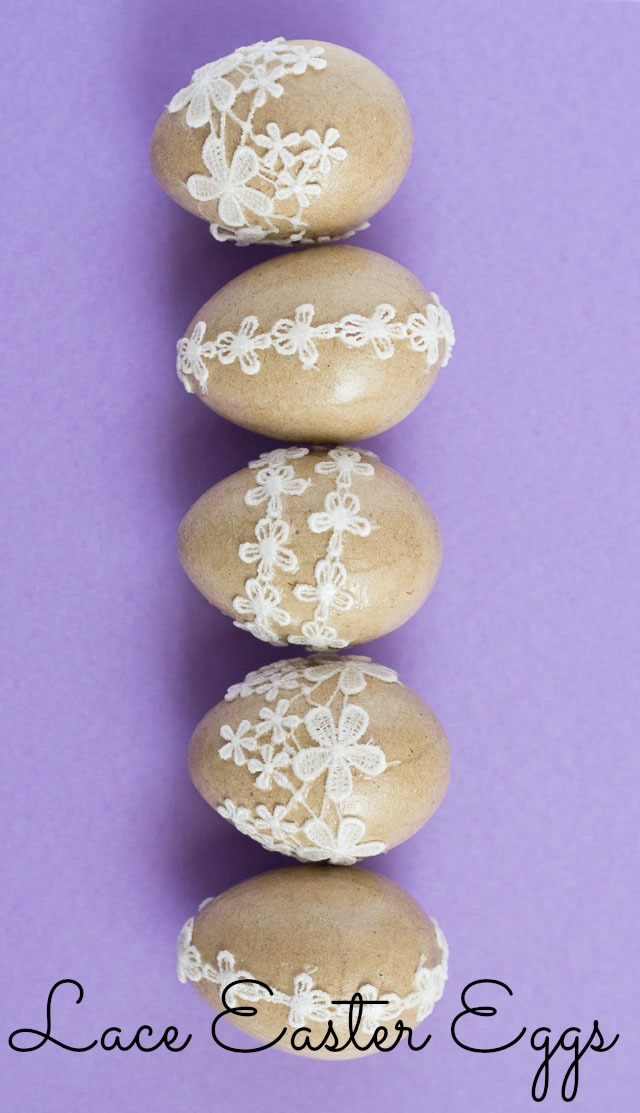
These eggs are one of my #12MonthsofMartha projects for March and were inspired by some ceramic eggs decorated with lace that my grandma used to have displayed on her dining table at Easter.
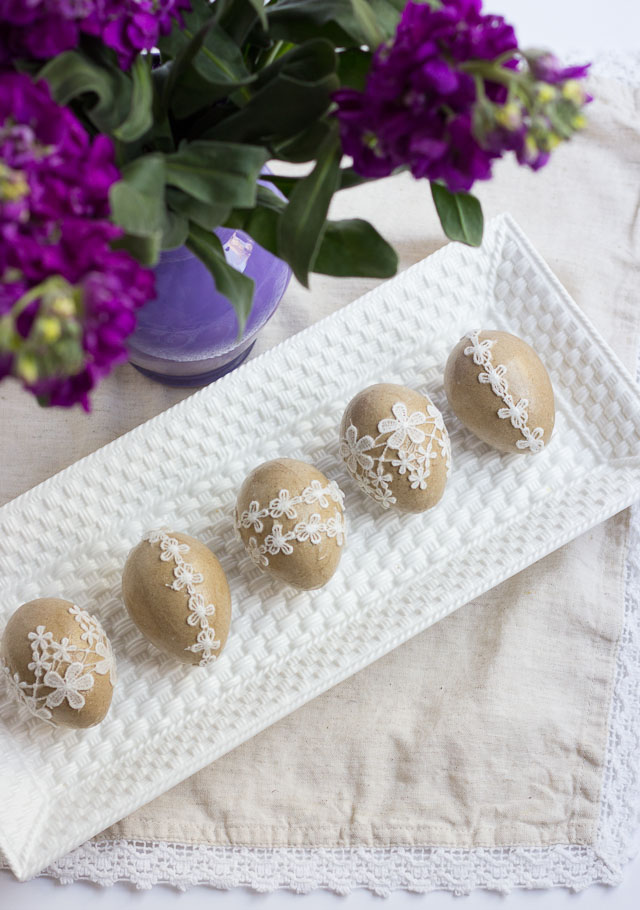
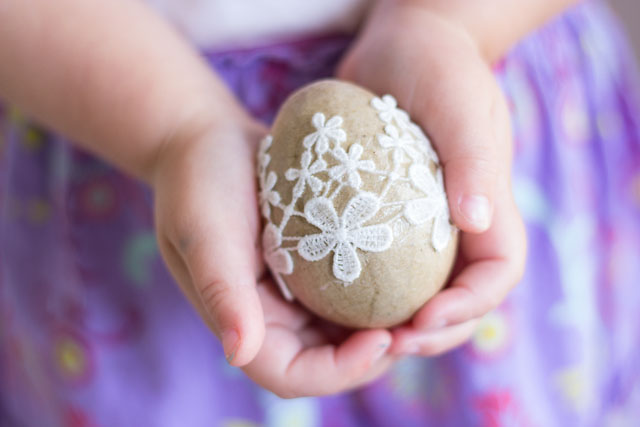
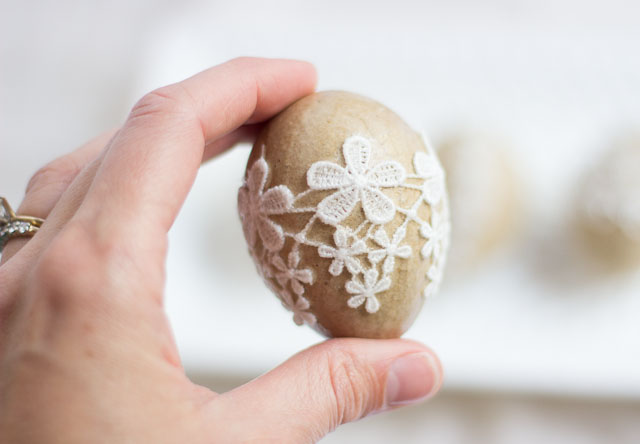
I decoupaged Martha Stewart lace to plain paper mache eggs. I like the combination of the natural brown egg with the lace, but you could also paint the egg any color you want before adding the lace!
Supplies for Lace Eggs
- Paper mache eggs
- Lace trim
- Martha Stewart decoupage brush
- Mod Podge

How to Make Lace Eggs
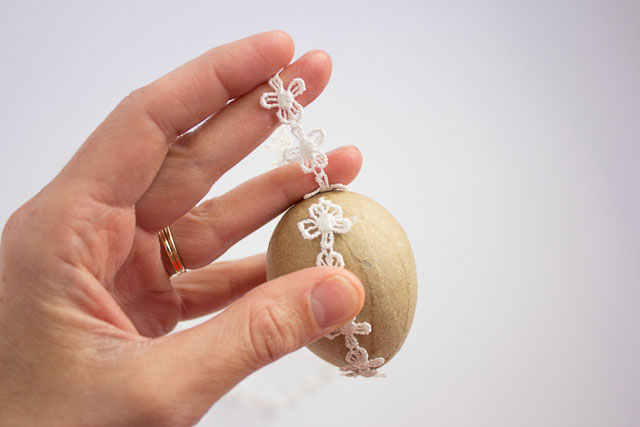
Step 1. Trim lace
Determine where you want to place the lace on the egg, and then wrap a piece around to gauge how much you will need. Trim to fit.
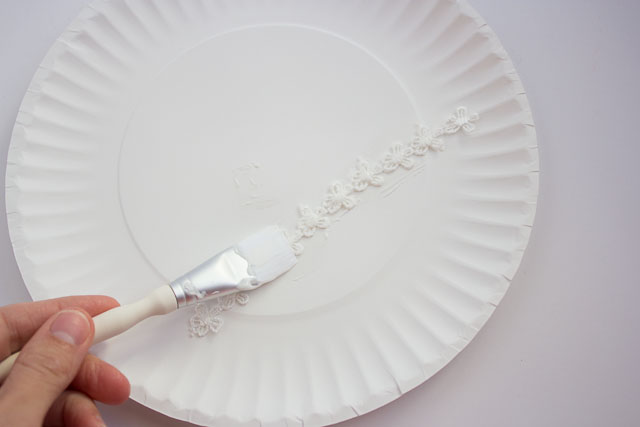
Step 2. Apply Mod Podge
Brush a layer of decoupage glue on the back side of the lace.
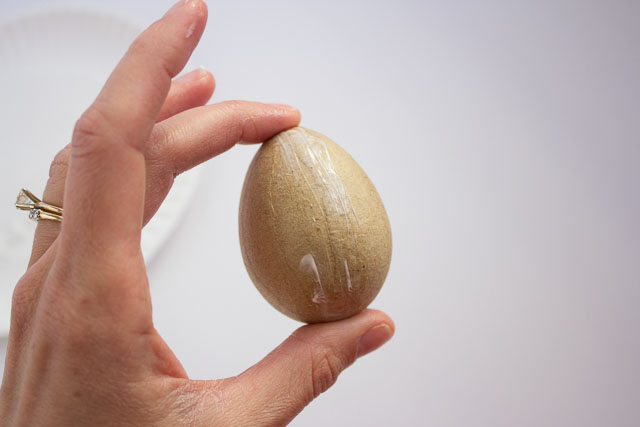
Step 3. Brush egg with Mod Podge
Brush another layer of decoupage glue on the area of the egg where you will be putting the lace.
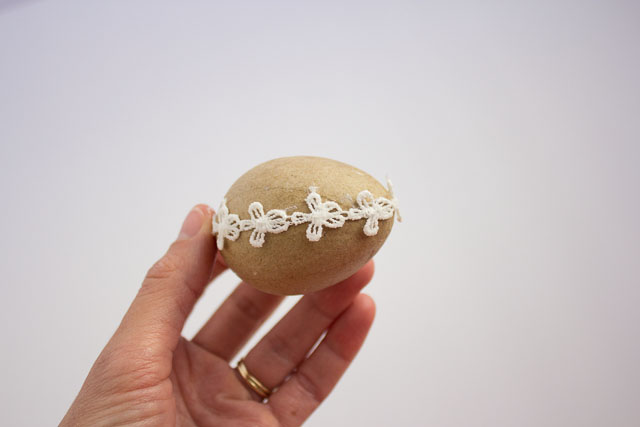
Step 4. Press lace into egg
Wrap the lace around the egg, adhering it by pressing down with your fingers.
Step 5. Let dry
Let your eggs dry 1-2 hours before sealing them with another layer of decoupage. I dried them on my Martha Stewart glitter tray which also works perfectly for drying eggs!
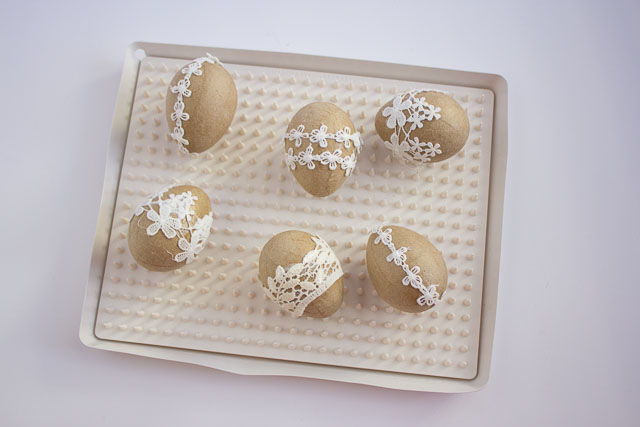
Step 6. Seal with a coat of Mod Podge
To seal the eggs, I covered the whole egg with the decoupage glue. This gave a consistent sheen across the egg. Use your brush to smooth out any “pools” of glue that get caught between the lace. Let dry another 1-2 hours. If needed, apply another coat to seal completely.
This is post is sponsored by Martha Stewart Living Omnimedia as part of the #12MonthsofMartha program. All content and opinions are my own.

