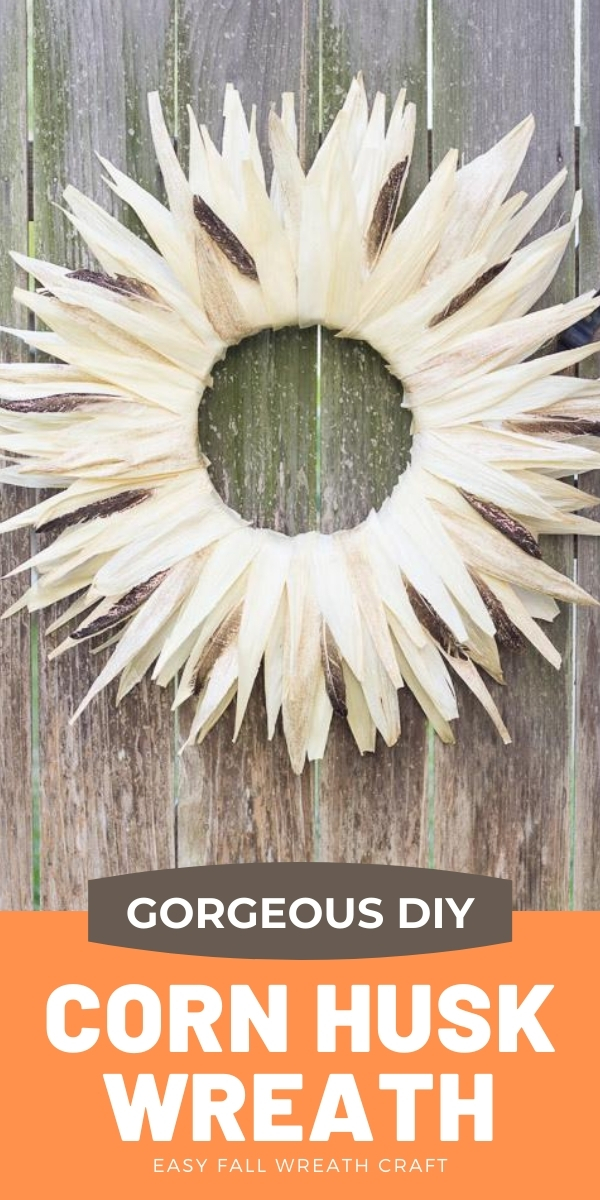
The Prettiest Fall Corn Husk Wreath!
Make a Corn Husk Wreath for Fall
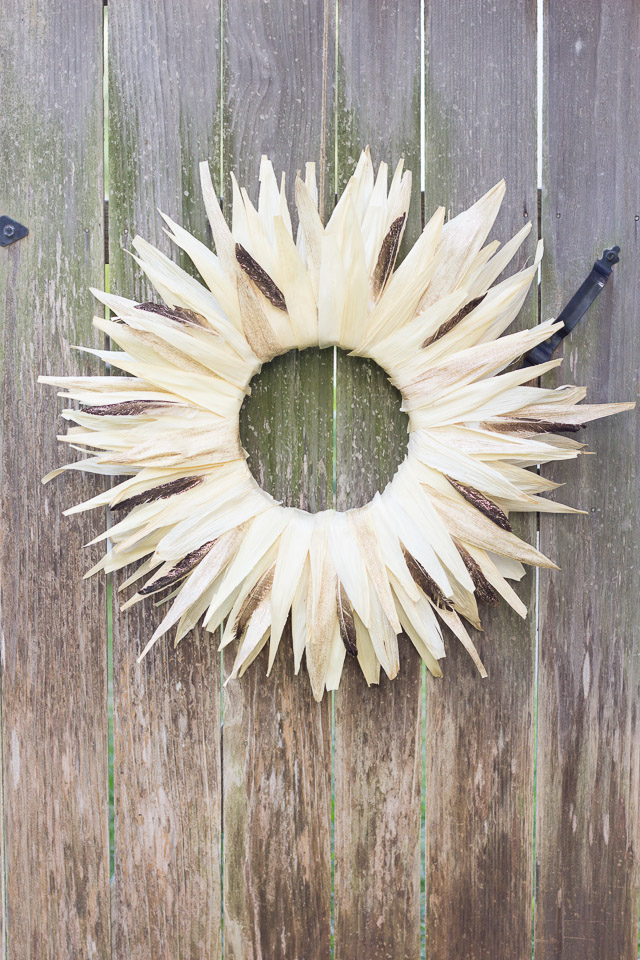
Introducing my DIY fall corn husk wreath! This will make a big impact on your door from the start of Fall through Thanksgiving.
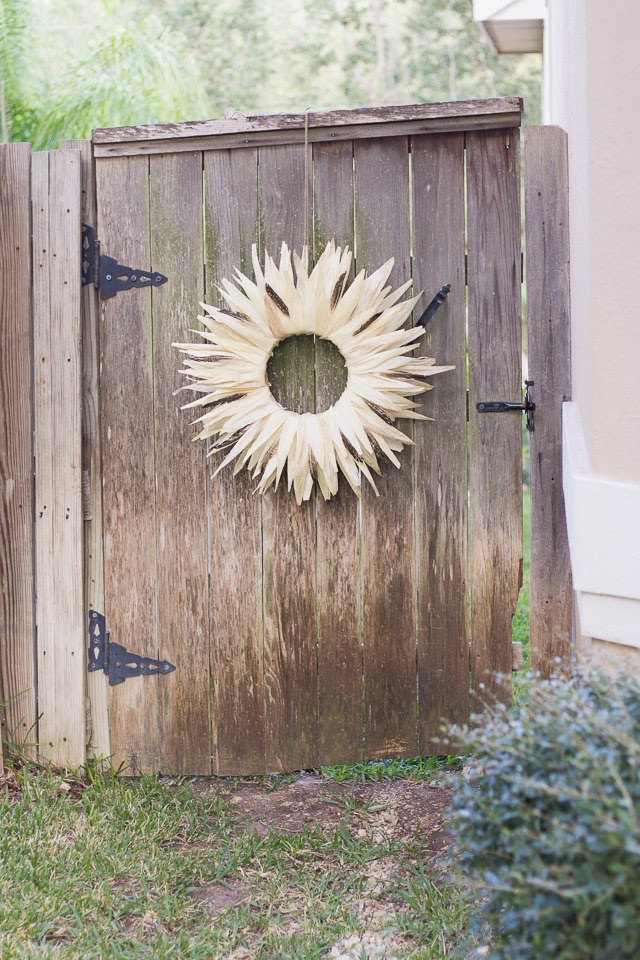
I was excited to try making this wreath after seeing a similar one in Midwest Living magazine. The wreath would look great hung on a rustic fence or wall, above your mantel, or your dining room buffet for the Thanksgiving meal. I ultimately hung mine on our front door.

Making this wreath is (almost) as simple as tearing corn husks into strips and hot gluing them to a wreath form. You just need a package of these corn husks from the Mexican food aisle of your grocery store – they are used to make tamales.

You can complete this in an hour or two max for under $20. Here’s what you’ll need.
Supplies for DIY Corn Husk Wreath
- 14″ straw wreath form
- 1 package of corn husks (I used a 6 oz. package)
- 1 package of feathers
- Gold glitter craft paint
- Small paint brush
- Hot glue gun

How to Make Corn Husk Wreath
Step 1: Tear corn husks into strips
Start by tearing the corn husks into smaller strips a couple inches wide. The husks will tear easily if you start at the bottom (widest part) and tear upward.

Step 2: Paint some of the cornhusks with gold glitter paint
Paint a subset of the cornhusks and your feathers with the glitter paint and let dry. You only need to paint the top side of each. I painted around 20 of the 1-2″ corn husk strips and 10 feathers. This step is really optional – the wreath still looks great without the glitter or feathers. It just adds another nice dimension of color and textures to the wreath.

Step 3: Glue a row of cornhusks around the outside edge of the wreath
As your glitter pieces are drying, start hot gluing the plain corn shucks around the wreath. I worked in rows, starting on the outside edge by putting a generous dab of hot glue on the wreath form and then pressing down on the base of the corn husk until the glue set. Then start layering another row of husks in front of that one.

Step 4: Add additional rows of corn husks
For the inner row you will need to bend the corn husk a bit and apply a generous dab of glue at the base, as well as the midway point of the corn husk so it bends backwards and lays flat against the other rows of husks. Hold in place for a few seconds until it sets. Some of the corn husks can be hard to bend, so use some of the thinner husks for the inside row.

I did 3 rows of husks for my wreath – an outside row, a middle row and an inner row.

Step 5: Add glittered cornhusks and feathers
Once my glittered husks were dry, I put a dab of glue on the bottom back side of the husks and then stuck them in randomly around the wreath:

I did the same thing with the feathers – put a dab of glue at their base and slid them in around the husks:

Hang with a piece of twine and voila! The best part is this wreath will last year after year if you store it carefully.

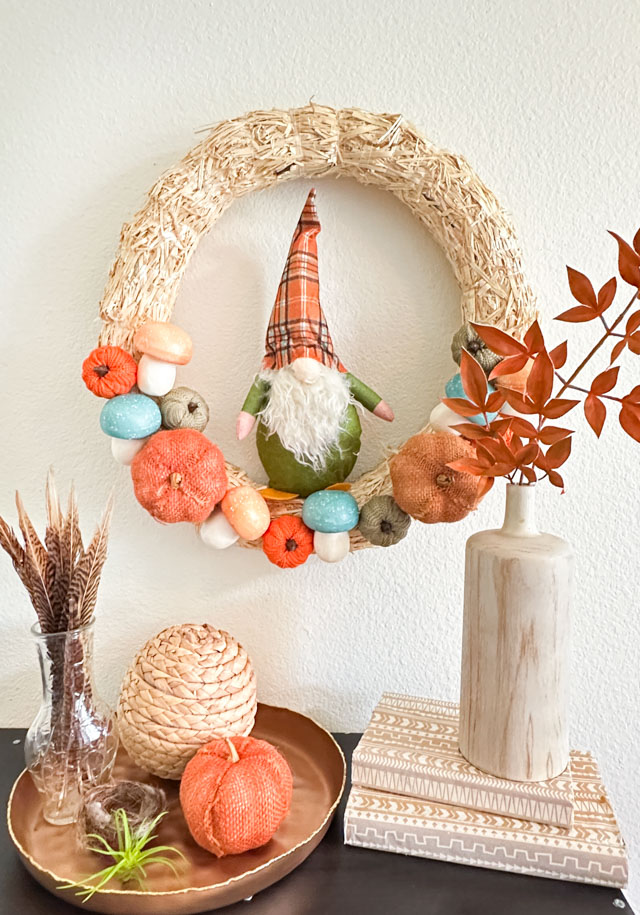
Here are some of my other fall decorations at the front door:

Want to make an entire year of wreaths for under $25 each?
Then you need this wreath ebook!


Very cute. Great job.
Thanks so much Rebecca. I hope you give it a try!
Boy i make tamalies and sometimes too much of the small strips get included in packaged i do not want to throw them.I like seasonal wreaths examples.thx for sharing!
Yes, definitely save those leftover cornhusks for crafting! 😉
Thank you so much for the tutorial. We made this and it came out great, even without the paint!! I had corn on the cob in the fridge, so we shucked it and dried the husks. It took about an hour of hot-gluing to complete and really looks nice on our front door.
I’m so glad the wreath turned out well for you! I bet it looks fabulous on your door for fall!
I really like it. I will try it. Thank you for share this amazing decoration. God bless u