DIY Painted Christmas Ornaments

DIY Painted Christmas Ornaments
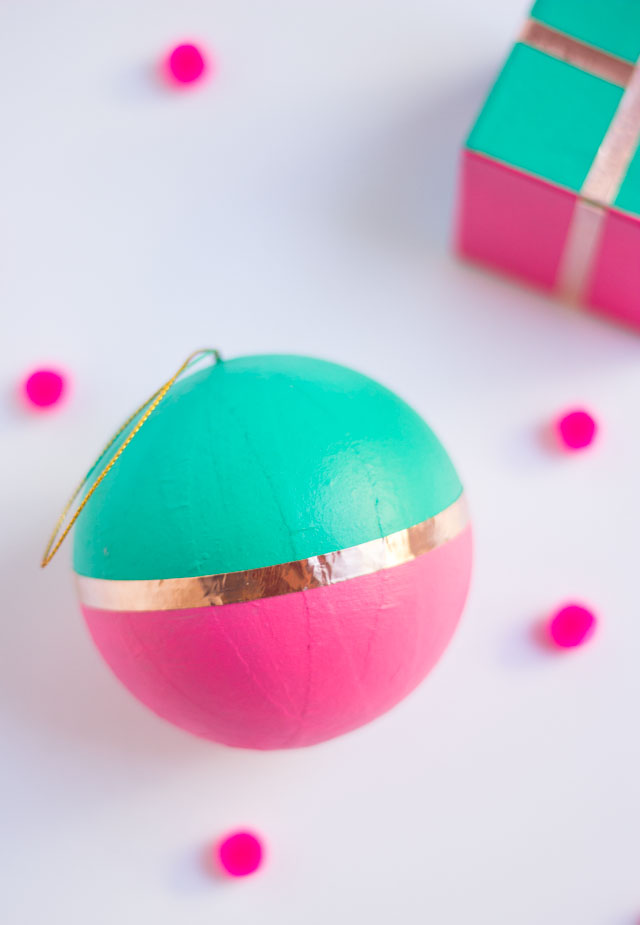
While our Christmas tree this year is all metallic, I couldn’t resist going big on color with these DIY painted ornaments! Of course, I still had to add a hint of metallic with the copper trim. 😉

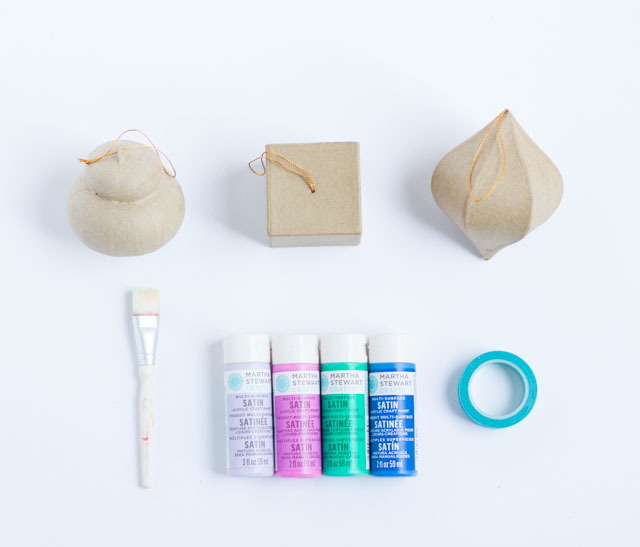
These started out as brown paper mache ornaments I found for $1 a piece at Hobby Lobby. I loved the variety of shapes and the blank canvas they provided. They are also shatter-proof!

All they needed was a few shades of acrylic craft paint, and a little copper foil tape to make them shine!
This post contains affiliate links. See my full disclosure.
Supplies for DIY Painted Christmas Ornaments
- Paper mache ornaments
- Acrylic craft paint
- Small paint brushes
- Thin masking tape or washi tape
- Copper foil tape (I used 1/4″ width)
How to Make DIY Painted Christmas Ornaments
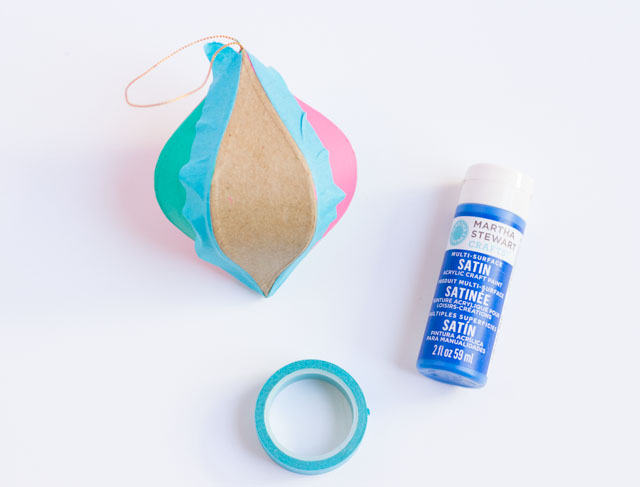
1. Tape off the areas you want to paint and use a brush to apply the paint. If you have a steady hand, you can skip the tape! Take one section at a time, moving on to the next once it is dry.
2. Add copper foil tape to trim the ornament, using your finger to smooth it down flat. You’re done!


Love this DIY ornament idea? Then don’t miss my other Christmas crafts!
This post is sponsored by Martha Stewart Omnimedia as part of the 12 Months of Martha program. All content and opinions are my own.

