The Prettiest DIY Feather Wall Decor!
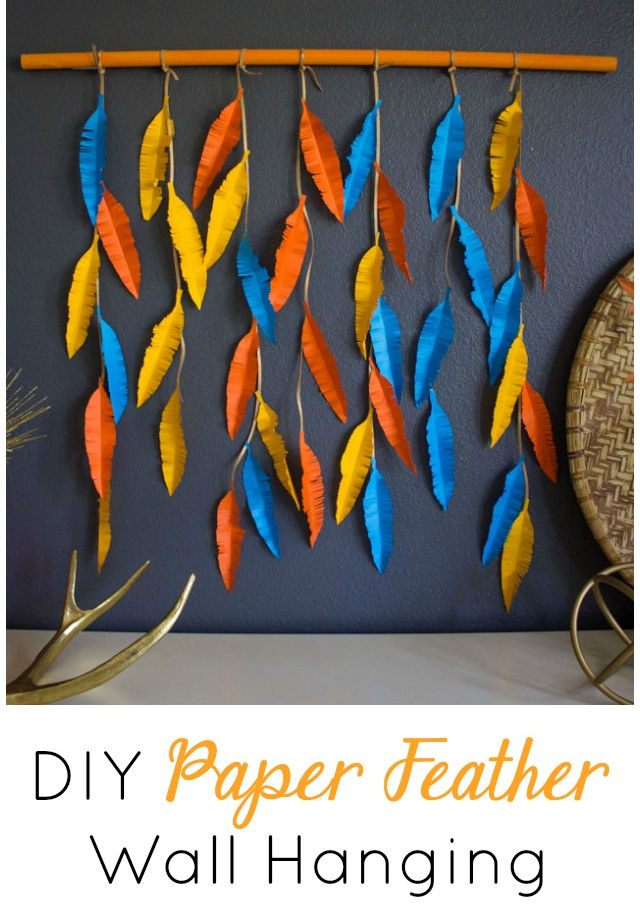
DIY Paper Feather Wall Hanging
Introducing my new DIY feather wall decor! I’m a big fan of switching up a bit of decor around my home with each season. It keeps things fresh, interesting, and fun. But it doesn’t mean I run out to the store to buy something new each time. What I love most is crafting up a special piece of seasonal decor myself using simple supplies. That is exactly what I did to give our dining room a fall makeover with this paper feather wall hanging. Read on to see how I partnered with ASTROBRIGHTS® Paper to turn their vibrant paper into high impact home decor.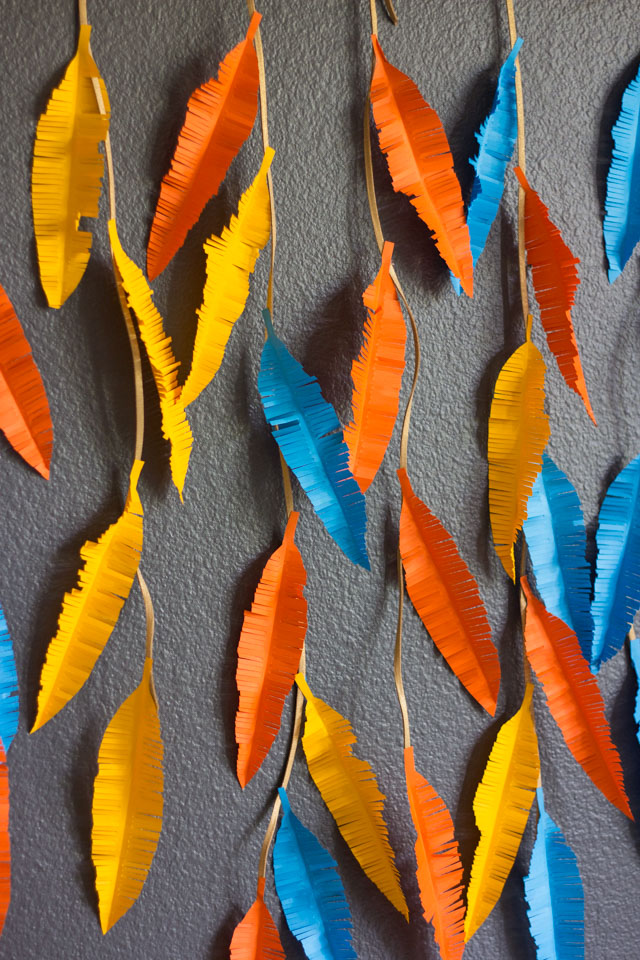
This post contains affiliate links. See our full disclosure.
Supplies for DIY Feather Wall Decor
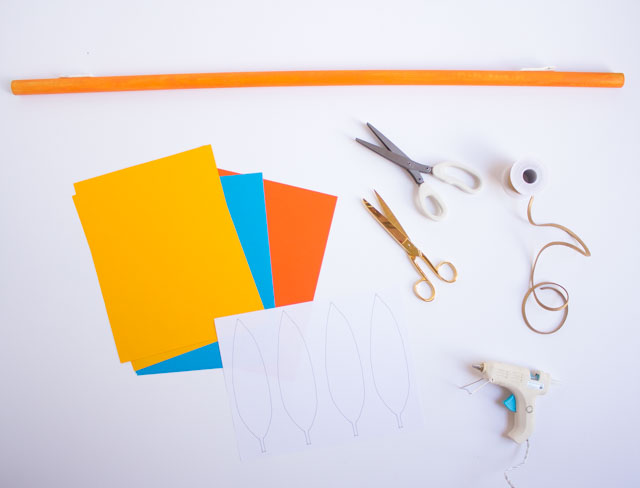
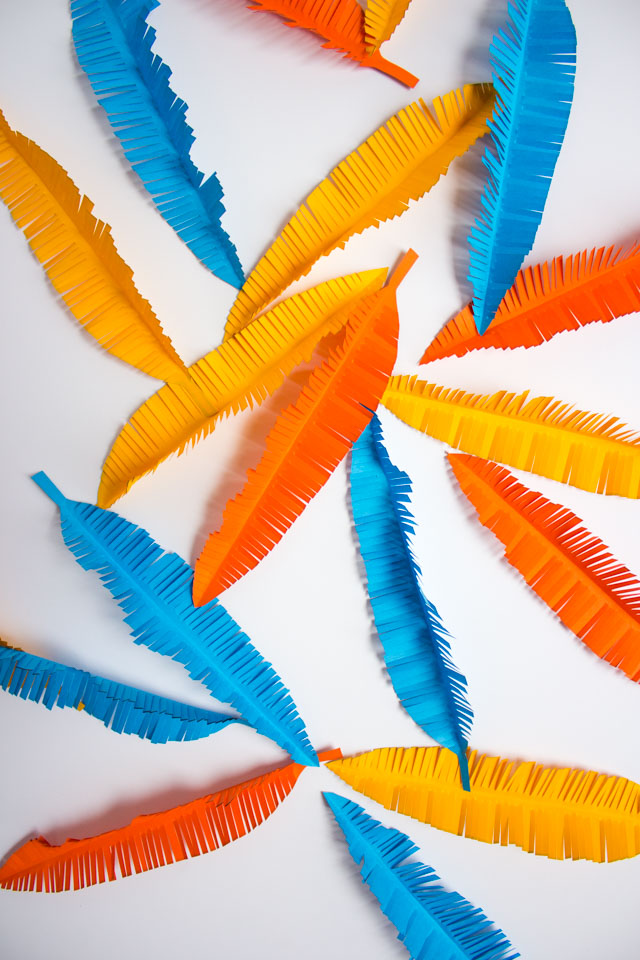
While I chose to make my feathers out of three colors perfect for fall (Cosmic Orange™, Galaxy Gold™, and Celestial Blue®), you could use any variety of colors to create a feather wall hanging that would look great on your wall year-round. This package contains all of Astrobrights 25 bold colors and plenty of paper in each color to make this wall hanging.
In addition to the paper, all you need is a pair of fringe scissors, some leather cording, and a wood dowel. You can find a full list of supplies along with the printable feather template and step-by-step instructions here.
These feathers look intricate but take minutes to make with a pair of fringe scissors. Warning: fringe scissors can be borderline addictive. Once you use fringe scissors for the first time, you’ll want to fringe everything around you!
I love how the bold Astrobrights colors create a modern spin on a fall color palette, and I love how something as simple as paper can make such a beautiful piece of wall art! The wall hanging really pops against the dark blue wall in our dining room. I styled my new wall art with some other fall decor from around my house to give the room a brand new look.
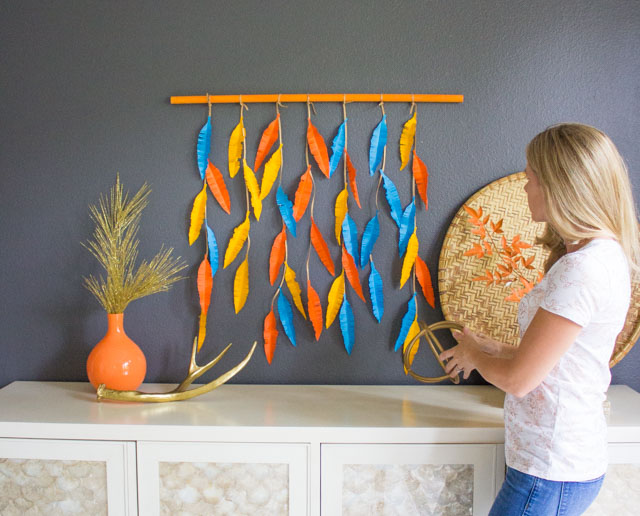
I hope you give it a try, and if you like this style of paper wall art, then be sure to check out my ombre paper chain wall art for another simple decor project.
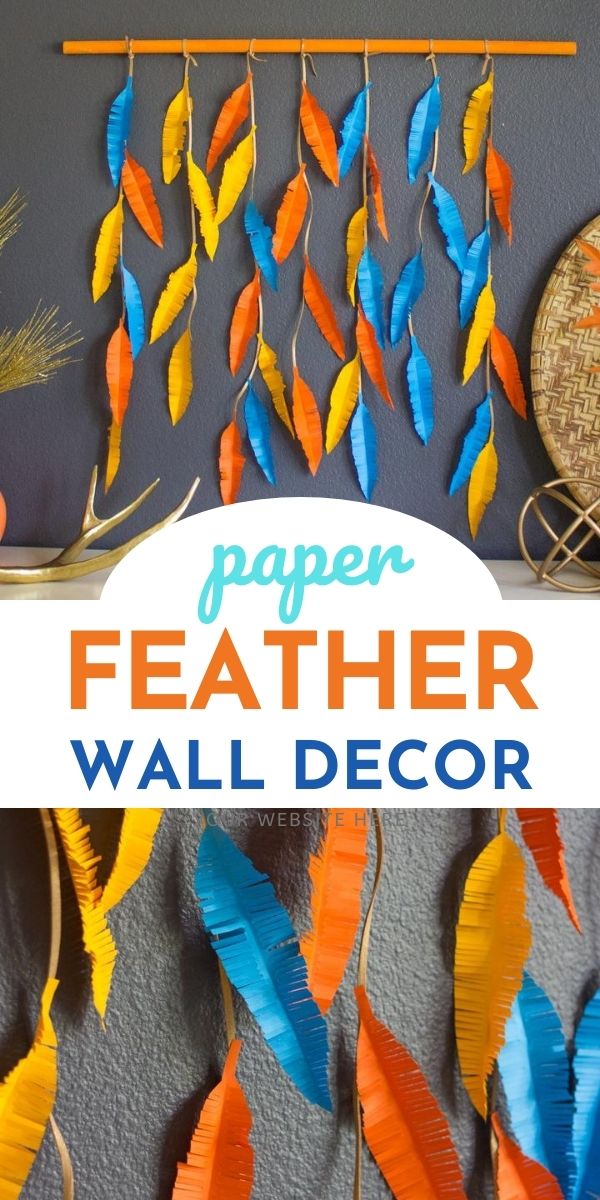
Head over to Astrobrights.com for the full step-by-step tutorial!
This post is sponsored by Astrobrights.

I have never been very “crafty” but just today i was on facebook & came across some of your ideas! I realized even I can do them! I am so excited to try out your DIY projects. Thank u so very much for sharing! And also was wondering if u send your ideas to peoples e-mails? I would love to sign up! Tia…Patty
Thanks so much Patty, your comment made my day! I have signed you up for my newsletter, so you will get an email each time I post about a new project! I sure hope you try one of my crafts, and share a pic with me if you do!