Pumpkin Week: Feather Pumpkins
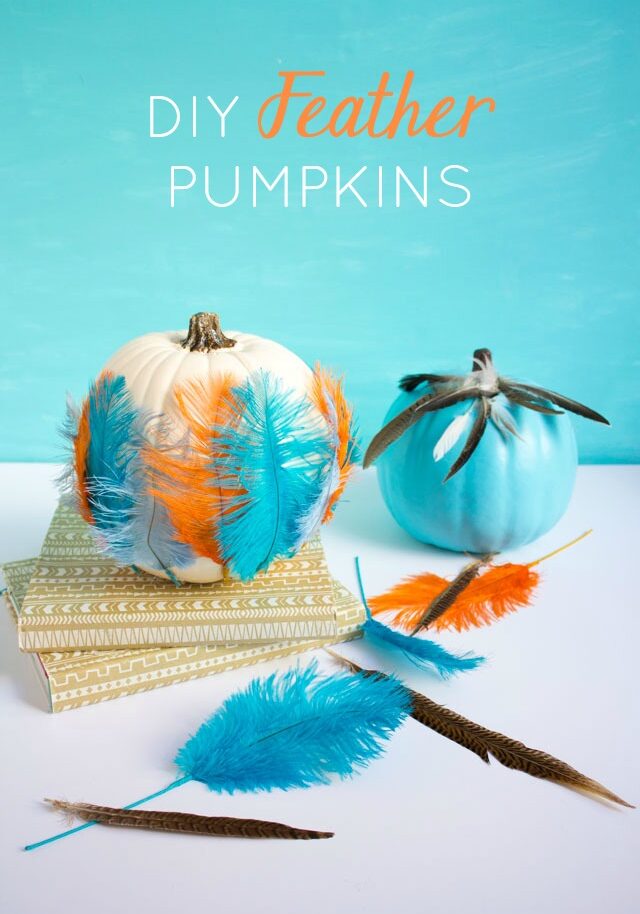
How to Decorate Pumpkins with Feathers
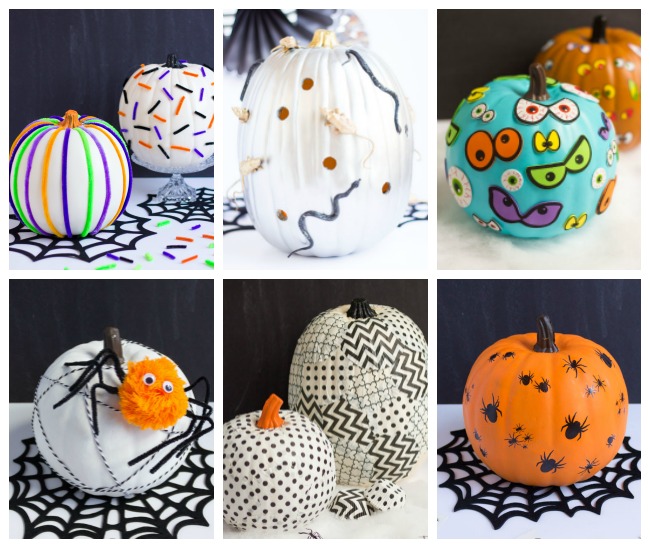
Get excited – Pumpkin Week has returned to Design Improvised! I’m kicking things off with my DIY feather pumkins. Last year I had a lot of fun coming up with a week’s worth of no-carve pumpkin decorating ideas to share with you, so I thought I would challenge myself to come up with five more ideas, starting with these feather pumpkins. There are so many clever ways to decorate pumpkins out there, I doubt I will ever carve a pumpkin again! While I love using faux pumpkins because they last forever, you can always apply these ideas to real pumpkins too if you are more of a purist!
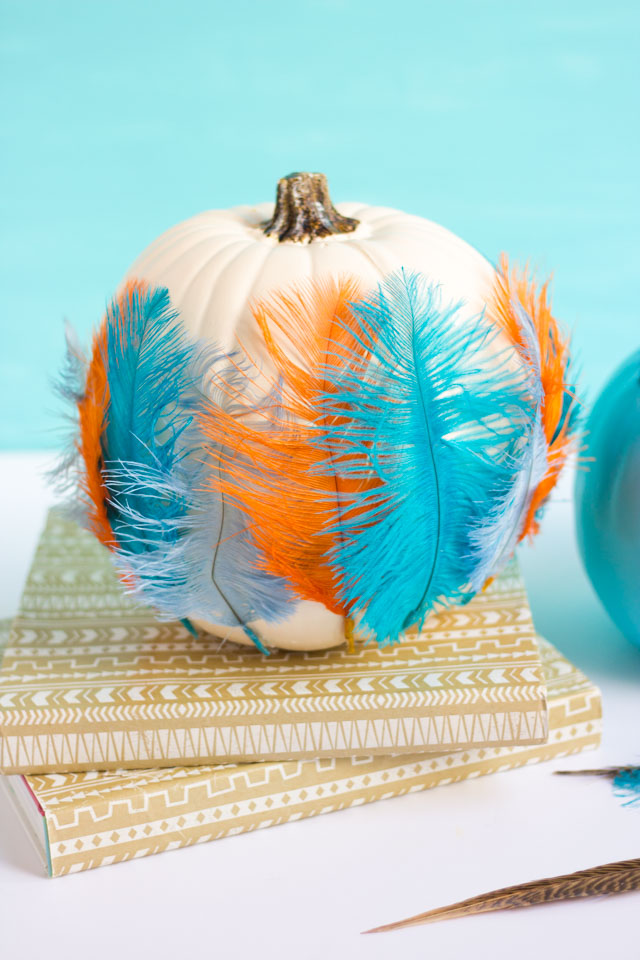
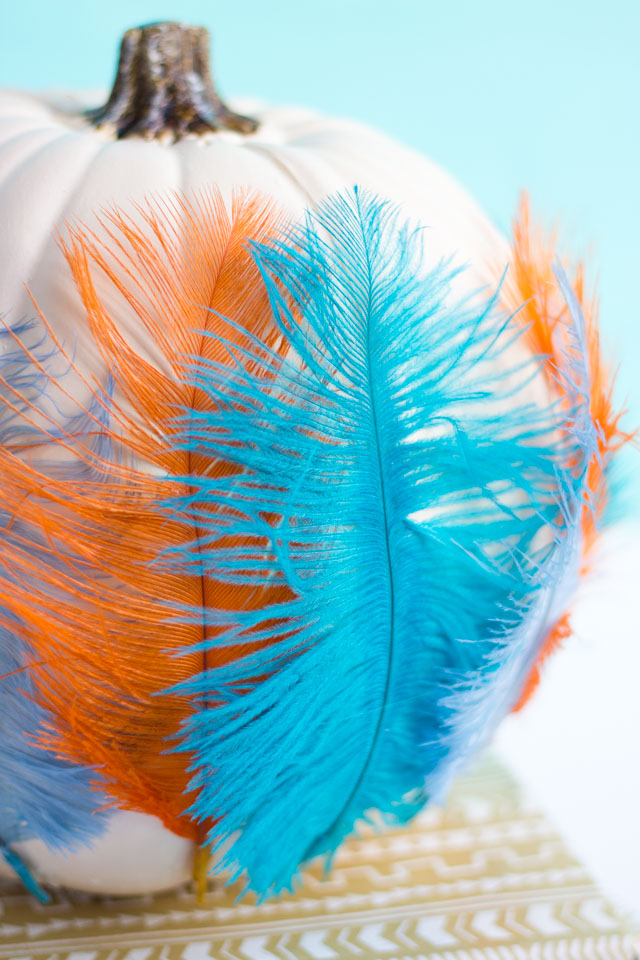
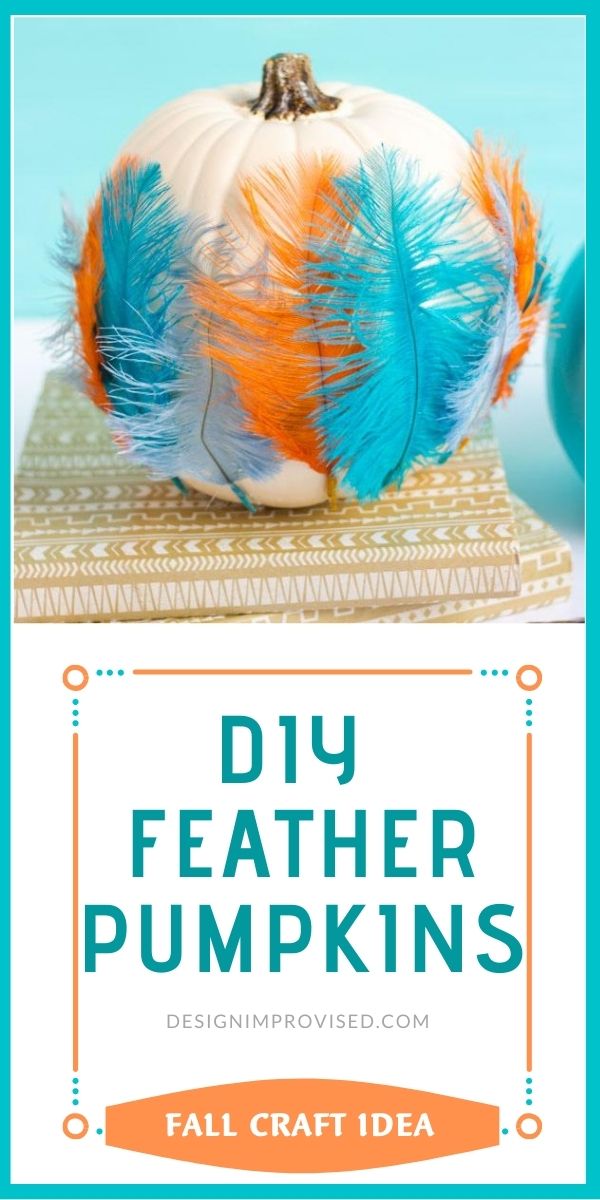
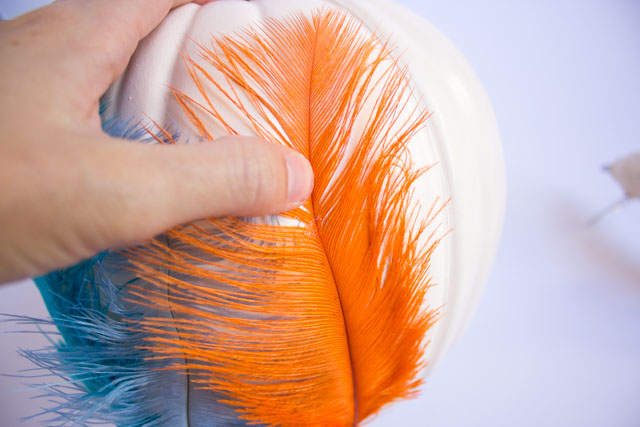
Feathers come in all shapes and sizes, and I experimented with two very different types for these pumpkins. I love how these colorful ostrich feathers add a soft texture to the pumpkins. I also went with a modern spin on the fall color palette by pairing orange and turquoise feathers. If you’re a fan of this color combination too, don’t miss this paper feather wall hanging I made!
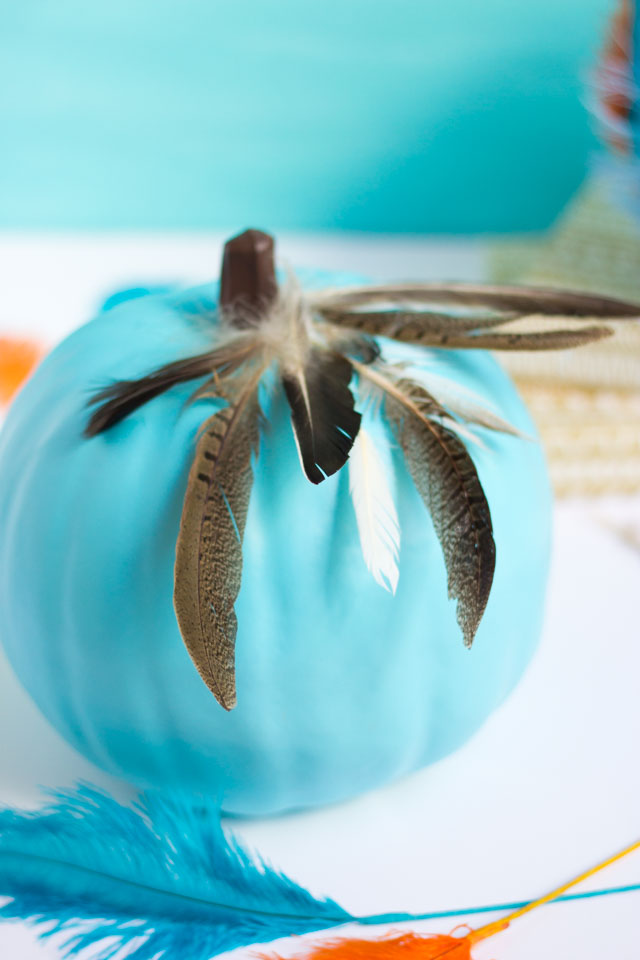
For my other feather pumpkin, I started with a faux teal pumpkin, and then glued a variety of pheasant and turkey feathers to the top. So easy! Here are step-by-step directions for making the ostrich feather pumpkin.
This post contains affiliate links. Please see my full disclosure.
Supplies for Ostrich Feather Pumpkins
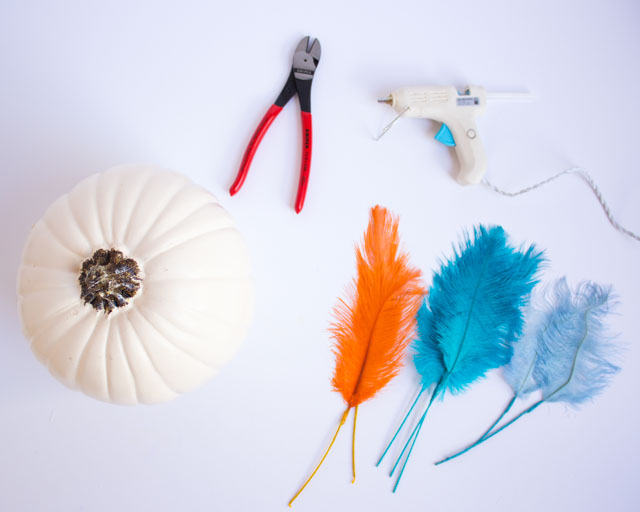
How to Make Ostrich Feather Pumpkins
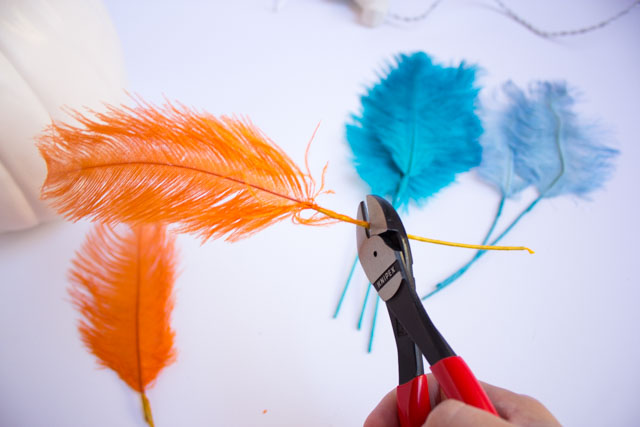
1. Use the wire cutters to trim the ends of the feathers.
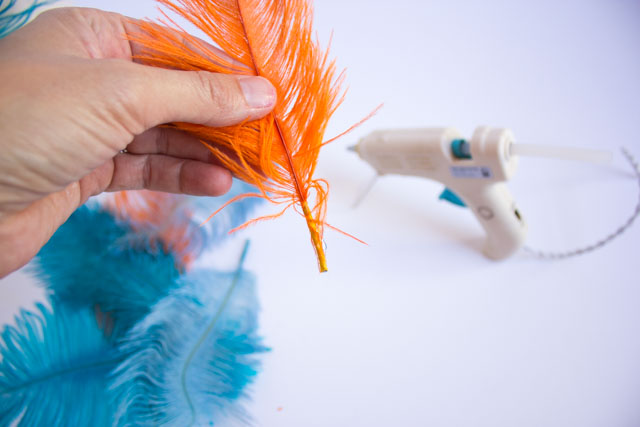
2. Add a dab of hot glue to the end of the feather.
3. Add the feathers to the pumpkins. I lined mine up with the grooves in the pumpkins, slightly overlapping the feathers.
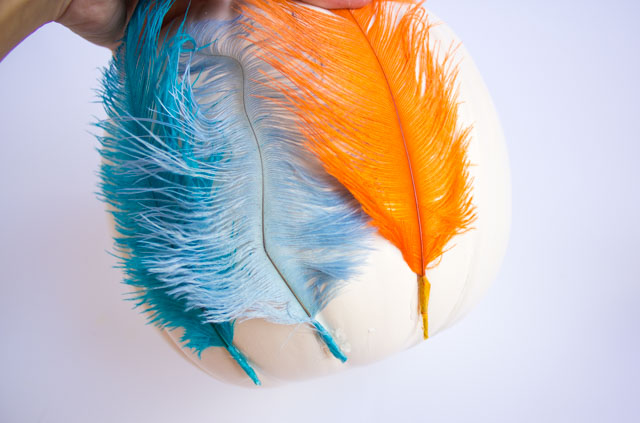
4. Add a small dab of glue on the back of the feather further toward the top to hold it in place.
I hope you like this first idea. Come back tomorrow for another one!
