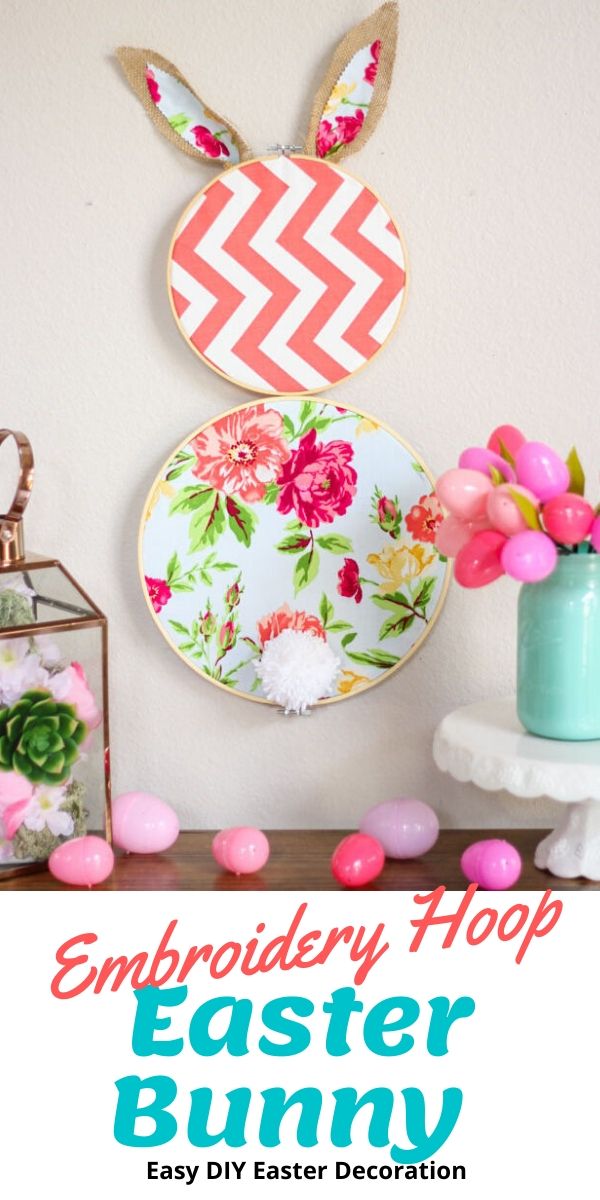
DIY Embroidery Hoop Easter Bunny
DIY Embroidery Hoop Easter Bunny
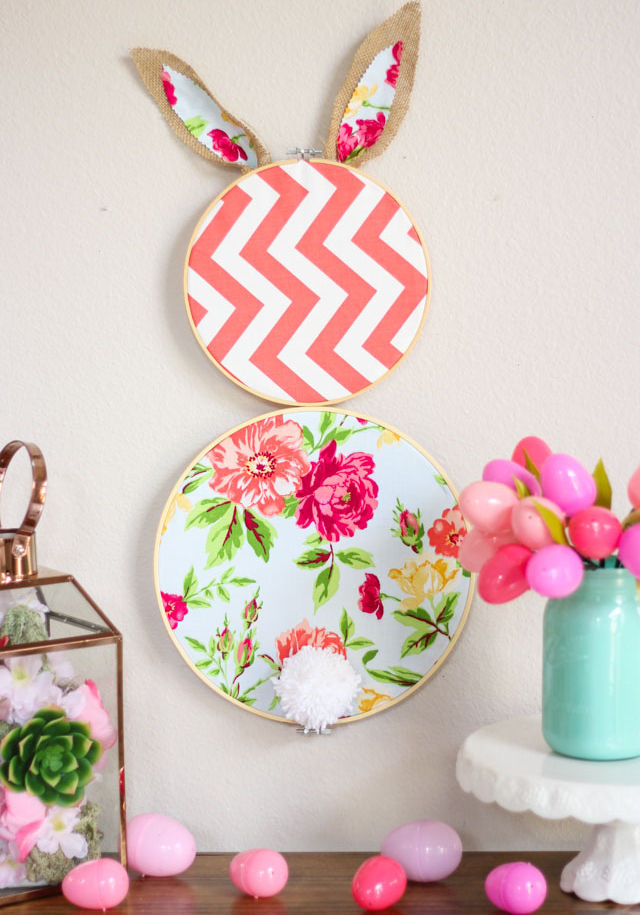
This cute embroidery hoop Easter Bunny is a fun way to use up some fabric scraps you have on hand! I made this in under 30 minutes with two embroidery hoops I had left over from this recent project. I always love trying to find creative ways to use extra supplies and I realized when a medium and large embroidery hoop are stacked on top of each other they make a bunny shape – just add ears and a tail! Read on for the simple tutorial.
You can customize this project based on the materials you have on hand! If you don’t have burlap, try felt. If you only have one type of fabric, that would look great too. Have fun getting creative with it.
Supplies for Embroidery Hoop Easter Bunny
- 12″ embroidery hoop
- 9″ embroidery hoop
- Fabric
- Burlap
- Yarn pom-pom
- Hot glue
- Pinking shears or scissors

How to Make Embroidery Hoop Bunny
Step 1. Trace around hoop
Lay your fabric flat and trace around the outside of each embroidery hoop using a pen. I used two different fabric patterns for my bunny, but you could use the same fabric for the top and bottom if you like!

Step 2: Cut out fabric
Use a pair of pinking shears or scissors to cut around the outside of the traced circle, leaving about a half inch width of extra fabric.

Step 3: Stretch fabric across hoop
Insert the fabric into the embroidery hoop and use the screw on top to tighten. Repeat the process with the larger embroidery hoop and second type of fabric.

Step 4: Glue fabric to back of hoop
Fold over the extra fabric and secure to the backside of the embroidery hoop with hot glue.

Step 5: Glue two hoops together
Adhere the two embroidery hoops together with a generous dab of hot glue where they meet. You’ll want to center the screw on the small hoop at the top, and on the large hoop at the bottom of the hoop.

Step 6: Cut out burlap ears
Freehand cut a pair of ears from burlap.

Cut a smaller insert for the ears from fabric and attach to the burlap with hot glue.

Step 7: Shape ears
To give the ears a little dimension, you can pinch the bottoms together and hold in place with a dab of hot glue.

Step 8: Add pom-pom tail
Glue the ears to the back of the bunny’s head. Finish by gluing a pom-pom tail on the bottom of the bunny. If you’ve never made a yarn pom-pom, here’s a quick tutorial!

Hang the bunny on the wall with a nail hung through the screw at the top of the bunny head. It would look cute hung on a front door too!

Like this Easter bunny project?
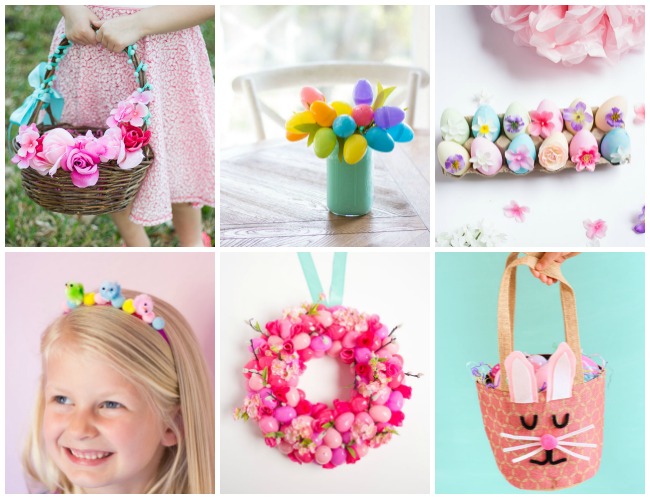
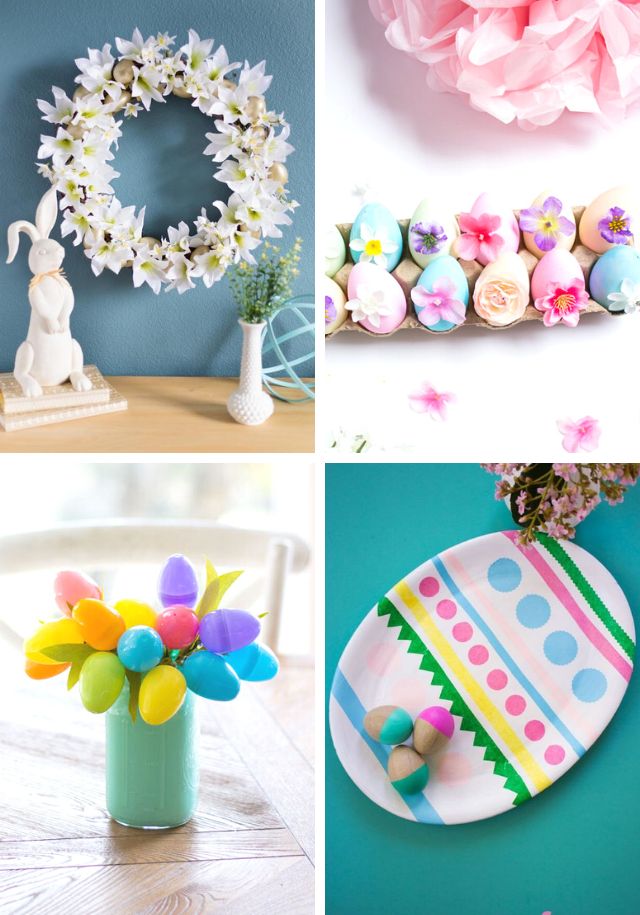
Then don’t miss these other fun Easter craft ideas!


I believe his ears are on backwards since he has his tail showing. But I really like it. Cute