DIY Marble Easter Eggs with Nail Polish
How to Decorate Easter Eggs with Nail Polish
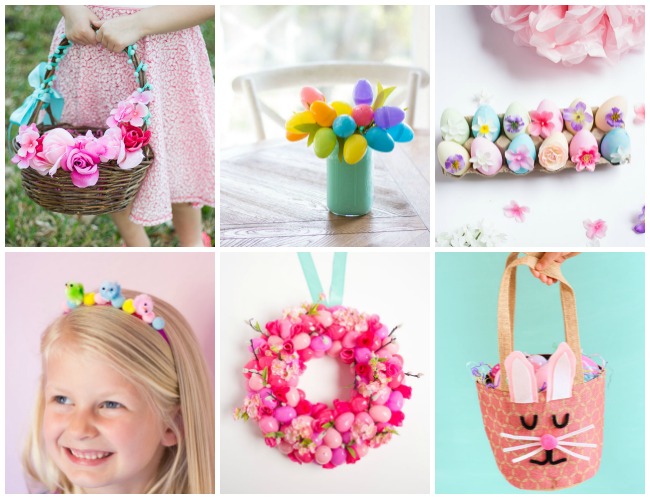
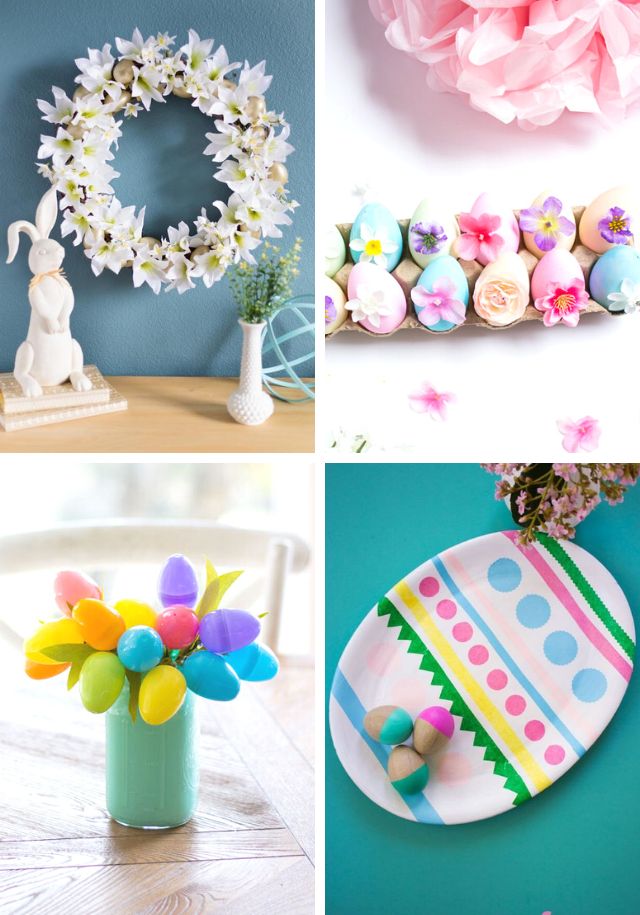
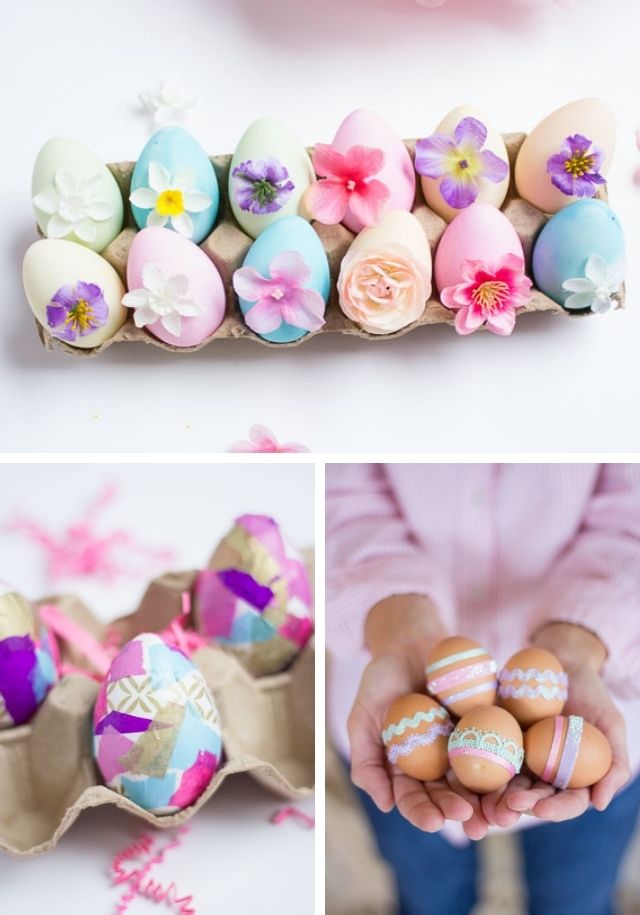
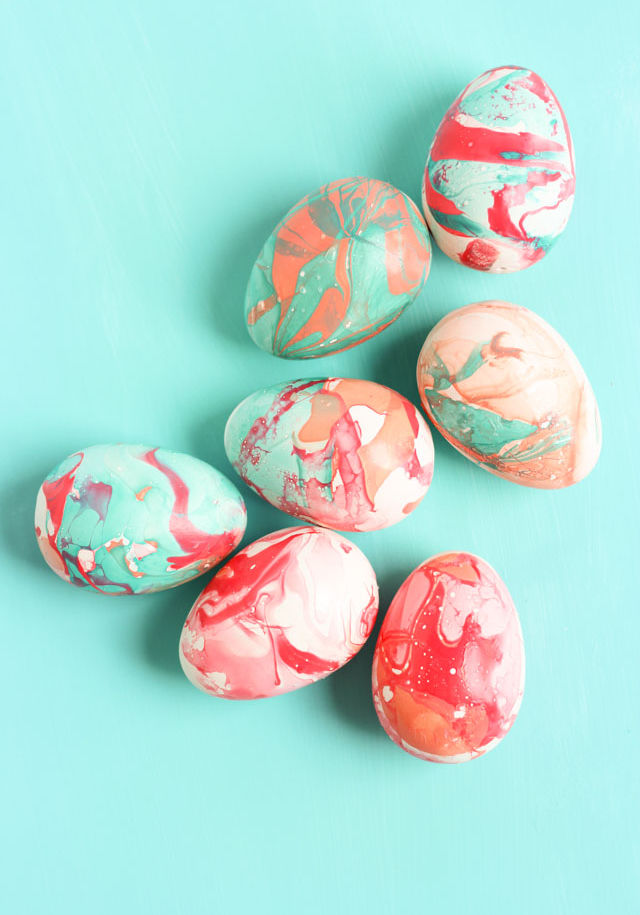
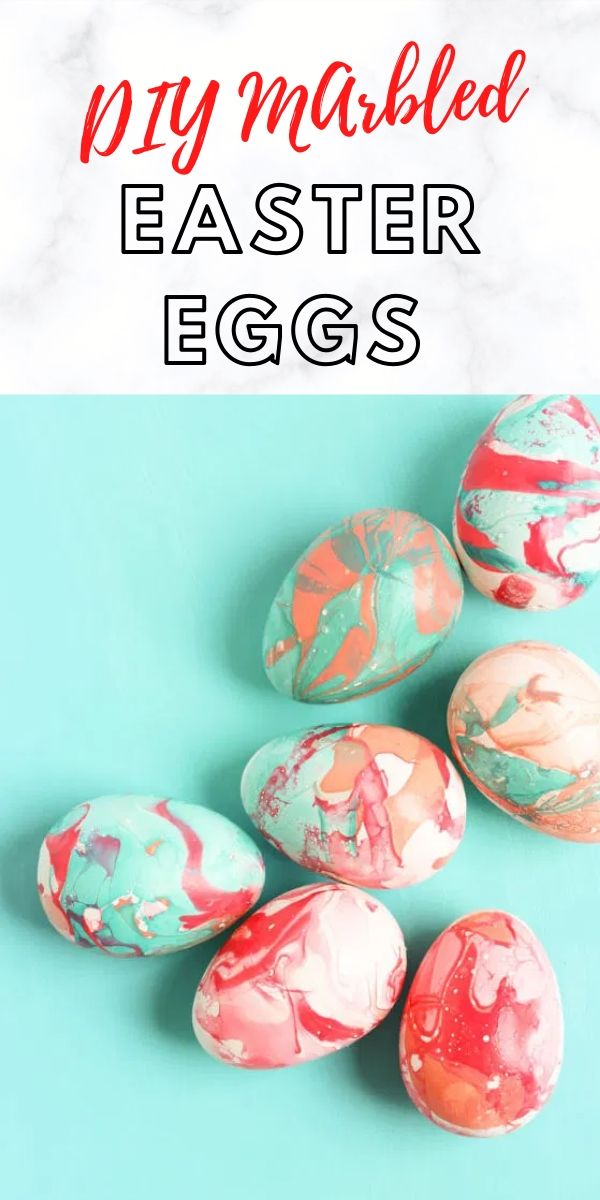
Have you ever tried marbling? It is so much fun! I love how these marble Easter eggs turned out. Hazel and I decided to give it a try the other day using just nail polish, water, and a dozen ceramic eggs. The ceramic picks up the marbling colors beautifully. The best part – unlike real eggs, you can display these beauties year after year! They are so pretty arranged on a tray as a table centerpiece. While they look fancy to make, the technique for dying eggs with nail polish couldn’t be easier. Read on to see this fun alternative to dying Easter Eggs. Hazel and I give it a big thumbs up!
I have always been a fan of decorating faux eggs instead of real eggs since they last forever. Typically I have used paper mache eggs – check out some of Easter egg decorating ideas using paper mache eggs. This time I tried a dozen of these ceramic eggs from Oriental Trading. They look exactly like real eggs – no boiling required!

Supplies for Marble Easter Eggs
- DIY ceramic eggs (comes in a pack of 12)
- Disposable aluminum pan
- Inexpensive nail polish in three coordinating colors
- Toothpick or bamboo skewer

How to Color Easter Eggs with Nail Polish
Step 1. Fill the aluminum pan with water. You want to use a pan that is a couple inches thick.

Step 2. Begin drizzling nail polish on top, adding one color at a time. You may want to try using all three colors of nail polish together or just one or two colors at a time. No need to use expensive nail polish for this. We found ours at the Dollar Tree!


Step 3. Use a toothpick or bamboo skewer to carefully swirl some of the color together.

Step 4. Take one of the ceramic eggs and carefully dip it into the nail polish. You can lay it on top of the water and rotate it from side to side. It will “lift” the color right from the water onto the egg.

You can also dip one side, lift it up, and then turn it over to dip the other side.

This takes a little gentle touch. If you roll the egg around in the nail polish too quickly or aggressively it will pick up all the polish in a big clump. Also be prepared to get nail polish all over your hands. Have some nail polish remover ready to go, or try using some latex gloves!

Step 5. Let the egg dry on a drying rack. Repeat with the other eggs and have fun experimenting with different designs and color combinations of nail polish. Soon you will have a dozen of beautifully dyed eggs with nail polish, with no two of them alike. Display your eggs on a fancy tray or give them as a gift!

Like this Easter egg idea?
Then be sure to get my Ultimate Guide to Easter Egg Decorating!