DIY Modern Woven Paper Art
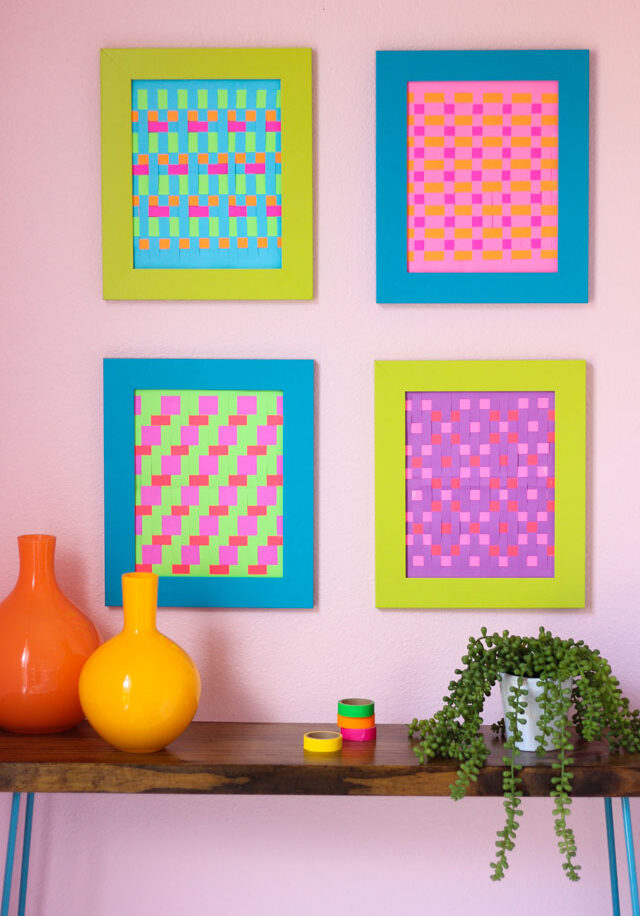
Easy Paper Weaving Craft
Who remembers paper weaving as a kid, where you would take strips of colored paper and weave them in and out to form a simple placemat or other design? Today I’m excited to be partnering with ASTROBRIGHTS® Papers to give that classic summer camp craft a modern, grown-up spin with this DIY woven paper art.
Yes, you can add a major burst of color to your walls with nothing more than PAPER! Read on to see how you can use Astrobrights® vibrant palette to colorize your walls this summer… and pretend like you’re a kid in summer camp again while you’re at it!
We are officially on summer break in our house, and I always look forward to this time of year because it is my chance to play around with some craft ideas that I don’t get an opportunity to try during the busy school season. It is during the summer when I tend to get the most inspired, and this project has been just that! It was so fun to try my hand at a craft technique I hadn’t done since I was a kid.
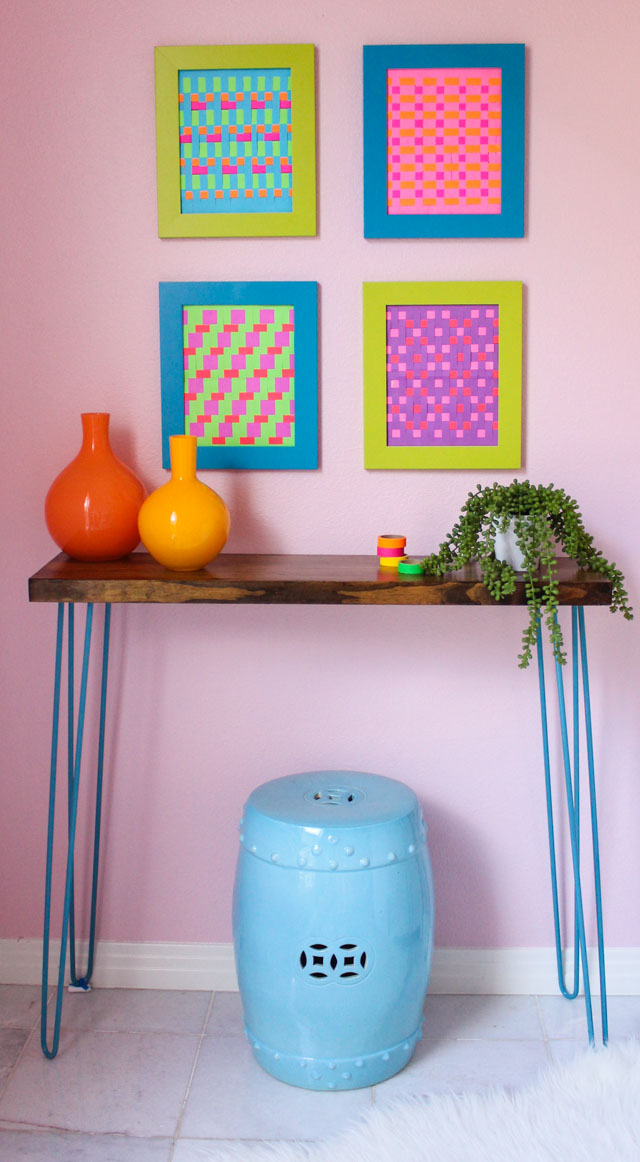
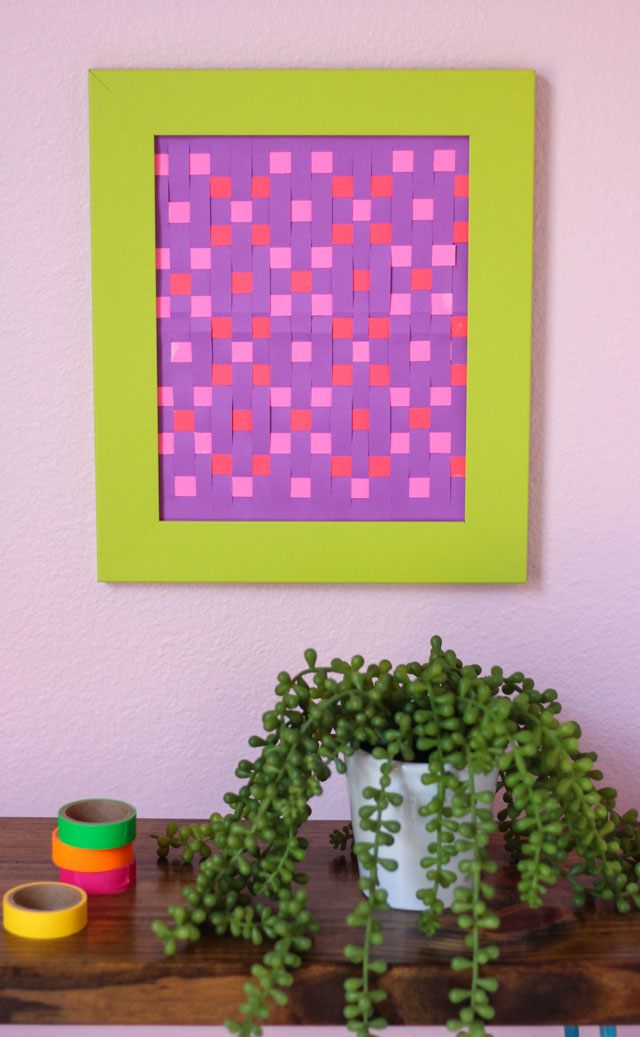
Paper weaving is so simple, but the designs you can make are endless! You can find lots of different patterns to use as inspiration such as these, or you can experiment with your own designs using different sized paper strips.
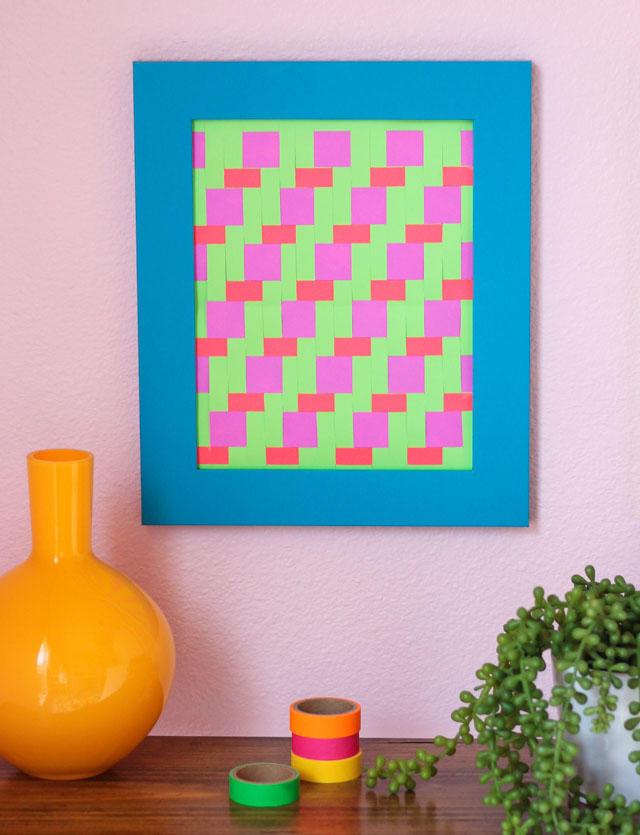
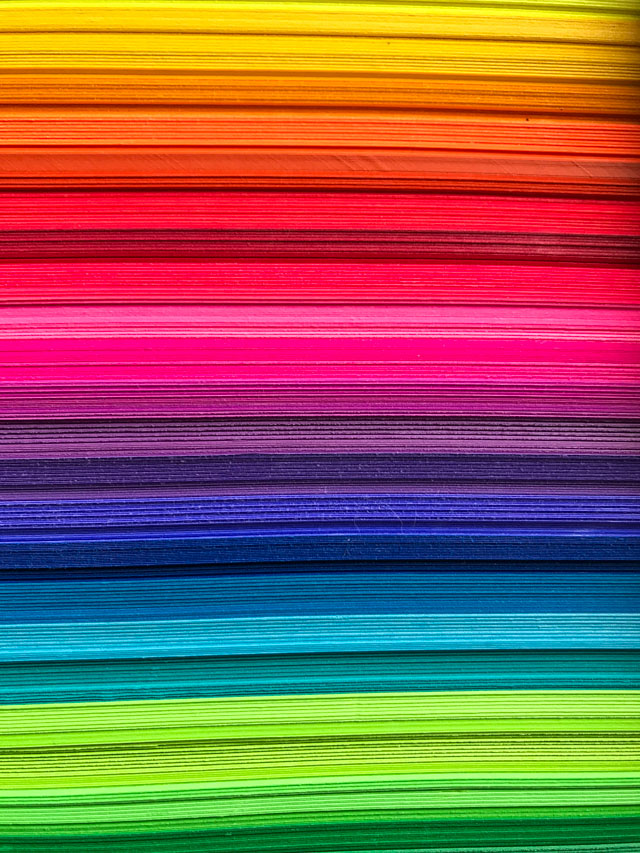
What makes this woven paper art really pop is the amazingly vibrant Astrobrights® card stock. It is unlike any paper I have ever seen! When they sent me a pack of their 25 colors with fun names like Martian Green™ and Fireball Fuchsia™ I was like a kid in a candy shop picking the colors to use for each of the different paper weaving designs. I chose a palette of 3-4 colors for each.
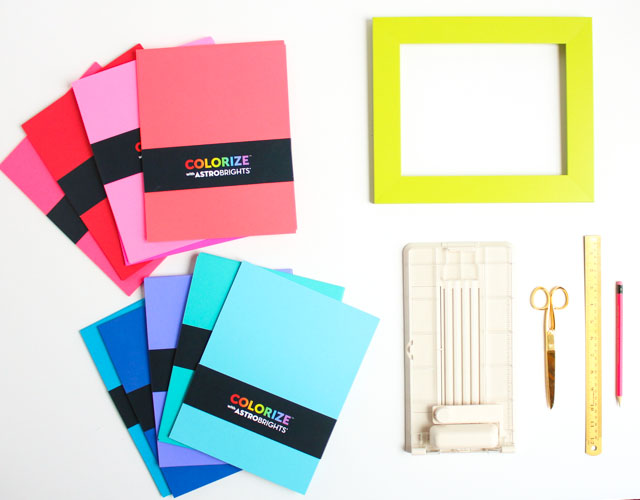
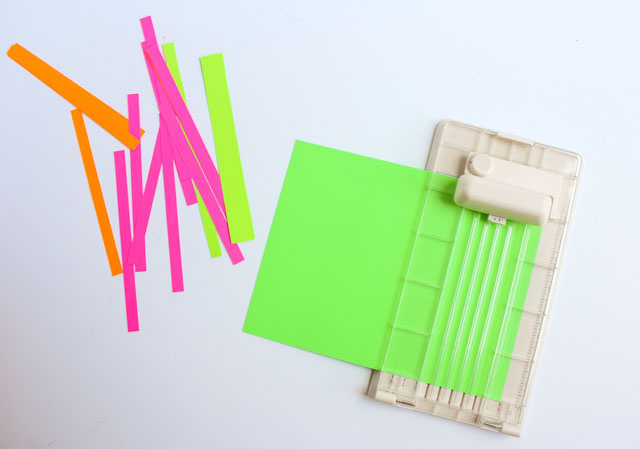
A paper cutting machine or a fringe cutter like this manual one I used is super helpful for this project, but you can always do it the old fashioned way with a pair of scissors and a ruler!
Supplies for Paper Weaving Activity
- ASTROBRIGHTS colored card stock
- Fringe cutter (or scissors and ruler)
- Colorful picture frame (similar to shown)
- Pencil
- Glue stick
How to Make Paper Weaving Wall Art
Step 1. Size paper to your frame
Choose one sheet of paper to use as the base of your paper weaving. If you plan to frame your art, use the glass that comes with the frame to cut your paper to size. Trace around the glass and then cut out.
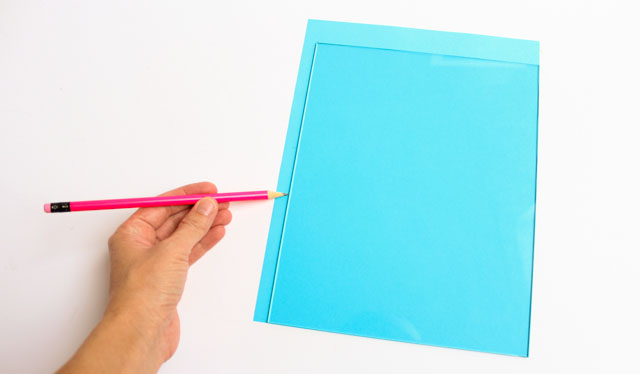
Step 2: Create equally spaced slits in paper
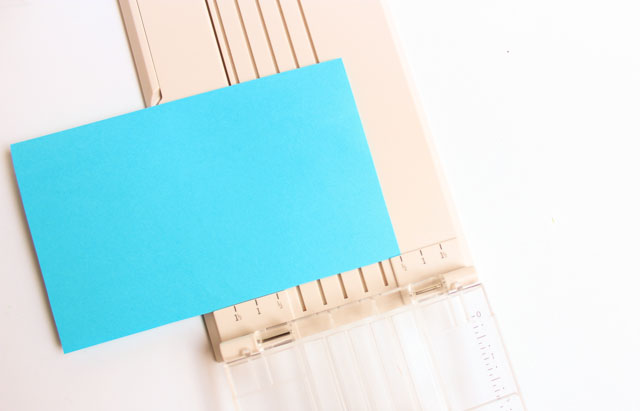
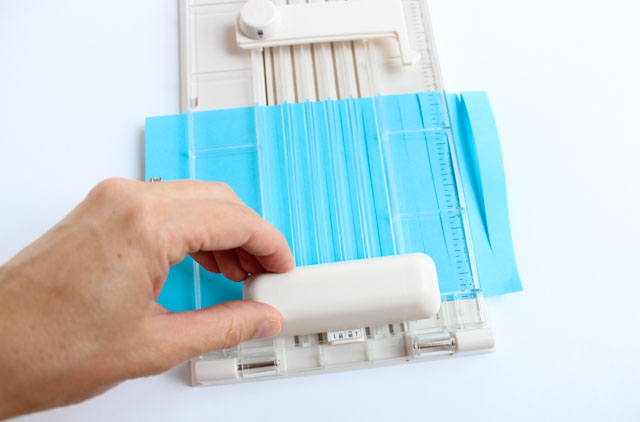
When you have created your slits, it should like this when you unfold the paper. You can also use a scissors and ruler to create these slits if you don’t have a paper cutter.
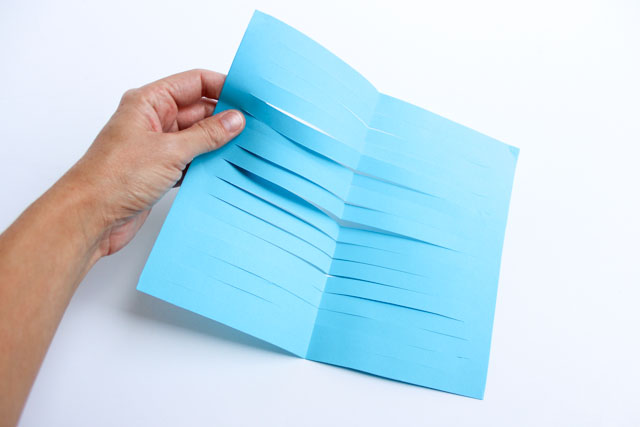
Step 3: Cut paper strips
Next, create several strips of paper to use for the weaving. I cut a mix of 1/2″ and 1″ wide strips using my fringe cutter tool. The strips should be long enough to stretch across the width of your base paper.
Step 4: Start to weave!
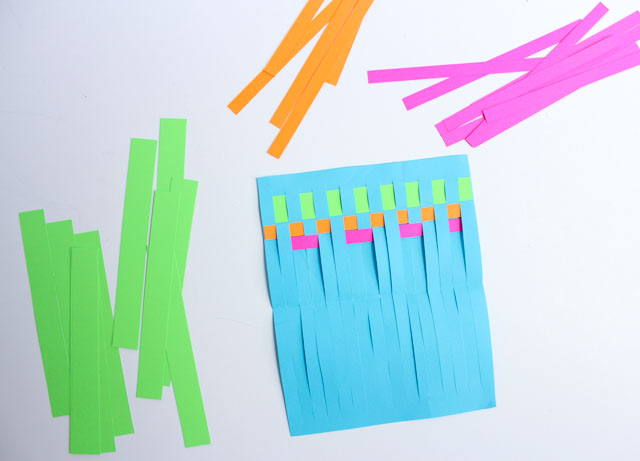
Starting at the top, weave a paper strip in and out of the slits in the base paper. You can create any design you want by referencing some basic paper weaving patterns or coming up with your own. Once you have woven a strip of paper, glue down the end with a glue stick to prevent it from sliding around. Then start a new row underneath by using a different colored paper strip.
I promise you will have so much fun creating the different designs. I didn’t want to stop, but I only had four frames. 🙂 You can leave the glass out of the frames like I did if you want to show off the texture of the paper weaving.
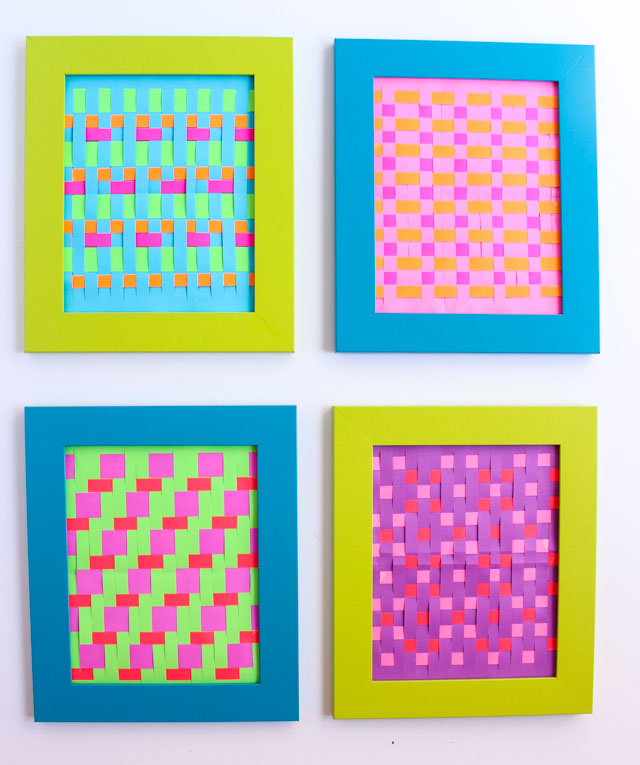
I’m loving my colorful new wall art – especially because it took just a few pieces of paper to make!


