Medicine Cabinet Makeover
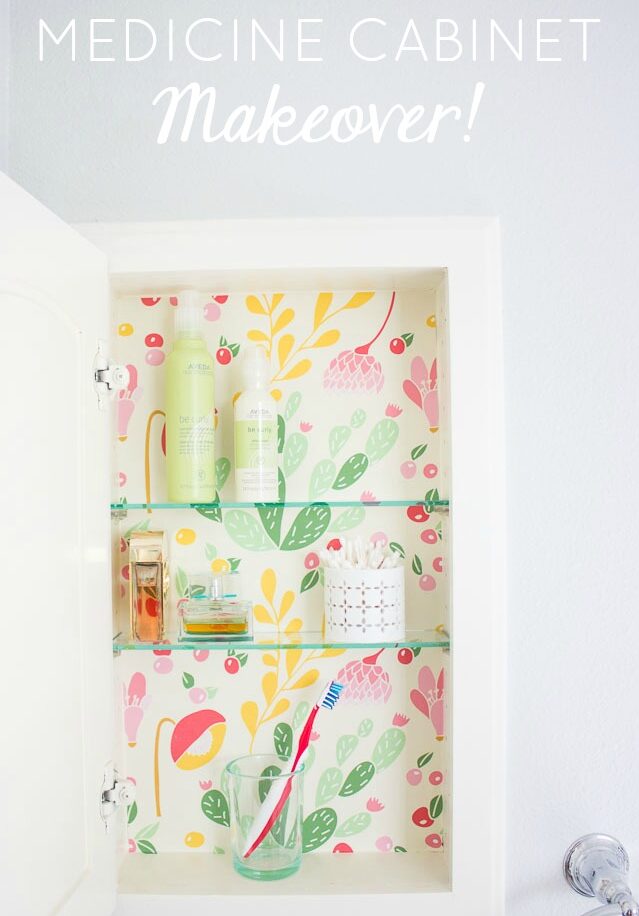
DIY Medicine Cabinet Makeover with Wallpaper
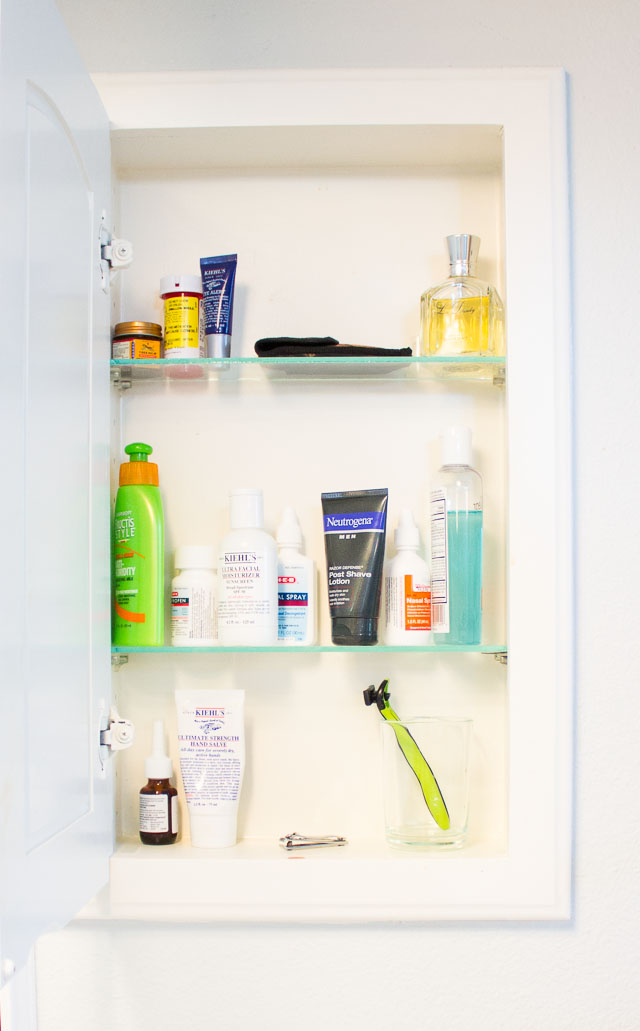
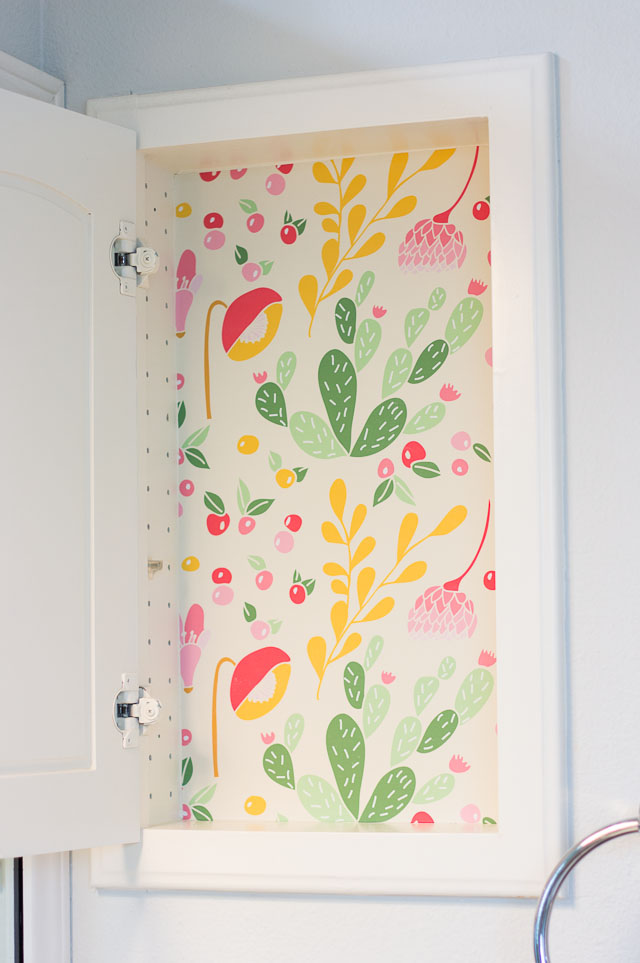
The lovely medicine cabinet. Not something you’d consider an exciting decor piece in your home, right? That is…not until now! Our master bathroom medicine cabinets just got a whole new look thanks to this gorgeous peel and stick wallpaper designed by my friend Audrey of This Little Street!
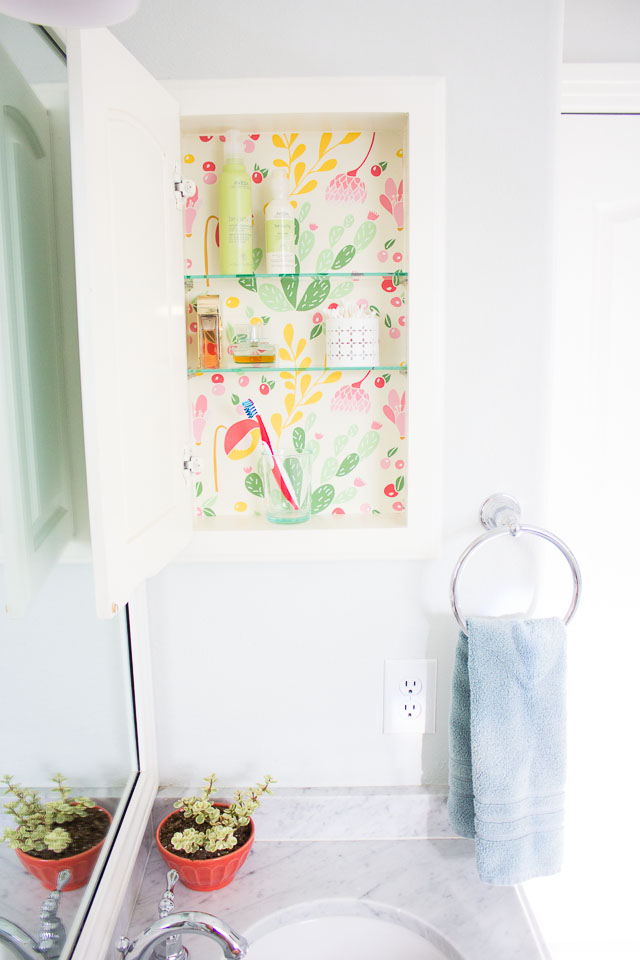
Now when I open up my medicine cabinet in the morning and see this big burst of color it makes me smile. I keep forgetting it is there so it is like a little surprise every time I open the cabinet. 😉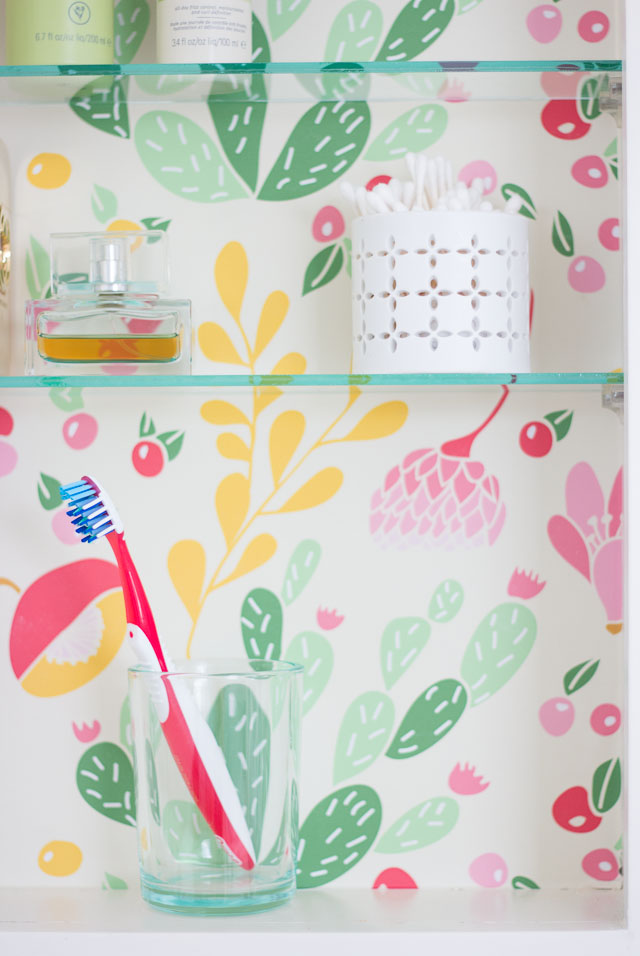
I didn’t want Ross to miss out on all the fun, so I surprised him with a masculine black cacti print in his medicine cabinet:
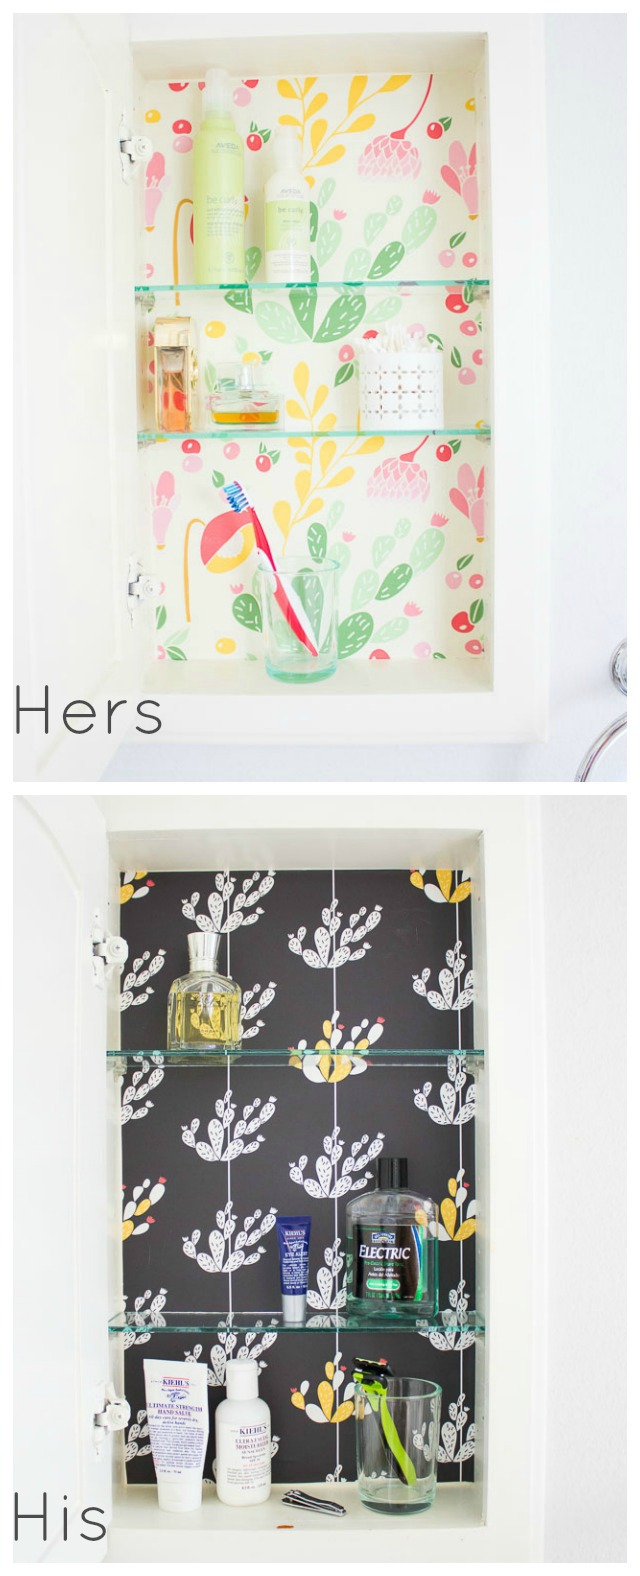
Aren’t these patterns so fun? You can find all of Audrey’s collection on Spoonflower and not only do they come in peel and stick wallpaper, but you can order the prints in a variety of fabrics and wrapping paper as well!
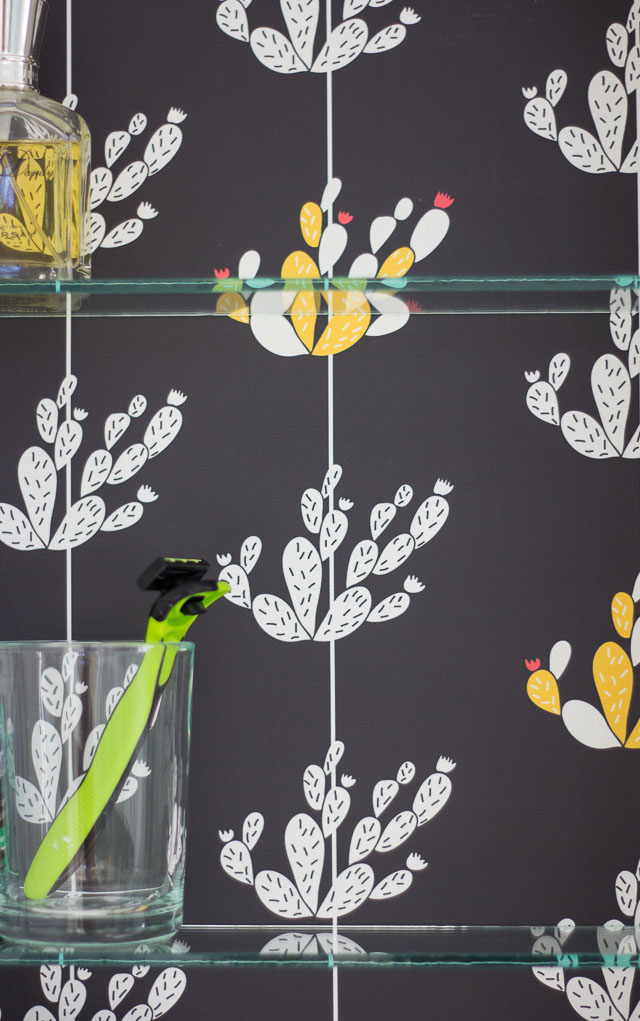
I have never wallpapered anything before so I was nervous to try out this project, but the peel and stick wallpaper couldn’t have been easier and it is even repositionable if needed. If you’re like me and haven’t worked with wallpaper before, a medicine cabinet is the perfect low-risk spot to try it out.
Supplies for Medicine Cabinet Makeover
- Peel and stick wallpaper (I love Audrey’s line of prints!)
- Ruler
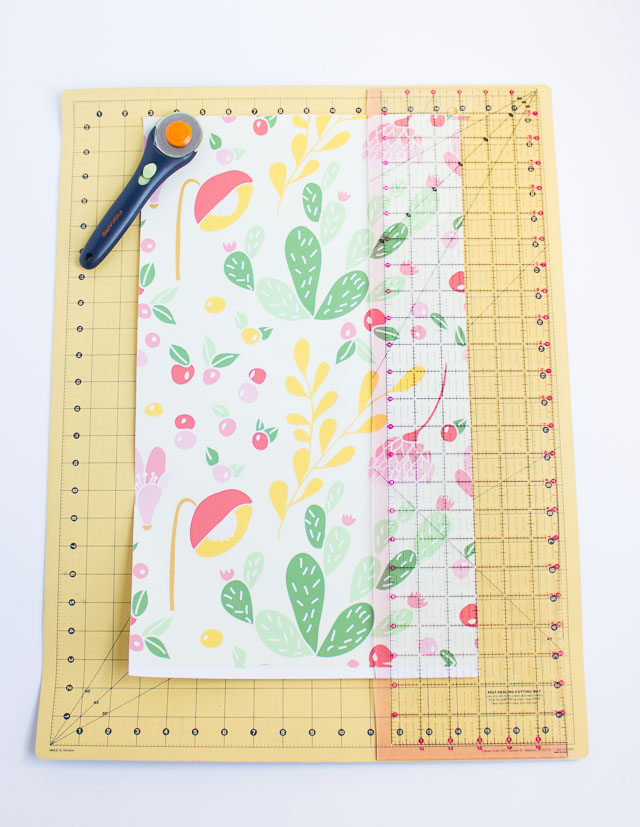
- Cutting mat
- Rotary cutter
Steps for Medicine Cabinet Makeover
Step 1. Empty out cabinet
Clear out all the stuff currently in your medicine cabinet! This is a good opportunity pitch things that are expired or nearly empty.
Step 2: Wipe down cabinet
Give the cabinet a good wipe down with soap and water and let dry completely. I was surprised how dirty my cabinet was – yuck!
Step 3: Remove shelves
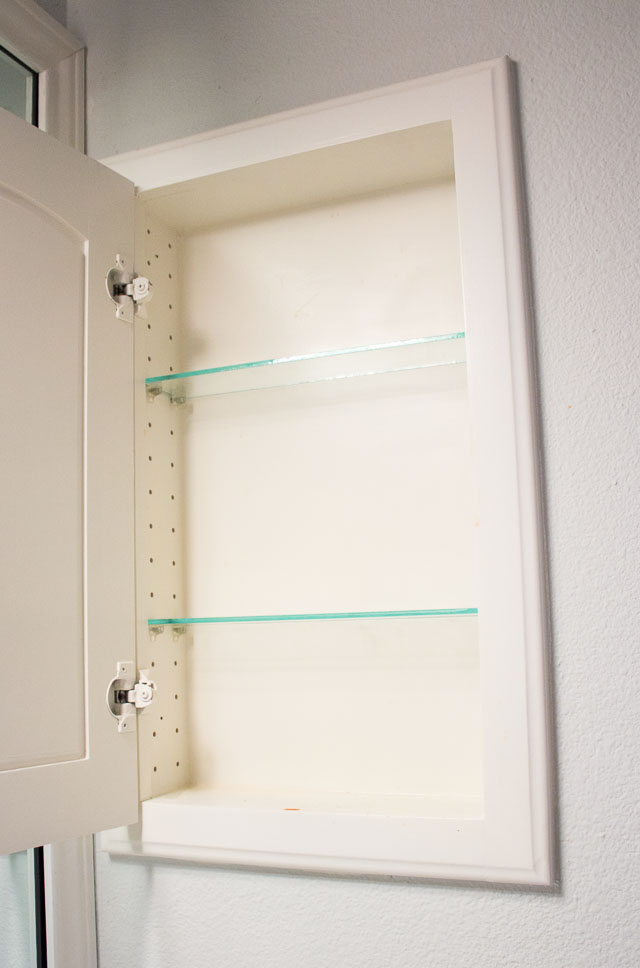
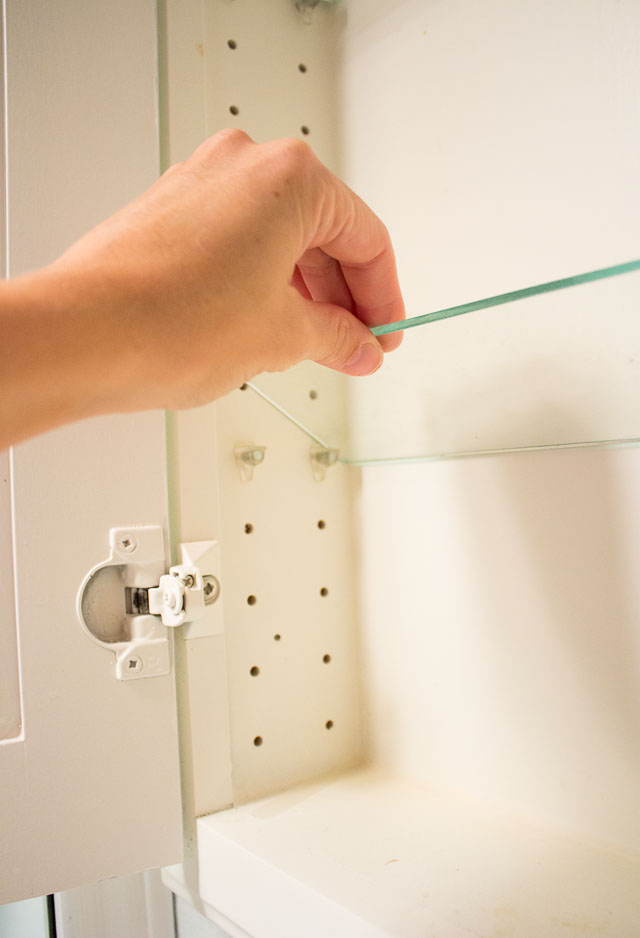
If possible, remove the shelves. If yours aren’t removable you can carefully measure and cut smaller pieces of wallpaper to fit between the shelves.
Step 4: Measure and cut wall paper
Carefully measure the inside of your medicine cabinet and cut a piece of wallpaper to fit. I used a rotary cutter, but you could also use scissors in a pinch! Then peel back the top of the wallpaper and line up with the top of the medicine cabinet. Once aligned, start smoothing down the paper moving from the center and pushing outwards. Continue peeling the backing off as you go and smoothing out any air bubbles. There are handy instructions that come with the wallpaper that explain it better than me!
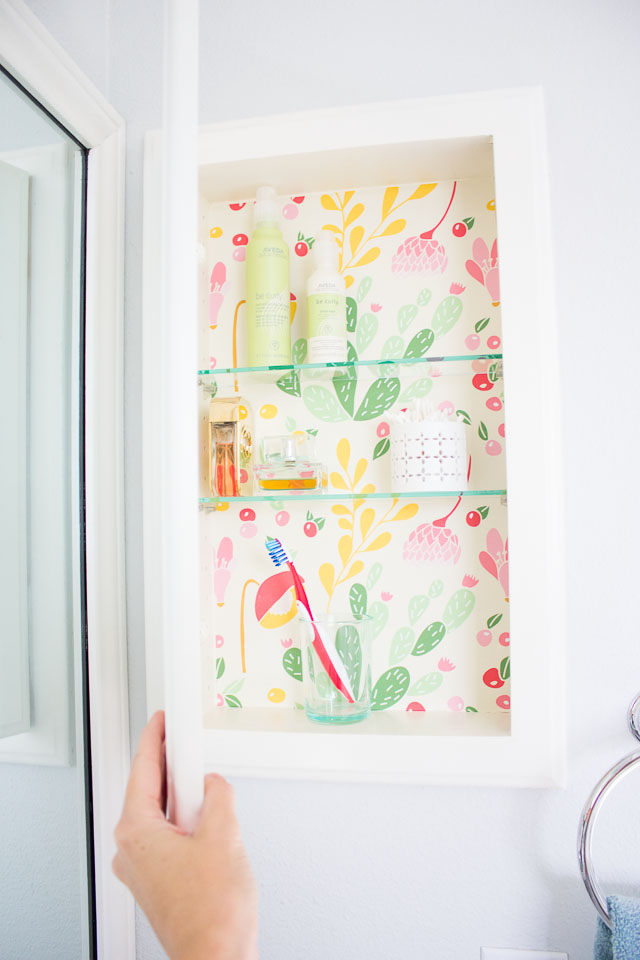
Replace the shelves and your de-cluttered toiletries and you have yourself a medicine cabinet makeover!
Like this DIY bathroom decor project?
Then don’t miss my chic toilet paper holder!
A big thanks to Audrey of This Little Street for providing me with a sample of her new line of prints at Spoonflower for this post!

