DIY Paper Luminaries

DIY Paper Luminaries

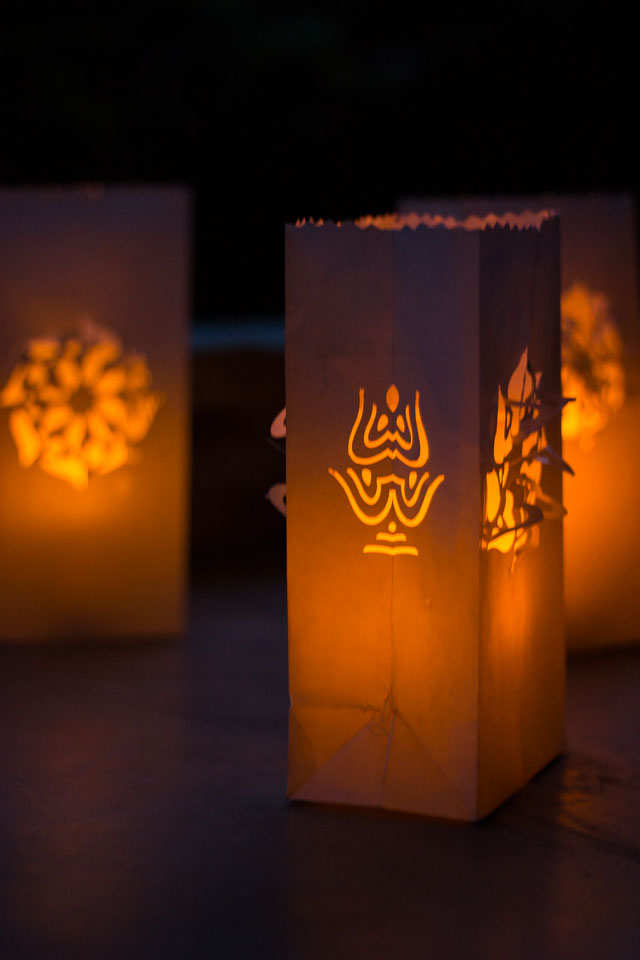
I hope you all had a wonderful Labor Day weekend! We were in Nebraska visiting family and spent several nights out on my mom’s front porch, enjoying the sounds of crickets and the cool air that carried a hint of fall. These simple paper luminaries are the perfect end-of-summer project to add a warm glow to your porch as the sun sets earlier each night.

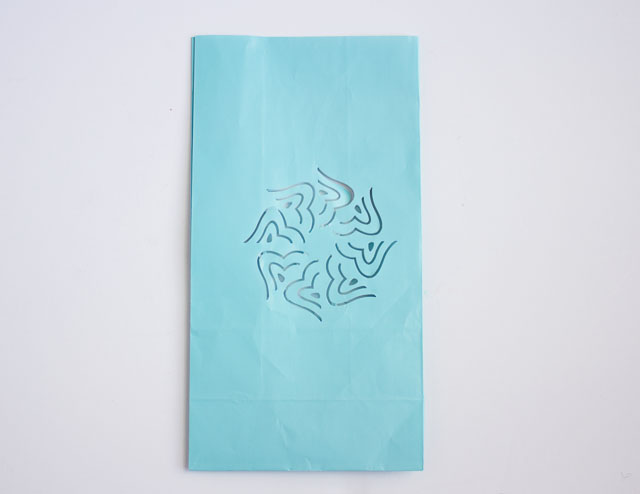
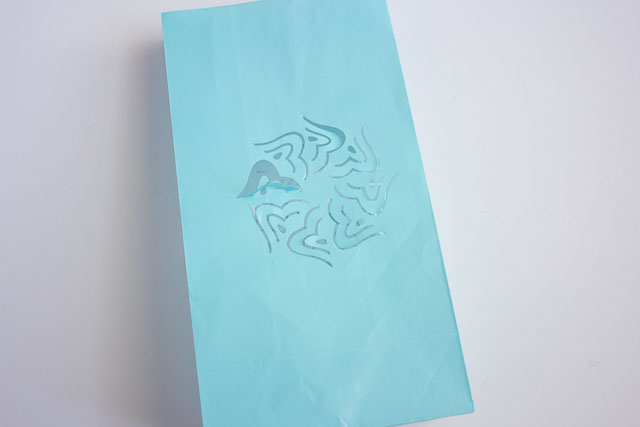
If you are not familiar with luminaries, they are just paper bags with a candle set inside and some holes cut out to let light filter through. For these luminaries, I used the same Martha Stewart paper punch that I shared last week. I can’t get enough of this intricate pattern, and it created the perfect opening to let light through.

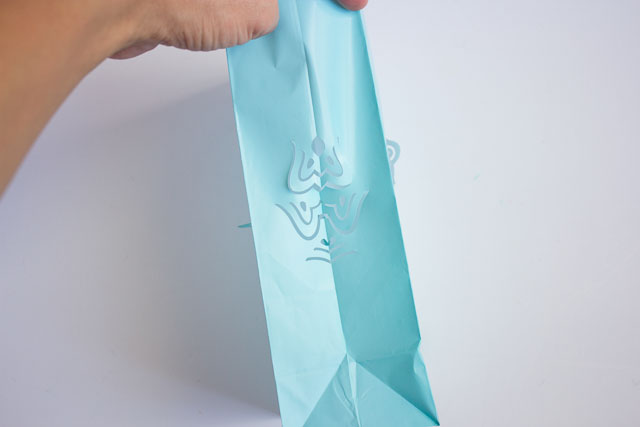
I love when experimenting with a craft leads to unexpected outcome. After punching the design on the front of the bag, when I opened the bag I discovered the punch had also created an additional cool design on the sides! Yay for accidents that actually work in your favor!
The best part? You can use any number of paper punches to make these – what about this jack-o-lantern for Halloween? Here’s what else you’ll need:
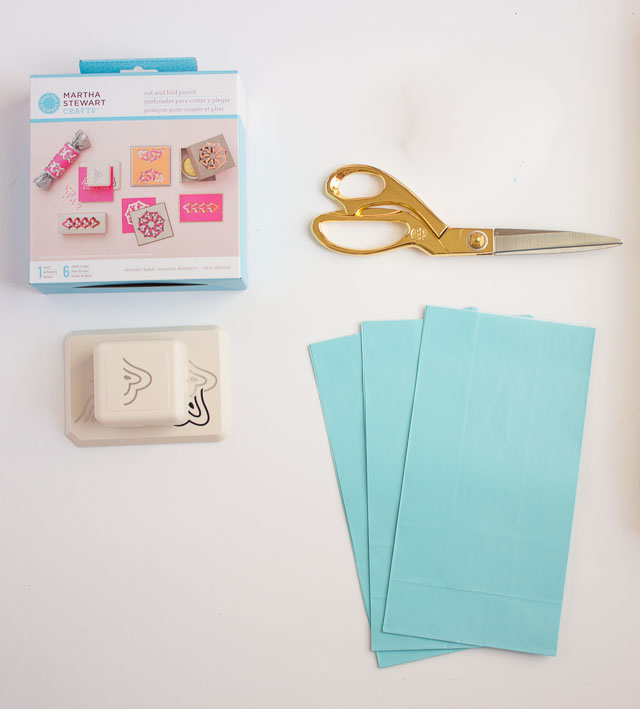
Supplies for Paper Punch Luminaries
- Thin paper bags
- You can use basic brown lunch bags, but I chose colored favor bags (look in the party aisle!) as they provided a nice contrast with the blue on the outside and the white on the inside.
- Whatever bag you use, make sure it is nice and thin so that the punch can go through it
- Paper punch (I used the Martha Stewart Cut and Fold Abstract Rose Punch)
- Edging scissors
- LED battery powered pillar candles
- You could also use real votives by first pouring some sand on the bottom of the bag and then placing them in the middle
How to Make Paper Luminaries
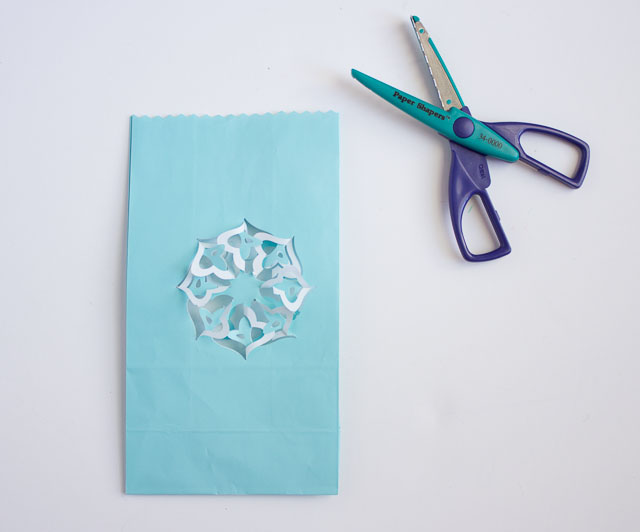
1. Lay a bag flat and position your punch toward the upper center portion of the bag. Start punching out the design. Follow the directions provided with the punch or see more step-by-step photos in this tutorial.
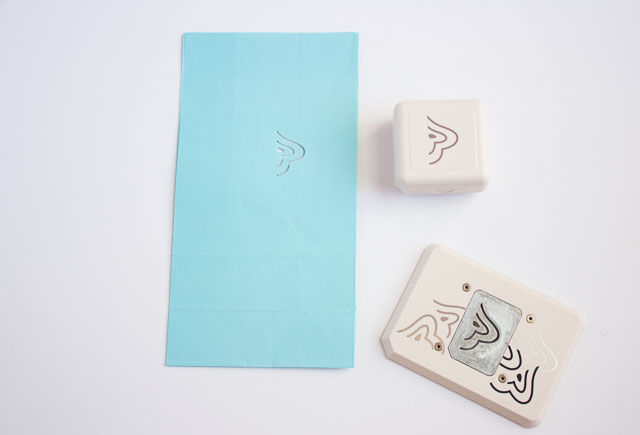
2. Once the design has been punched, fold back the design per the instructions here.
3. If you want, use a pair of edging scissors to give a decorative top to the bag.
4. Open the bag and insert an LED pillar candle
If you want, you can tape a piece of vellum to the inside of the bag to cover the opening and filter the light more, but I thought these worked great as is:
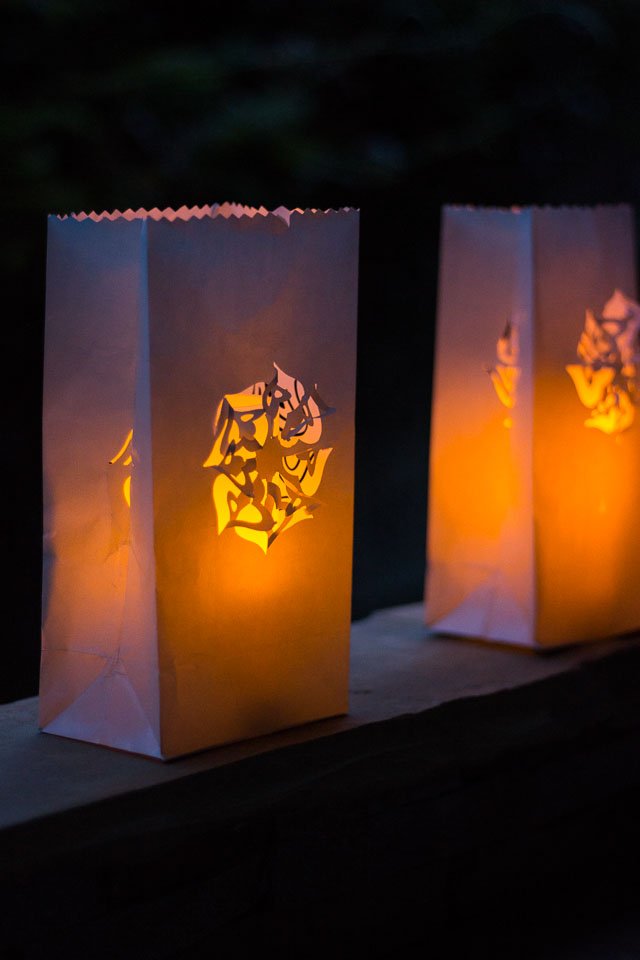
These luminaries create such a warm glow and look so pretty lined up together along a porch railing, your sidewalk, or scattered about your patio.
This is post is sponsored by Martha Stewart Living Omnimedia as part of the #12MonthsofMartha program. All content and opinions are my own.

What size pillar candles ? Source?
These 3″x6″ pillar candles would work great: https://amzn.to/3AwKmnq