Yarn Embroidered Pillows
Yarn Embroidered Pillows
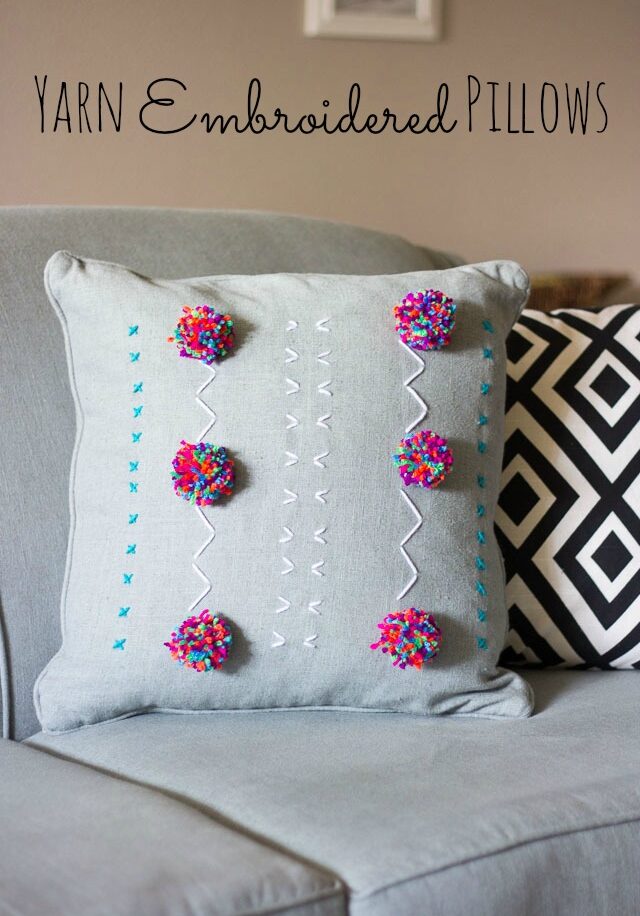
I’m back with another yarn embroidery project for you today. Once I find a technique I like, I can’t stop! This time instead of embroidering baskets, I have yarn embroidered pillows for you.
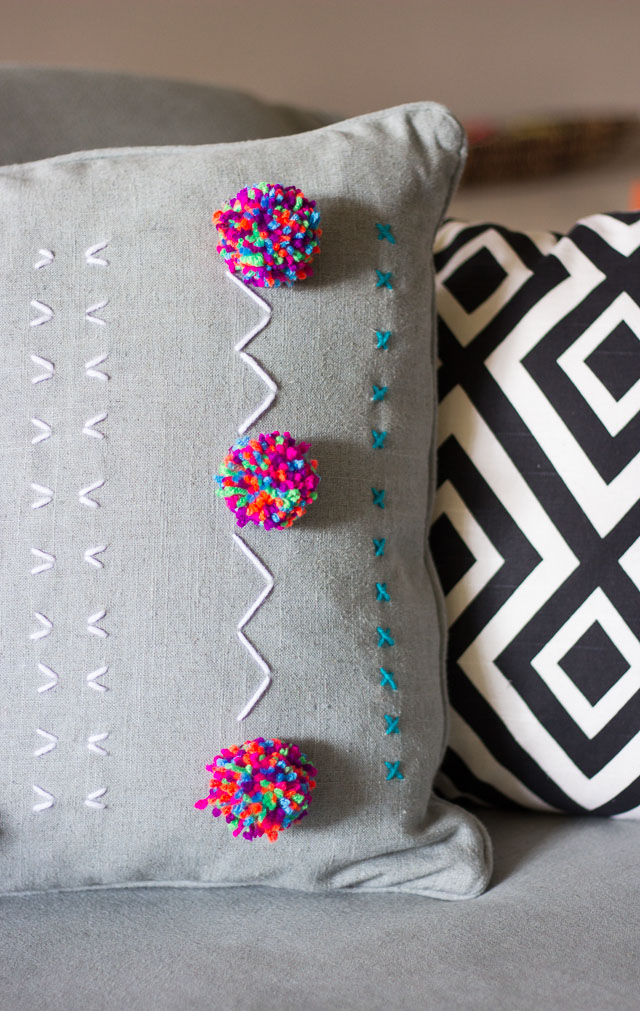
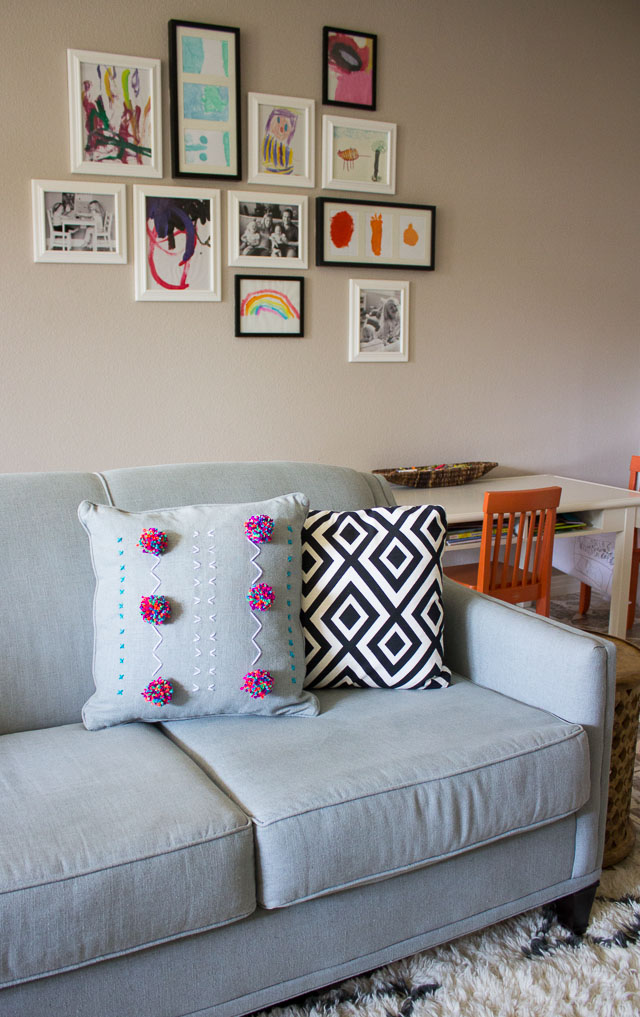
I ended up embroidering one of the matching pillows that came with our couch. I bet you have some of these at home too! This was stored away in my closet as I always prefer to swap these matchy-matchy pillows out for accent pillows with more color and pattern. However, adding a little colorful embroidery is the perfect way to give them a new life!
Any plain pillow cover would work for this project. Here’s what you need:
Supplies for Yarn Embroidered Pillows
- Plain pillow cover
- Yarn in your favorite colors (I used a combination of variegated, white, and turquoise yarns)
- Darning needle
- Disappearing fabric marker or pencil
- Ruler
- Scissors
- (Optional) Stencils (I used these Martha Stewart stencils for the x’s and v’s on my design)
How to Make DIY Embroidered Pillows
Step 1. Trace your design
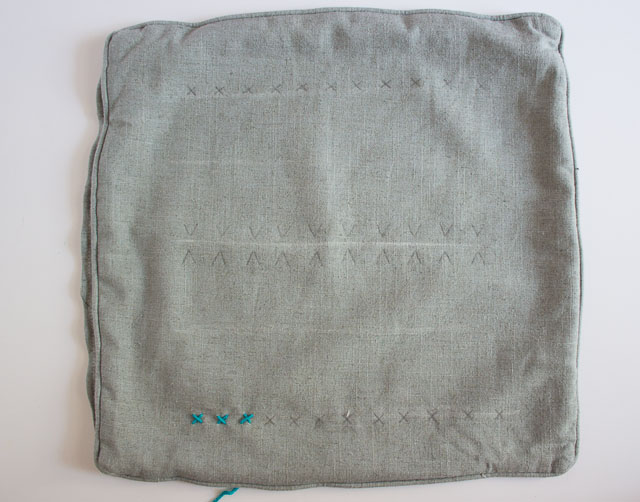
Start by tracing a design on your pillow that you want to embroider. I used a ruler to divide up my pillow into five separate sections. With my lack of sewing skills, I winged it on this part. I first tried stitching the designs freehand but had trouble creating consistently sized stitches, so I ended up using a stencil to trace on the x’s and v’s with a pencil. This approach worked well for me, but may make you seasoned seamstresses cringe. If there is a better approach, please do share!
Step 2. Use a darning needle and yarn to embroider design
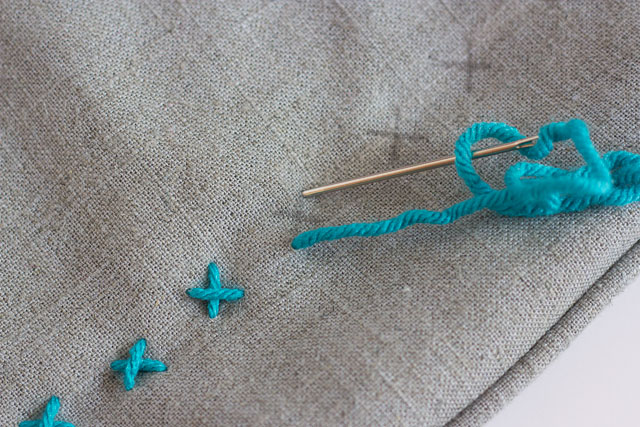
Once your design is sketched onto the pillow, thread your darning needle with your desired yarn and start embroidering each of the rows.
Step 3. Make yarn pom-poms
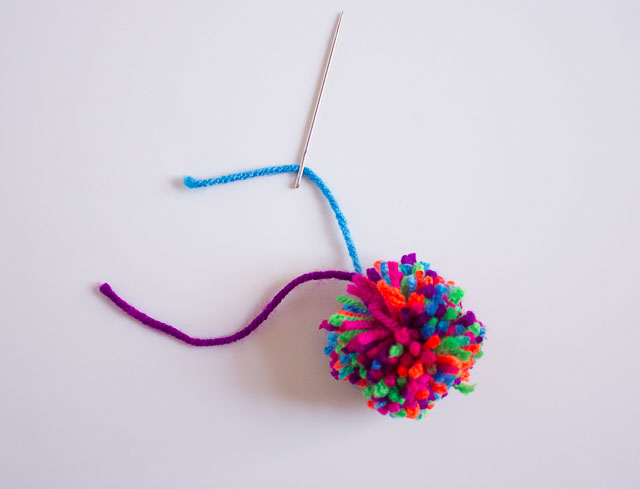
Once your embroidery is complete, make your pom-poms. Here’s a simple pom-pom tutorial if you have never made them before. Just make sure to leave the two long ends of the piece of yarn you wrapped around the middle of the pom-pom when making it. You will use these to sew the pom-pom to the pillow.
Step 4: Sew pom-poms to pillow
To do so, thread your needle with one of the strands and push it through the pillow where you want the pom-pom. Repeat with the other strand and then tie the two together on the inside of the pillow cover.
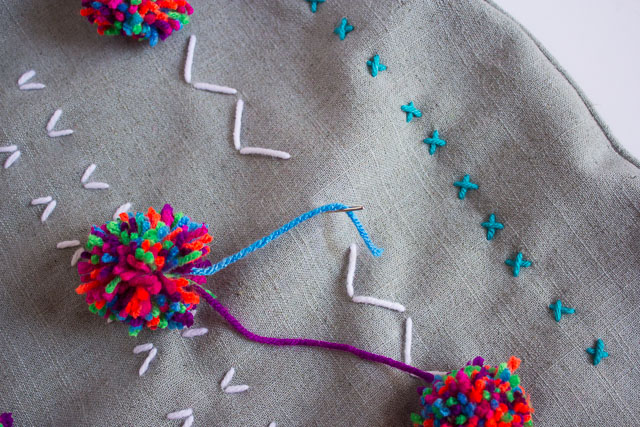
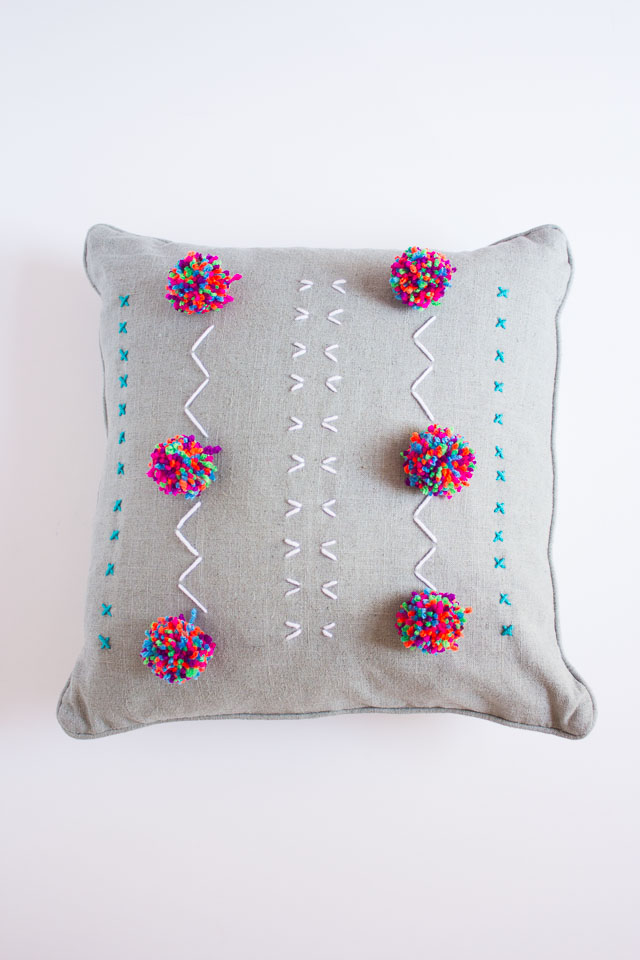
Once your embroidery is complete, stuff in your pillow insert and you’ve got yourself a brand new pillow!
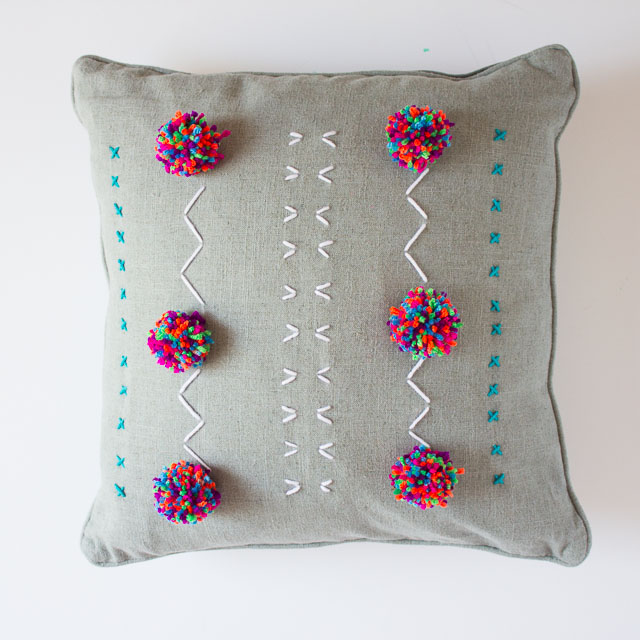
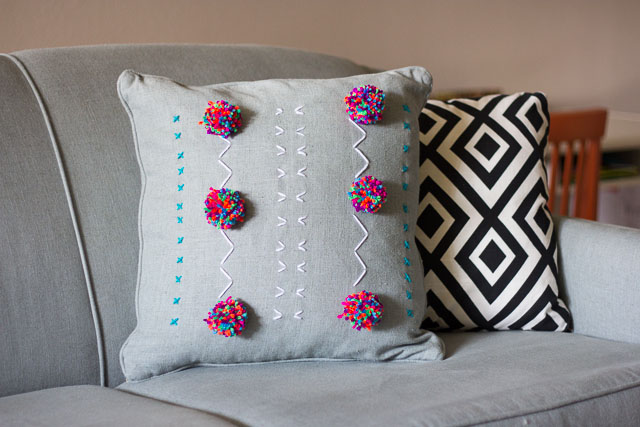
This pillow is essentially free to make if you have an old pillow and some scrap yarn on hand. It took me around 4 hours from start to finish, but that is partially because I was winging it as I went along. I think the results are super fun and pretty close to my inspiration piece!
Like these yarn embroidered pillows?
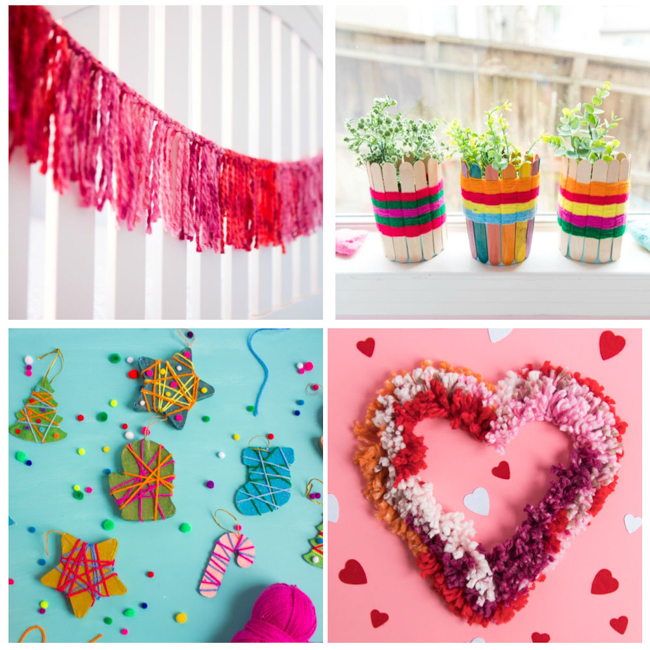
Then don’t miss all my easy yarn crafts!



One Comment