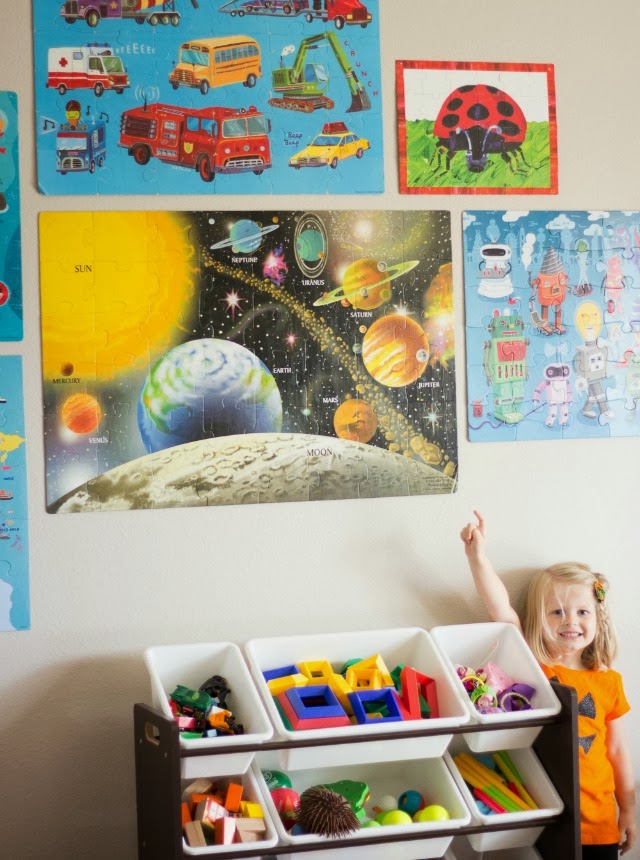
Puzzle Wall
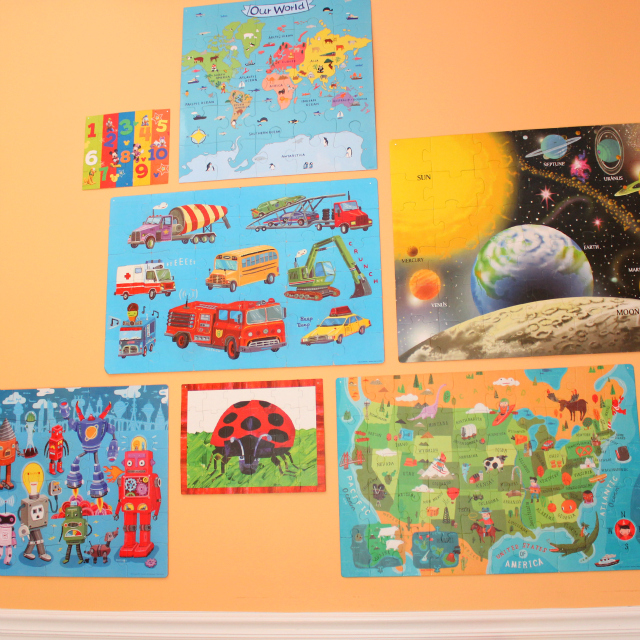
This latest revamp project might just be my favorite. I transformed several of Stella’s old puzzles into a gallery of wall art for the girls’ new playroom.

Using puzzles as wall art is something I haven’t really come across yet in children’s decor. Maybe it’s because it is a bad idea, or maybe I’ve just discovered the next big thing! Of course, preserving puzzles by sealing them with a few coats of Mod Podge has been going on for decades among the 60+ year old set. I know my grandpa has made a few in his independent living community. I’m just trying to bring the art to the 10 and under age group. 😉

The idea came about because my 3 year old loves puzzles and she happens to have a lot of them. She also is pretty darn good at them (in her unbiased mommy’s opinion) and has moved on from the 30 piece floor puzzles to tackle the 100 piecers. If you have a bunch of puzzles going unused at home, this just might be the project for you! Here are some tips:
Select Your Puzzles
- To the extent possible, choose a set of puzzles that makes sense together, whether it is a complementary color palette or similar theme (e.g., all maps, all animals, etc.). I’m particularly fond of the puzzles from Crocodile Creek.
- Try to find a variety of sizes, especially if you’re going for a gallery style grouping.
- Hit up local thrift stores for additional puzzles to mix in. I actually get most of Stella’s puzzles at Salvation Army for $1-$2 a piece.
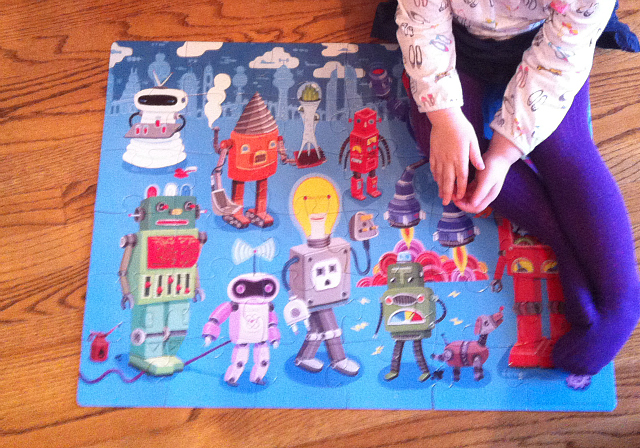
- This is an important tip – get permission from your child to use their puzzles! While Stella had put most of the puzzles together so many times she didn’t mind me putting them up on the wall, I did purchase this new robot puzzle that she put together just once before I gave it the Mod Podge treatment. Let me tell you, she was not happy with me!
Seal Them With Mod Podge
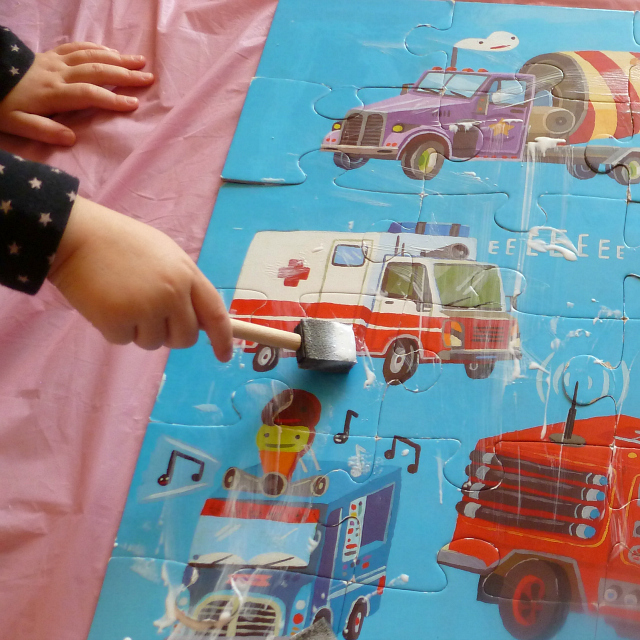
- Have your child put the puzzle together one last time!
- Apply 2 coats of Mod Podge to the front of the puzzle with a small paint brush, letting it dry 15 minutes between each coat.
- If needed, apply 1-2 coats to the back of the puzzle.
Hang Them Up!
- Test out a few different layouts on the floor before putting them on the wall
- You can hang up the puzzles with a couple small nails (pounded right through the puzzle) or command hooks
What do you think, would you try this with your child’s puzzles?


Oct. 2013 Update – the puzzle wall came with us to San Antonio and is now decorating the girls’ new playroom!