In case you are looking to make a ballerina cake, or really any pink cake with a little bit of frilliness, you might find a helpful idea or two in this tutorial. Read on below to find out how to make the tulle pom-poms and the tutu cake stand.
How to Make Tulle Pom-Poms
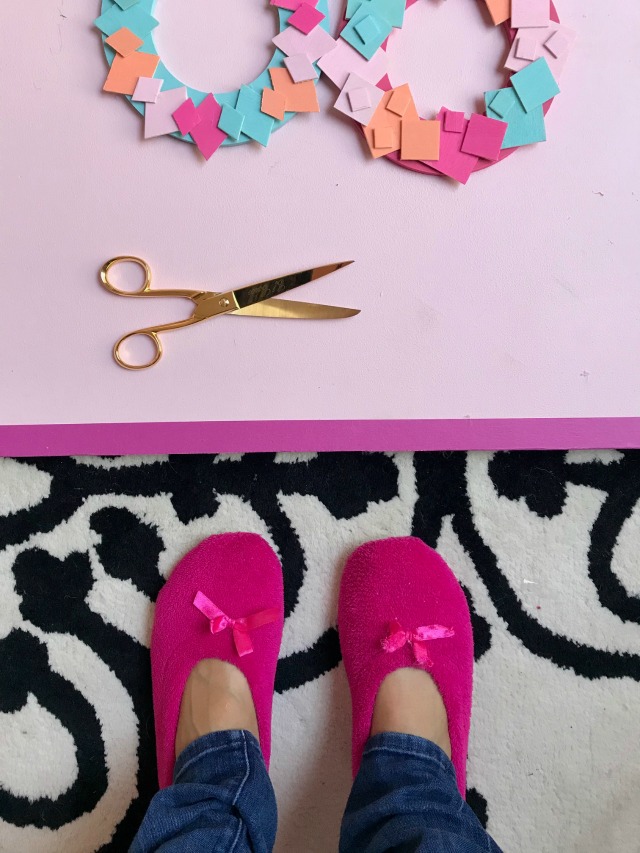
Making these tulle pom-poms uses the same basic technique as the yarn pom-poms I made for my pom-pom yarn wreath. Here’s what you do:
1. You’ll need a piece of tulle roughly 2.5 yards long and 6 inches wide for each pom-pom. I think you can buy a spool of tulle already 6 inches wide, but I had to cut mine down. I laid it out on the floor and eyeballed six inches. As you can tell, your cutting job can be pretty rough and it will still turn out just fine!
2. Take the tulle and wrap it around a piece of cardboard (cut a piece that is 6 inches wide and 4 inches tall).
3. Then slide the tulle off the cardboard and secure in the middle with a piece of clear string, wire, or in my case, dental floss. 😉 Tie a tight knot. Then take your scissors and cut through the loops of tulle above and below the knot.
4. With your fingers, start separating the individual pieces by pulling them towards the middle and forming a ball shape.
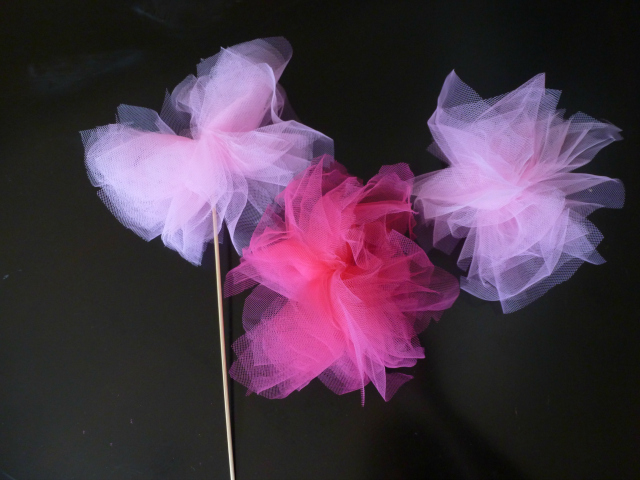
5. To make the pom-pom cake toppers, I just took a long bamboo skewer and then poked it up through the tulle and secured with a little hot glue.
If you make enough, you could also string these into a really pretty garland for your party as well!
How to Make a Ballerina Cake
The cake itself is an angel food cake with buttercream frosting. For the cake, I really like this Ina Garten angel food cake recipe (I omitted the lemon zest). For the buttercream frosting, I always follow the recipe on the back of the powdered sugar bag!
Now for how to make the cake stand. Warning – this is a really high-tech method using a kitchen pot!
1. Edge a high cake stand or a kitchen pot turned upside down with double-sided tape:
2. Put your tutu over the cake stand, and secure in place by pressing against the double-sided tape:
3. I had already frosted the cake on a dinner plate, and set that on top of the pot once the tutu was on:
4. From there, I stuck in the tulle pom-poms and a paper ballerina die-cuts glued to skewers and that was it!
If you’re new to this site, here are all the details on the ballerina birthday pa