How to Make DIY Wood Heart Decor

Make a DIY Wood Heart Sign

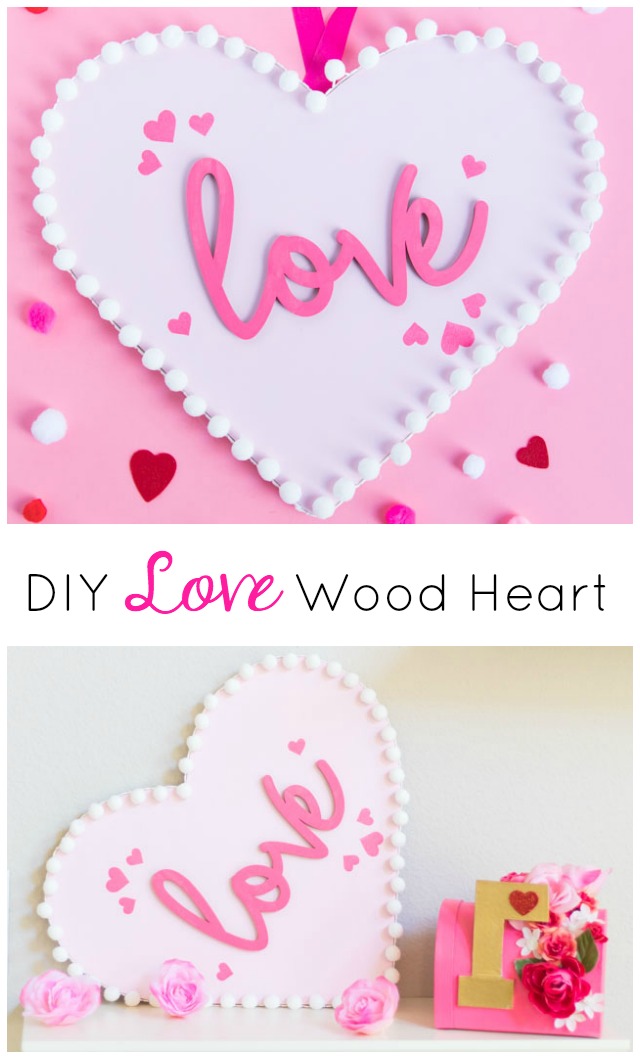
Welcome to Day 4 of Love Week! Today I have another fun project for you in partnership with CraftCuts – a DIY wood heart that you can hang on a door or prop on a shelf for Valentine’s Day. This is the second time I have used CraftCuts’ custom wood products to make a one-of-a-kind piece of decor for the holidays (I also made this card display), and I love how it turned out. It reminds me of a giant decorated sugar cookie!
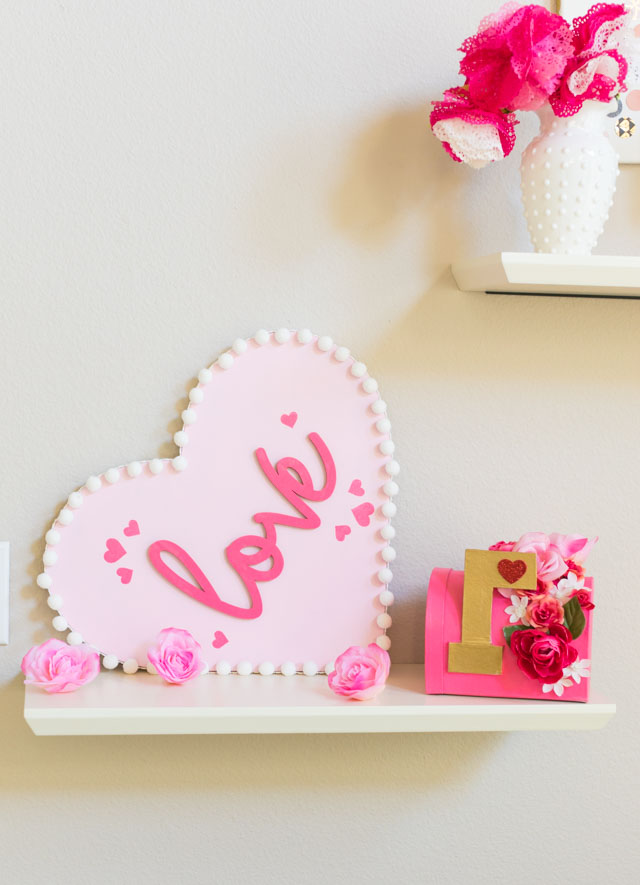
I addition to wood, CraftCuts can cut metal, plastic, vinyl, foam, and even stencils into any variety of letters, numbers and shapes. My favorite are their custom script wooden letters, which I used to spell “love” for my heart decor. You can choose from over 18 different fonts, have them cut words anywhere from 1″ to 18″ tall, and from 1/8″ to 3/8″ thick. You can even have them paint the words for you! Check out all the customization options.
For the heart, I chose an 18″ wide heart rounded craft shape cut from MDF and 1/2″ thick. The thickness gives it a really substantial weight, although you could go thinner if you want and it would still work great!

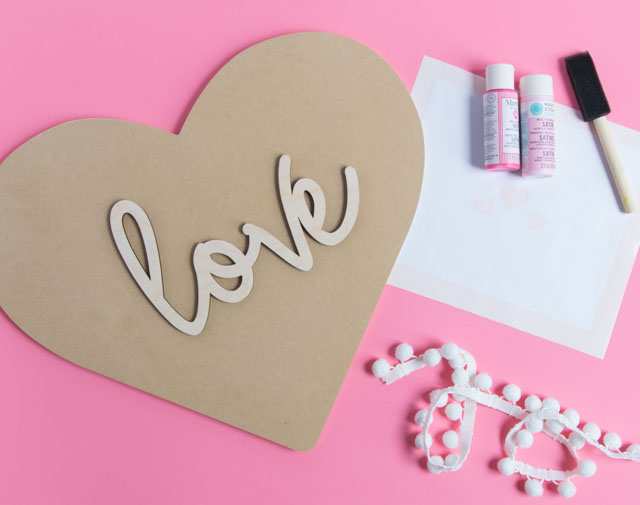
Supplies for DIY Wood Heart Decor
- CraftCuts Heart Rounded Craft Shape (I made mine 18″ wide and 1/2″ thick, cut from MDF)
- Script Wooden Letters (I spelled “love” using the Hickory Jack Light font in 5″ tall letters, with 1/4″ thickness)
- CraftCuts Heart Cluster Stencil (I chose a 3″ wide stencil with Re Stic backing)
- Acrylic craft paint
- Foam brush
- White pom-pom trim (I used 1 1/8″ trim)
- Hot glue
How to Make Wood Heart Decor
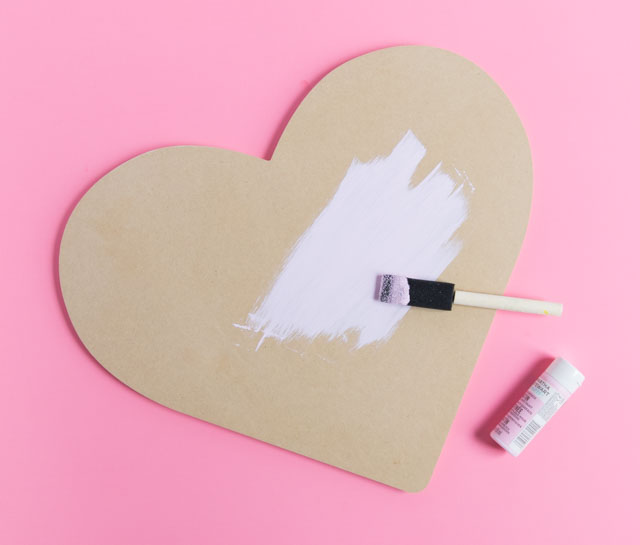
Step 1: Paint the heart
Paint the wood heart with a light pink acrylic craft paint and a foam brush. Let dry and apply a second coat if needed.
Step 2: Paint the wood letters
Paint the wood script letters with a darker pink acrylic craft paint and let dry.

Step 3: Add heart details
Adhere the word to the center of the heart with hot glue. Position the heart stencil where you would like to add some additional heart details. Use the dark pink paint and a foam brush to stencil on the hearts.
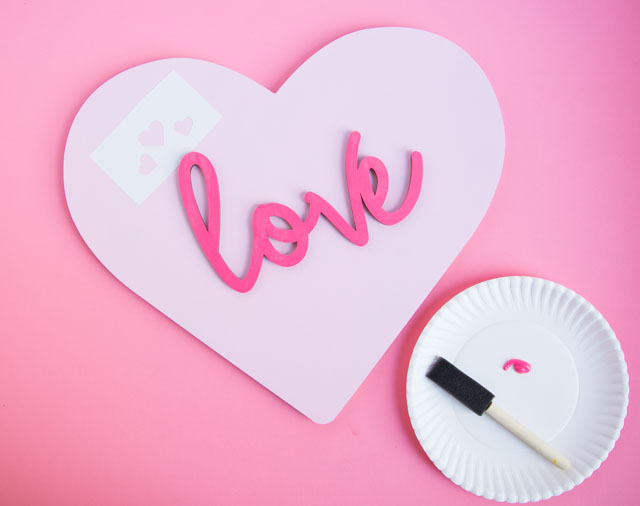
Carefully lift up the stencil to reveal your design. The Re Stic backing makes it easy to remove and reposition the stencil multiple times.

Step 4: Glue on pom-pom trim
Add 1 1/8″ white pom-pom trim around the outside of the heart with hot glue.

Step 5: Add a ribbon hanger
You can add a ribbon hanger to the back of your heart if you want. I would recommend choosing a 1/4″ or 3/8″ wood thickness if you plan to hang it on a door. The 1/2″ thickness I chose is perfect for propping on a shelf or mantel.

This pretty piece of wood decor will stand the test of time and can be displayed for many Valentine’s Days to come!
Like this pretty DIY love sign?
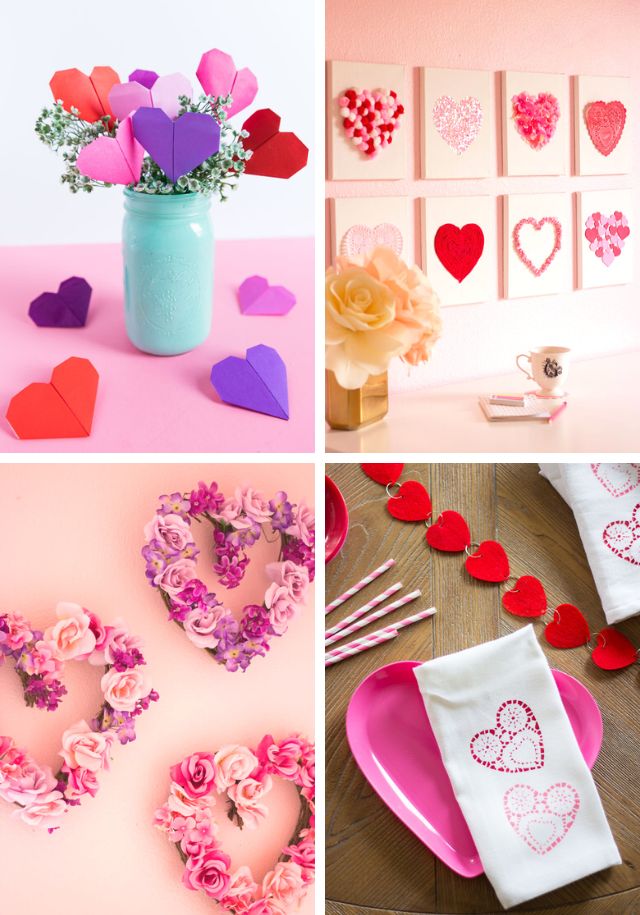
Then don’t miss these other Valentine’s Day crafts!
This post is sponsored by CraftCuts.




I can’t find the one that says You Are My Sunshine. Can you please post it to me? Thanks!!
Hi Diana – I’m not sure what you are referring to! Please let me know what “You are my sunshine” craft you are looking for.