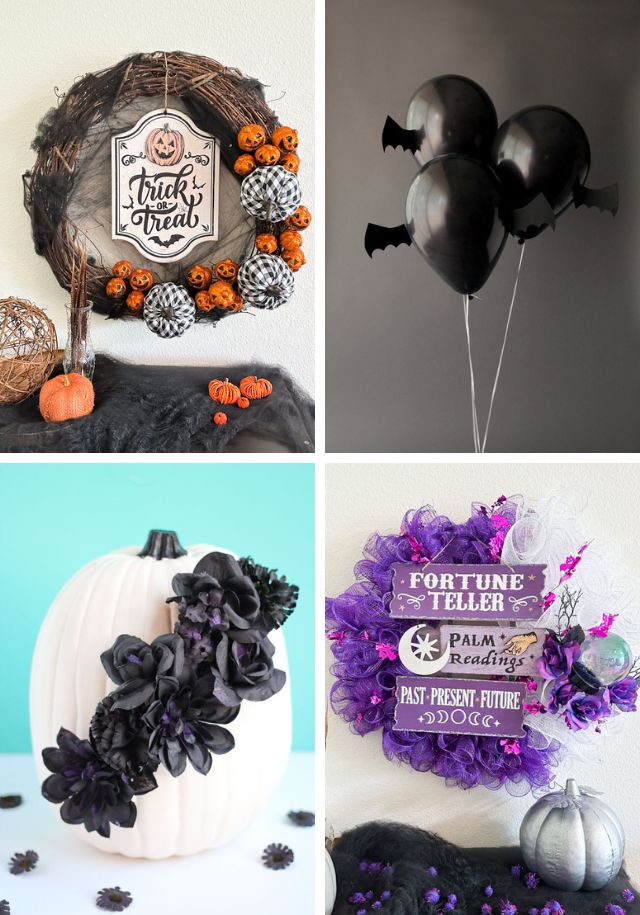
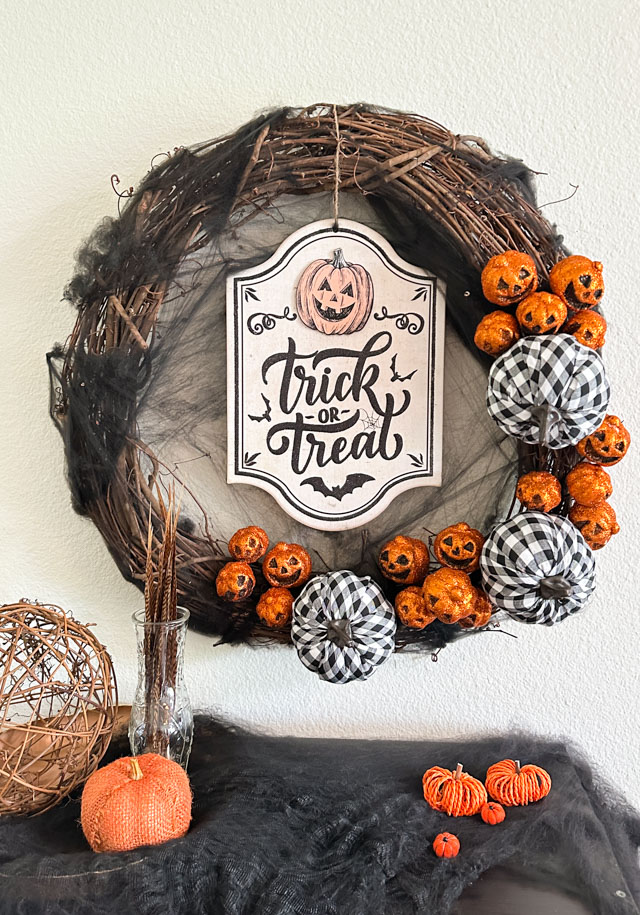
Pumpkin Week: Black Flower Pumpkins
DIY Flower Pumpkins
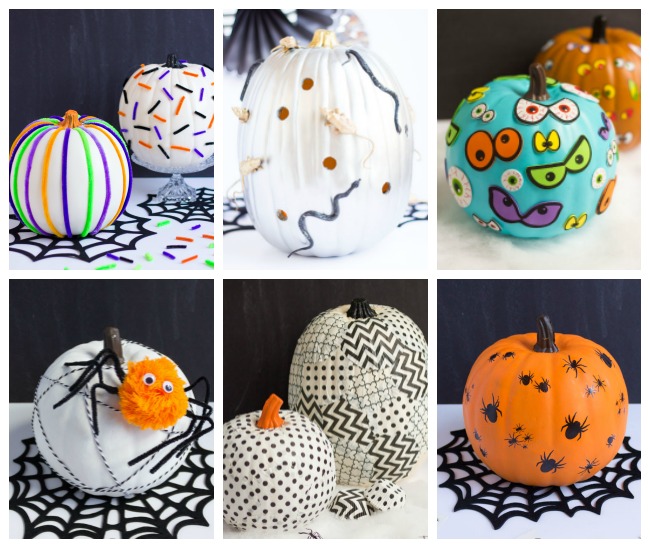
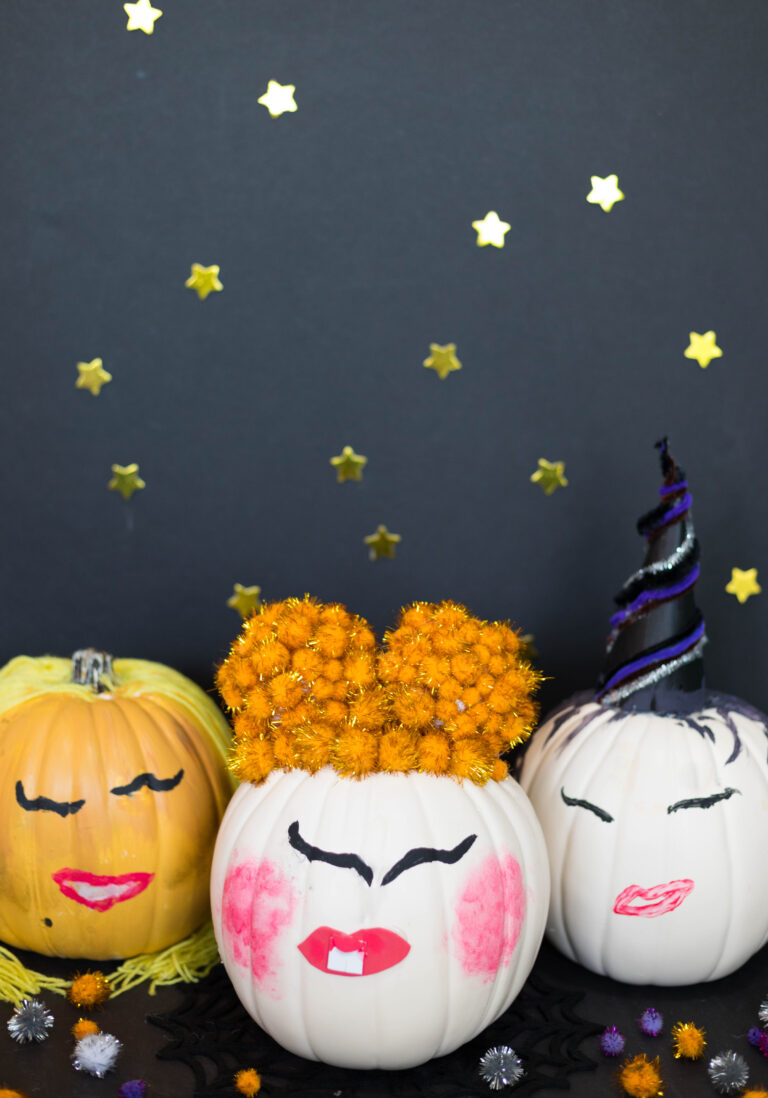
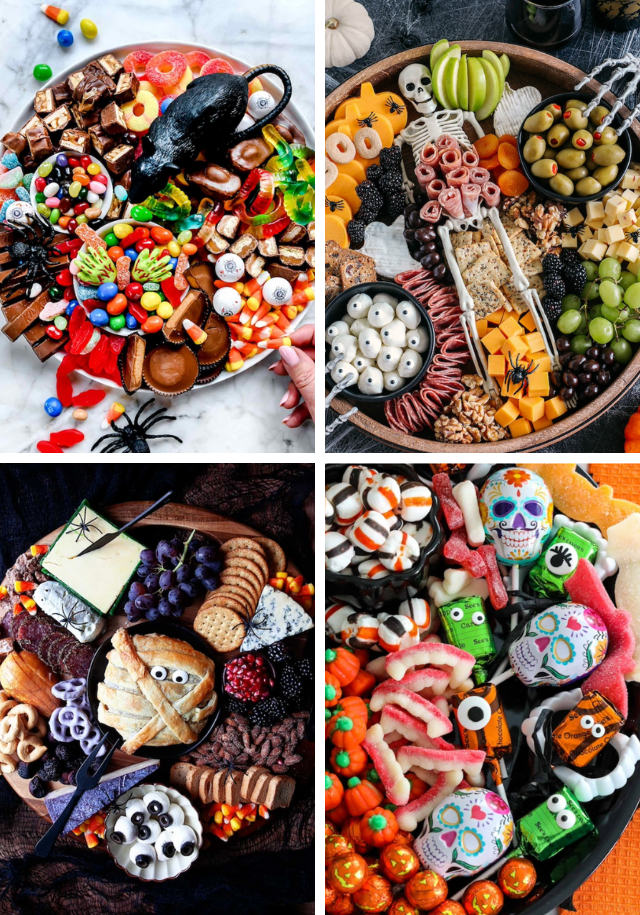
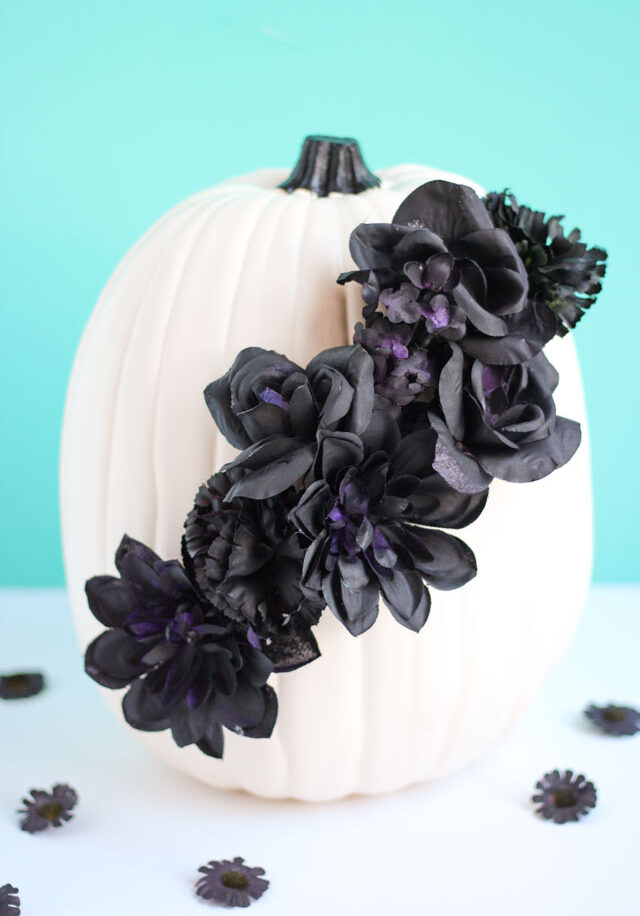
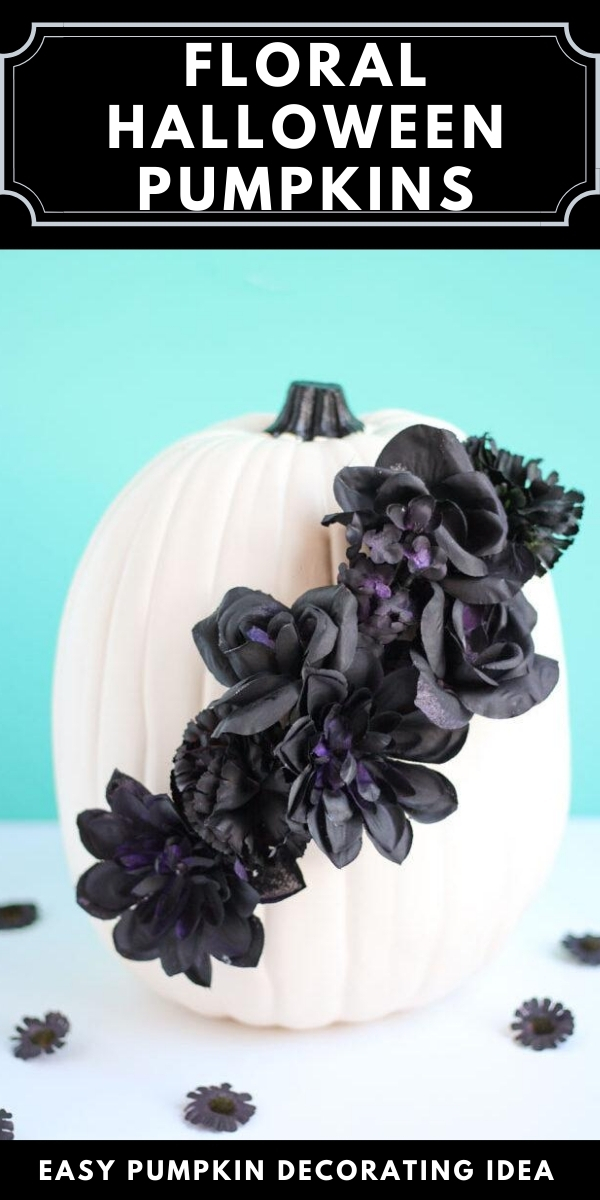
Introducing my black flower pumpkins! It’s the final day of Pumpkin Week and we’re wrapping it up with these pumpkins which are a mix of pretty and spooky! I thought the contrast of a white pumpkin with black flowers would look neat, and it was a fun way to give some dollar store flowers a Halloween makeover. Read on for the tutorial, and check out my other Pumpkin Week ideas in case you missed them: pom-pom pumpkins, Day of the Dead pumpkins, geometric glitter pumpkins, and googly eye pumpkins. I hope you’ve enjoyed Pumpkin Week – thanks so much for following along!

The Dollar Tree is a great source for inexpensive artificial flowers. You can get a bunch of them for $1, and you don’t need more than a couple bunches for this project. I left a little bit of the purple on the flowers poking through because I liked the look of it. What do you think? You can always cover the flowers more thoroughly with a few coats of spray paint if you prefer them to be completely black.

Supplies for Black Flower Pumpkins

How to Make Black Flower Pumpkins
Step 1: Paint pumpkin stem
Tape off the base of the pumpkin stem with painter’s tape and paint the stem black with craft paint and a foam brush.

Step 2: Spray paint flowers
Paint a variety of faux flowers with black spray paint. I put a tarp down outside and painted these with a can of black chalkboard paint I had on hand. Any spray paint will work! Just make sure to give them good coverage since there is a lot of surface area to the flowers. Let dry completely.

Step 3: Clip flower stems
Use a wire cutters or strong pair of scissors to cut as much of the stem from the base of your flowers as you can. This will help them lay flush against the pumpkin.

Step 4: Glue flowers to pumpkin
Add the flowers to the front of the pumpkin with hot glue. I wrapped mine around the front of the pumpkin in a diagonal line.

A group of these in different sizes would make for a really pretty Halloween centerpiece!
Like these black flower pumpkins?
Don’t miss these other pumpkin decorating ideas!