How to Decorate a Cork Board
How to Decorate a Cork Board
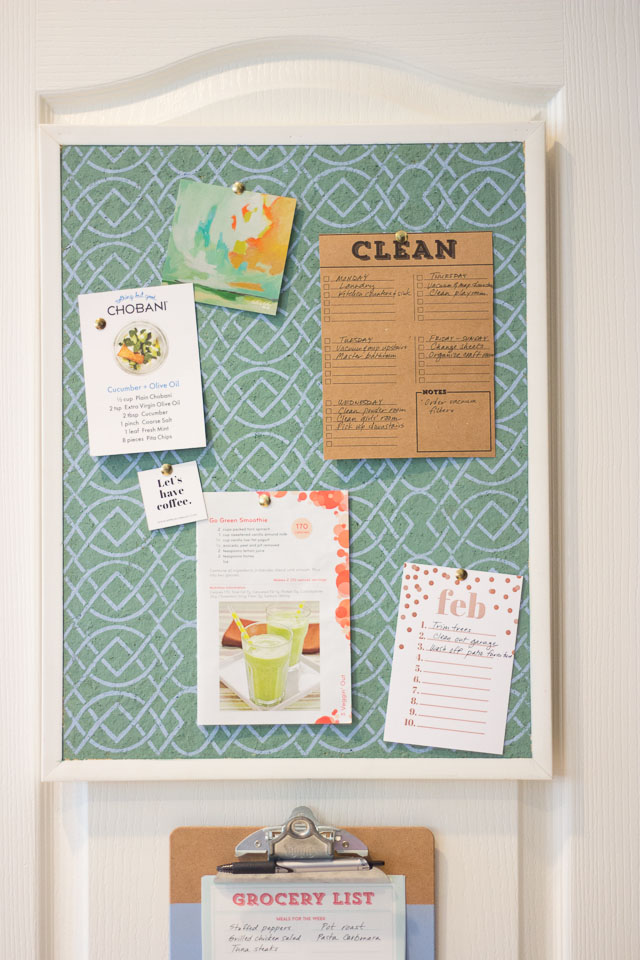
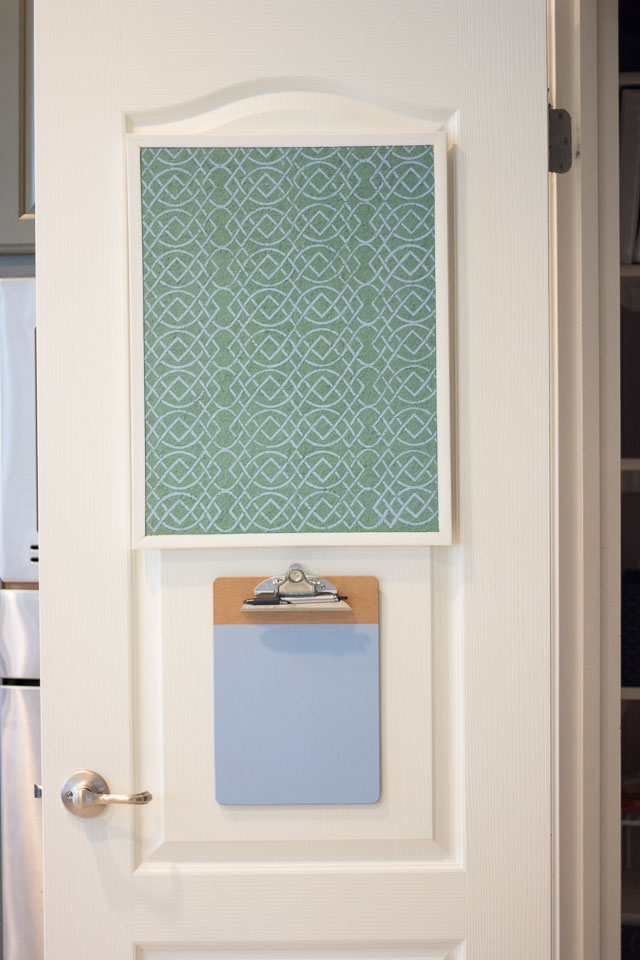
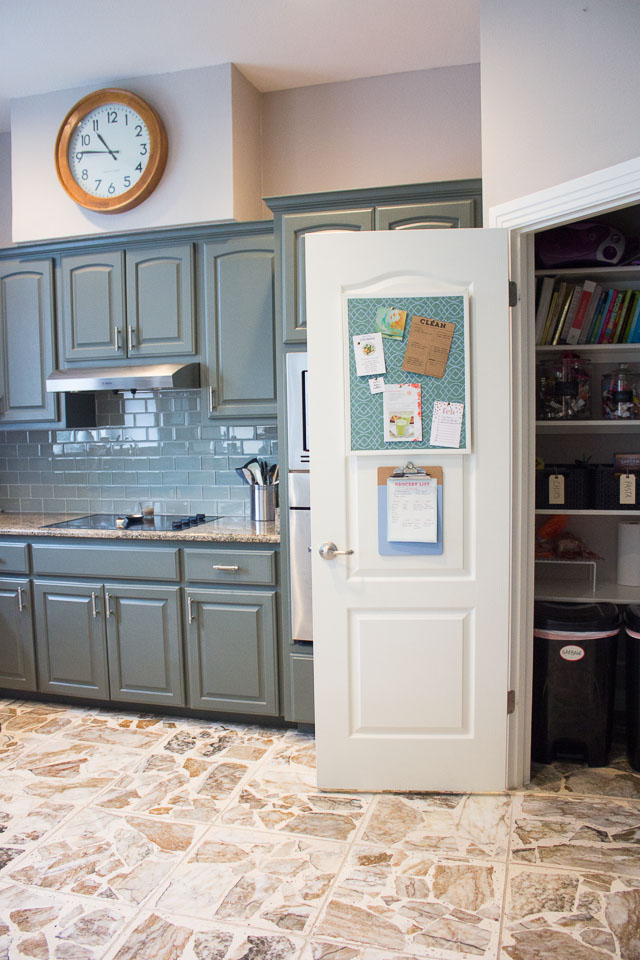
Introducing my DIY painted cork board! Thanks to a $3 bulletin board and a $1 clipboard from the Goodwill, I now have home “command center” on the back of my pantry door.
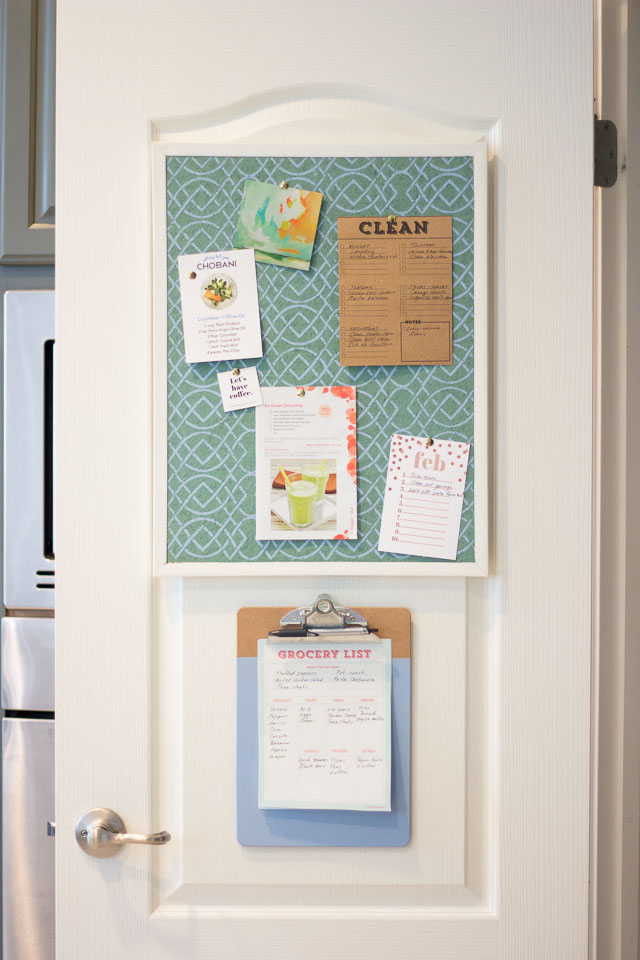
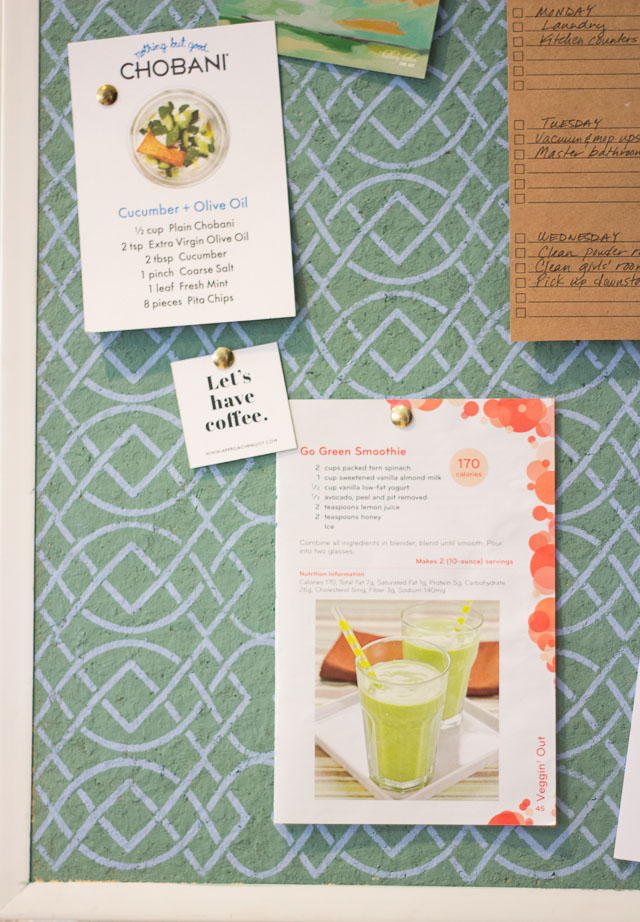
I’ve been needing a place to keep a grocery list, recipes to try, and my never-ending list of household to do’s. The new decorated cork board painted with some of my favorite Martha Stewart paints and stencils make the pantry door not only much more functional, but nice to look at too! Isn’t this stencil pretty?
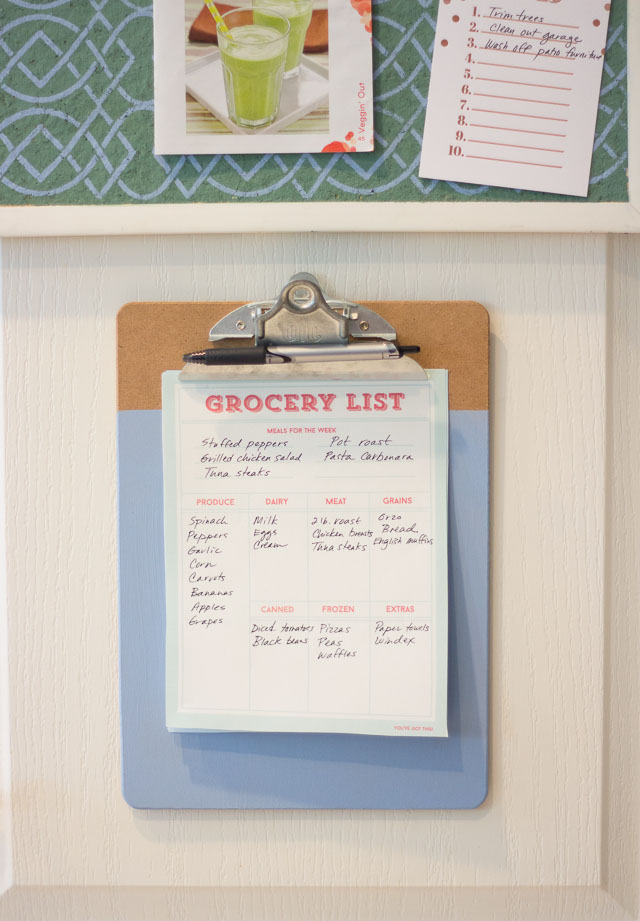
I also painted a clipboard and attached it to the pantry door with 3M Command strips to hold my grocery lists.
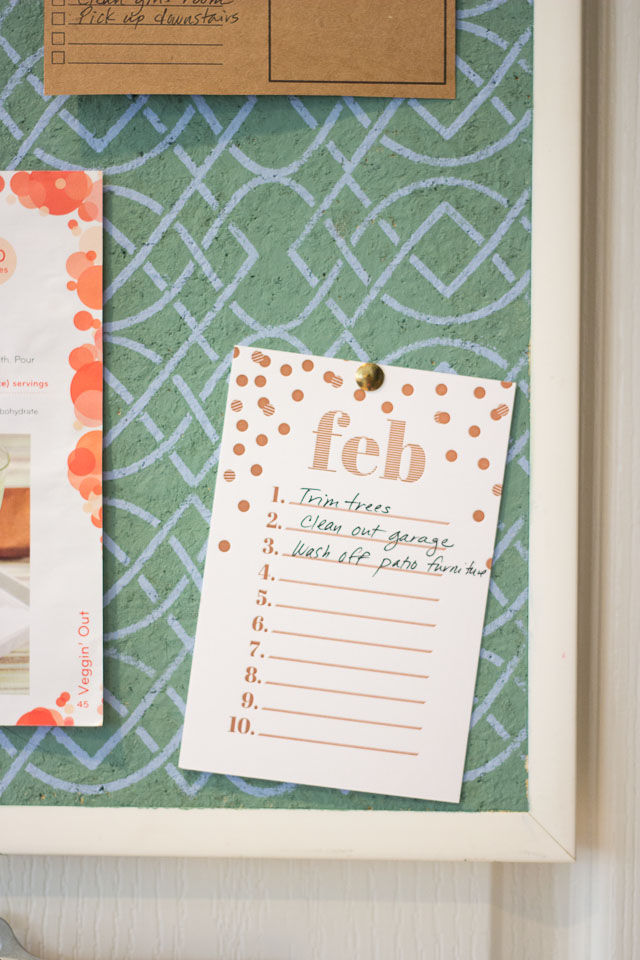
It feels good to have this DIY message board as a central place for keeping on top of to do’s instead of my previous system of random sticky notes strewn across the counter!
Thrift stores almost always have some old bulletin boards and clipboards in stock for a dollar or two each. All they need is a little paint to make them display worthy in your home. Here’s how:
Supplies for DIY Painted Cork Board
- Inexpensive cork board (I found mine at the Goodwill for $2.99. Here’s one on Amazon for $6.97!)
- Craft paint (I used Martha Stewart Vintage Decor Paint in River Rock and Parisian Blue for a nice chalk finish that matched the colors on my kitchen cabinets)
- Martha Stewart stencils (I absolutely love this pack of Martha Stewart Vintage Decor Stencils for an overall trellis effect, but any variety of stencil will work)
- Paint brush (I used this chalk paint brush and it worked perfect! Foam brushes are also an inexpensive alternative that work great)
- 3M Command Strips – (optional) for hanging your finished cork board
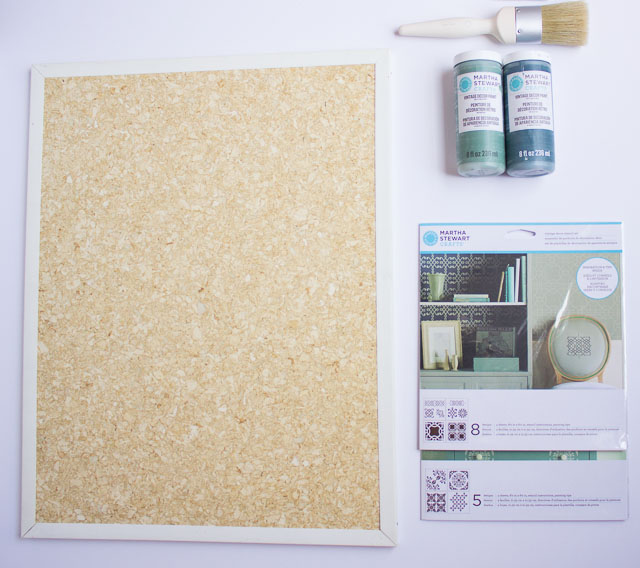
How to Decorate a Cork Board
Step 1. Paint a Base Coat
Tape off the edges that you don’t want painted with masking tape and cover the cork board in 1-2 coats of paint, letting dry between coats. The Vintage Decor paint went on so smooth and evenly I only needed to use one coat. Peel off the tape while the paint is still wet and clean up any paint that seeped underneath with a damp paper towel.
Step 2. Add a Stenciled Design
Once the paint is dry, use a stencil in a lighter color of paint to create a pretty effect. Do your best to plan and measure out the placement of the stencil before starting. I tend to gloss over this step, and my stenciling ended up being a little crooked, but luckily not too bad!
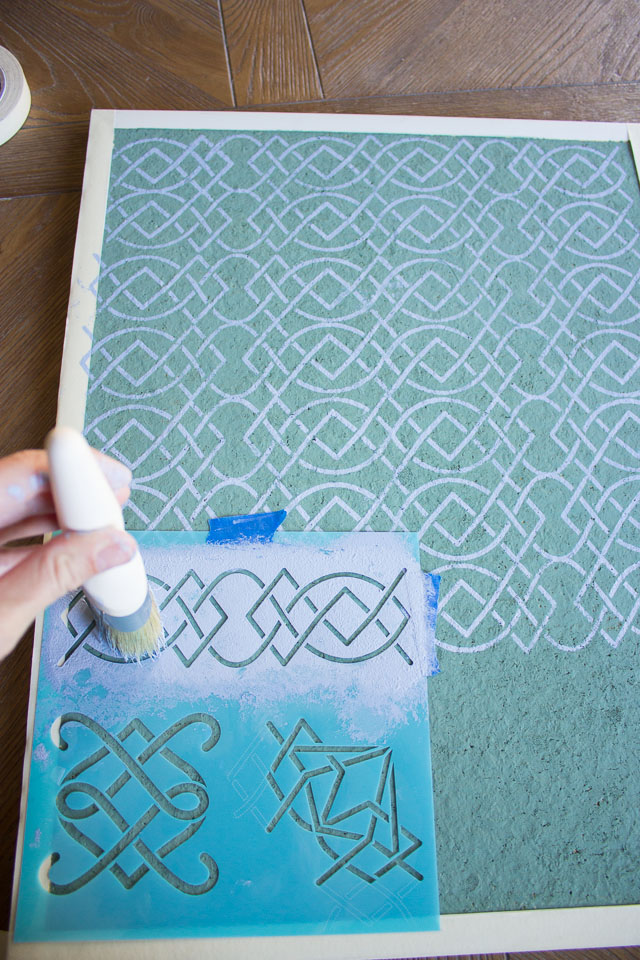
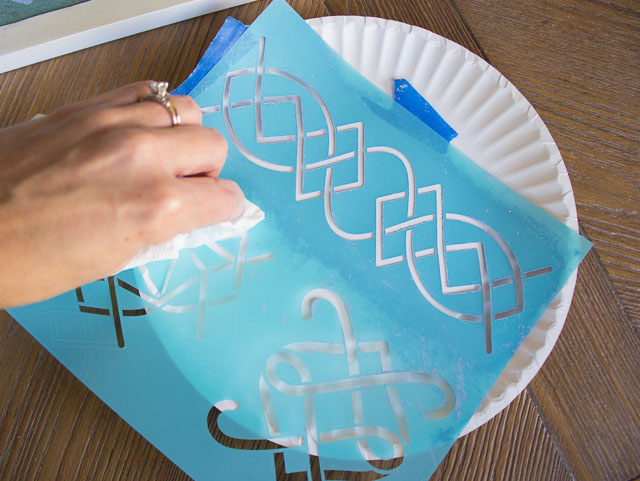
Step 3. Clean Off Stencil as Needed
Frequently wipe off any excess paint on the back of the stencil with a paper towel to prevent it from marking up the cork board.
Step 4. Fill in any gaps
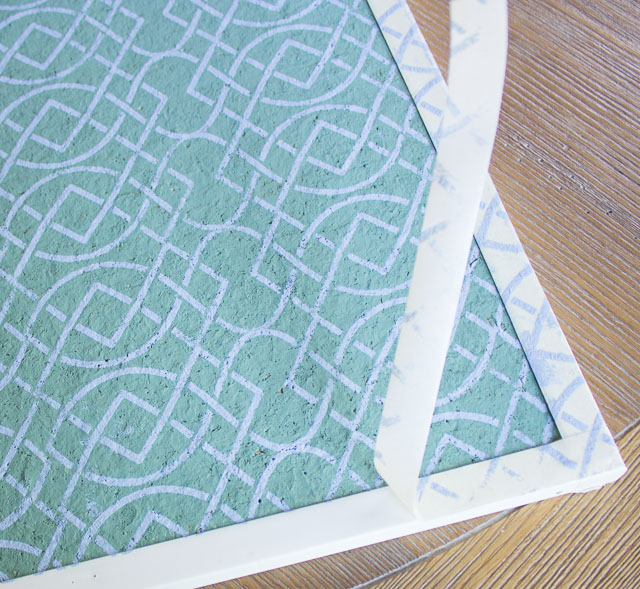
For instance, on one side of my cork board there was a small space between the stencil and the frame, so I taped off the frame again and went over with the stencil to make the design flush with the frame.
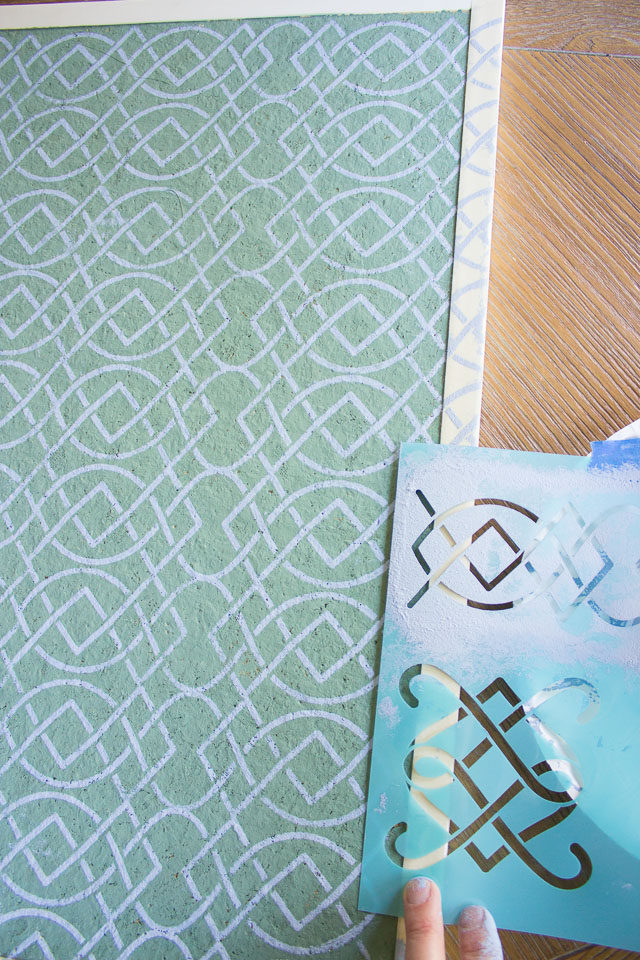
Step 5. Peel off tape
Peel off the tape while the paint is still wet. You can touch up any smudges on the design with a small paint brush and a dab of paint.
Step 6. Display Your New Decorated Cork Board!
Hang the painted message board on the wall (or door!) with 3M Command Strips. For the clipboard, I just taped off the upper section with a piece of masking tape. Then I painted the lower portion with one coat of Vintage Decor paint.
This idea would work just as well in an office or even kids room. For another idea for dressing up thrift store cork boards, check out my fabric covered inspiration boards.
Want to see the rest of my pantry? Then don’t miss my Top 10 Pantry Organization Tips!


