Baker’s Twine Pumpkin Craft
Baker’s Twine Pumpkin Craft
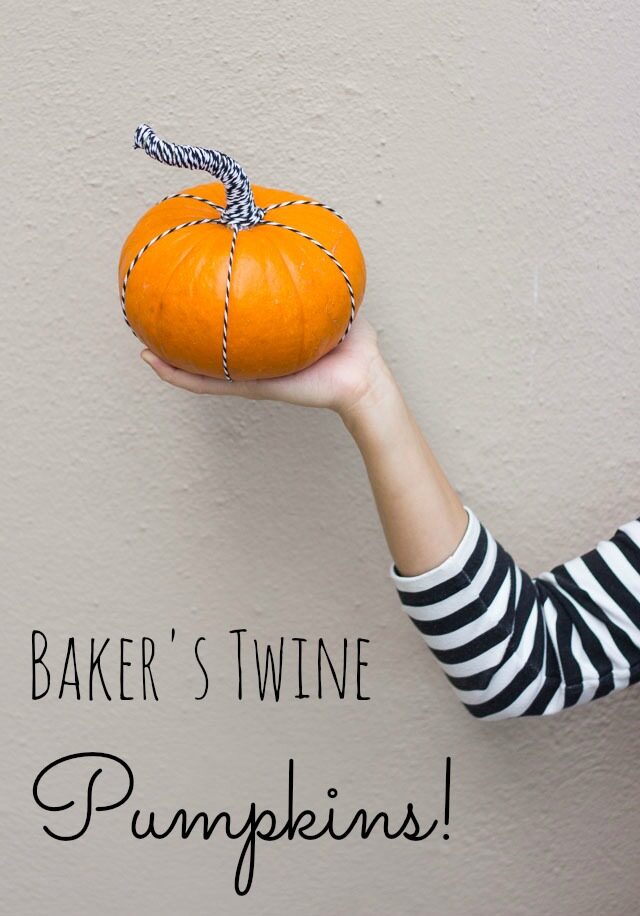
Introducing my baker’s twine pumpkins! There are so many cool pumpkin decorating ideas out there, but most overlook what I think is often the cutest part – the stem! I love a pumpkin with long twisty stem. This idea makes the stem the star by wrapping it in black and white baker’s twine.
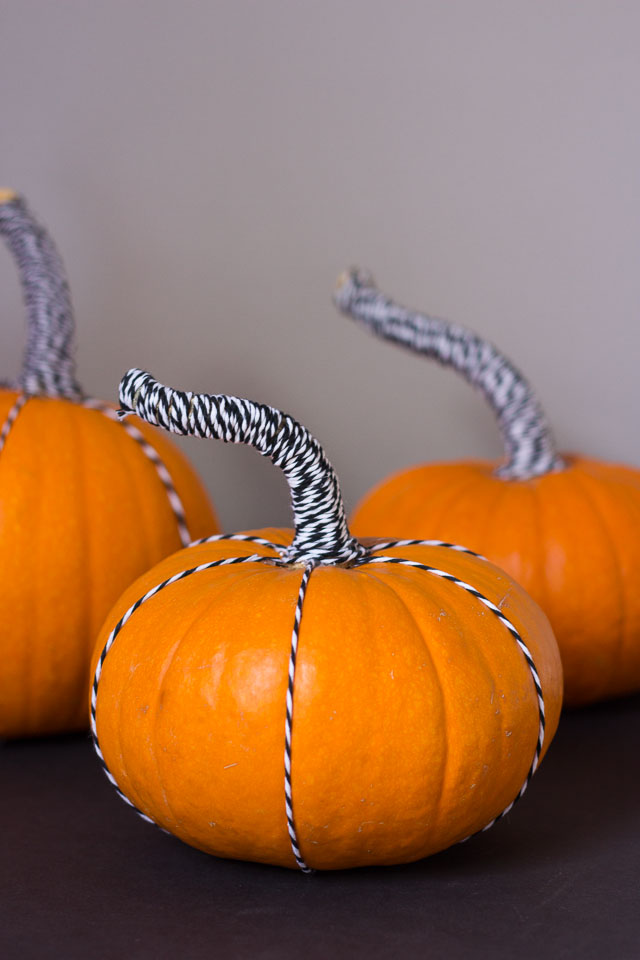
The twine is also a great way to highlight some of the ridges in the pumpkin.
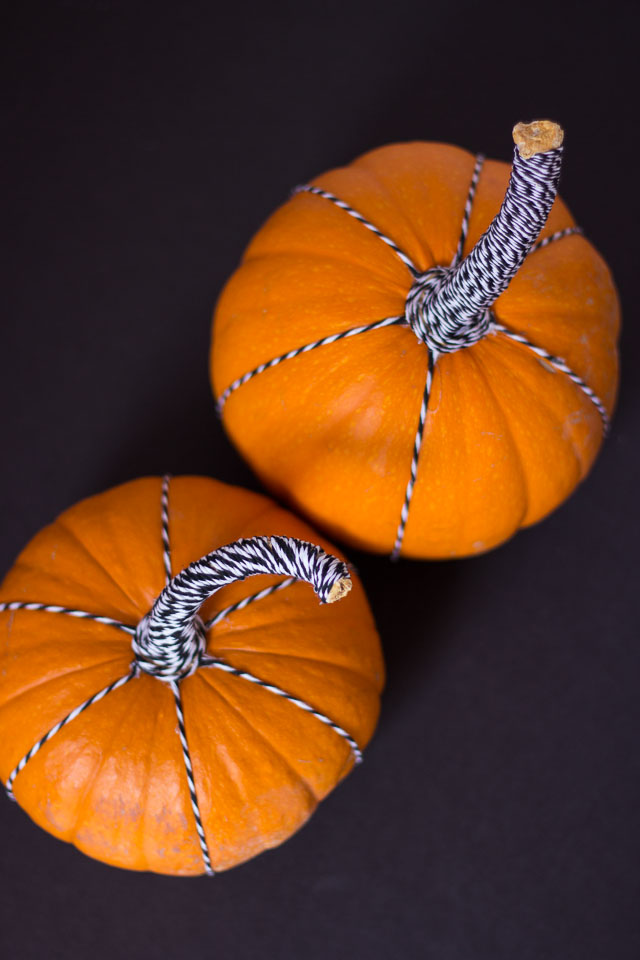
This is the type of project you can do on Halloween morning if you haven’t gotten around to decorating any pumpkins and you want to do something quick. Just grab your glue gun and you’ll have a cool pumpkin in minutes!
Supplies for Baker’s Twine Pumpkins
- Pumpkin with long stem
- Baker’s twine
- Glue gun
- Scissors
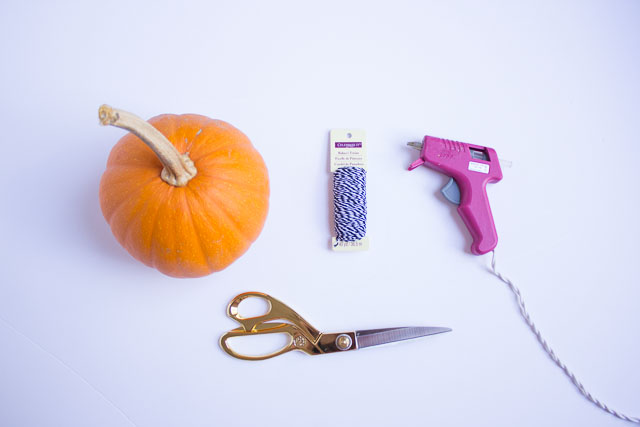
How to Make Twine Pumpkins
Step 1. Cut twine and glue to pumpkin ridges
Start by cutting pieces of twine long enough to stretch from the stem to the bottom of the pumpkin. Cut enough for the ridges you want to decorate. Then add a small dab of hot glue to the base of the stem and press in one end of the twine (you may want it on warm setting to avoid burning your fingers!)
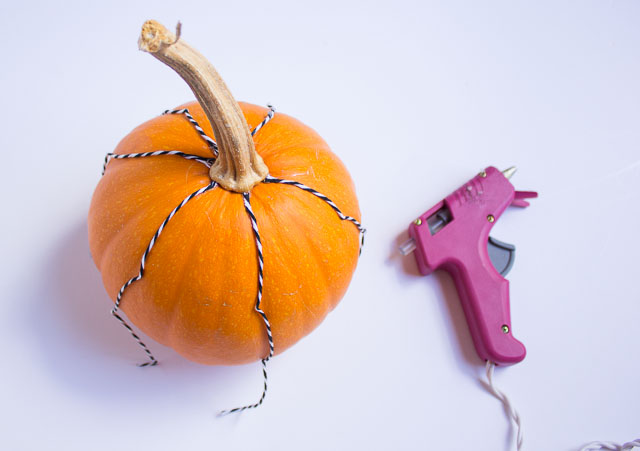
2. Secure twine on bottom of pumpkin
Glue the end of each piece of twine to the bottom of the pumpkin.
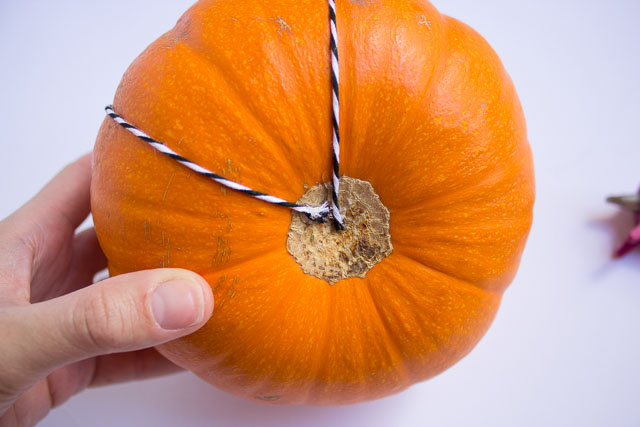
Step 3. Wrap stem with twine
To wrap the twine around the stem, start at the base with a dab of glue. Press in the end of the twine, and add a few more small dabs of glue as you wrap the twine around the base.
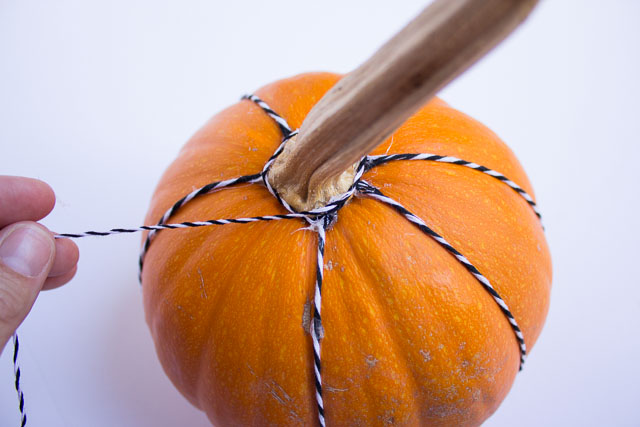
Once you work your way up the stem you can keep wrapping the twine without adding any additional glue. Just use a finger to push each new row flush with the row below it so that the stem doesn’t show through.
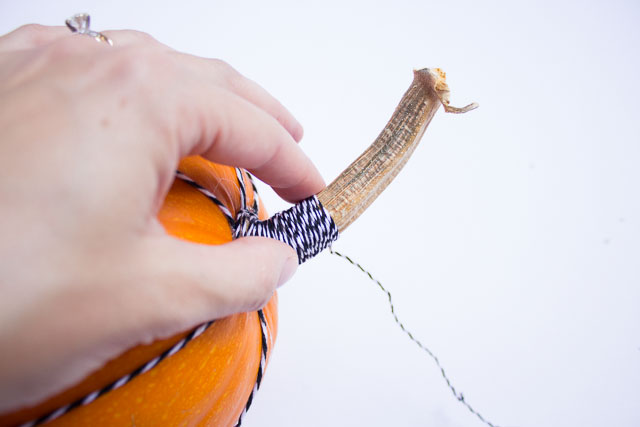
Once you get the end of the stem cut the twine and secure in place with a dab of glue.
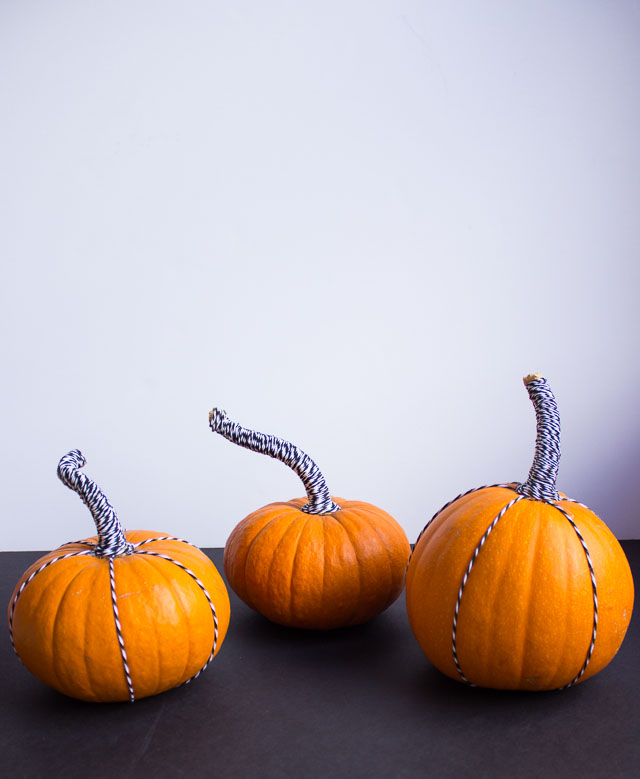
I like them both ways – with just the stem covered, or with some twine down the side as well. You could also try this with yarn. What do you think?
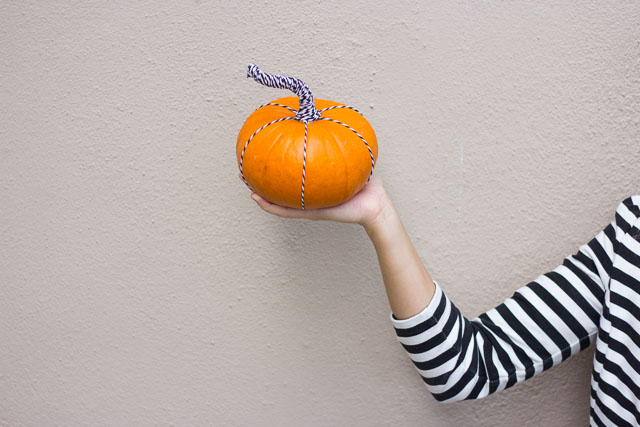
Like this baker’s twine pumpkin idea?
Then don’t miss the rest of my Halloween crafts!

