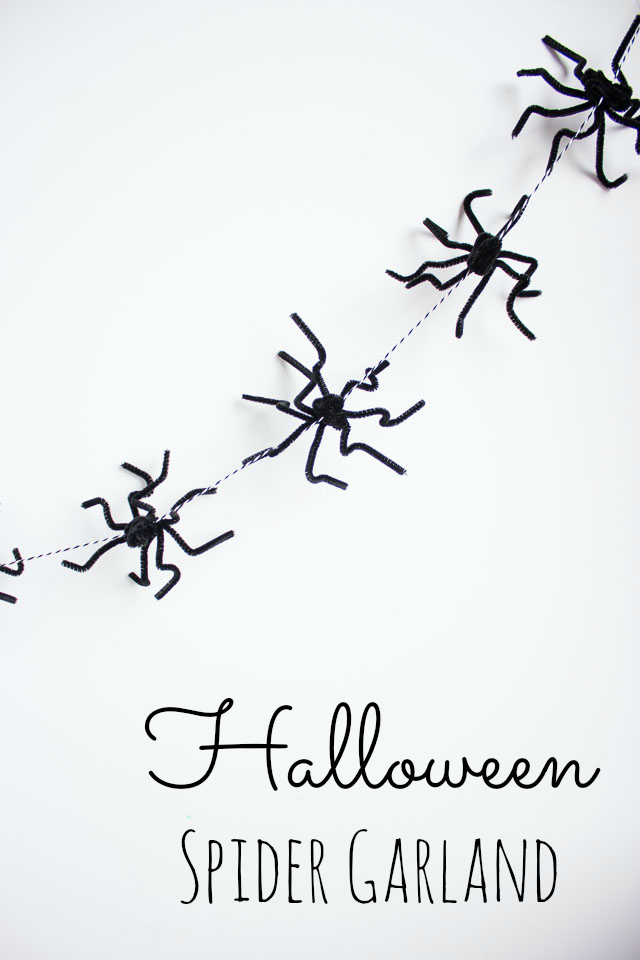
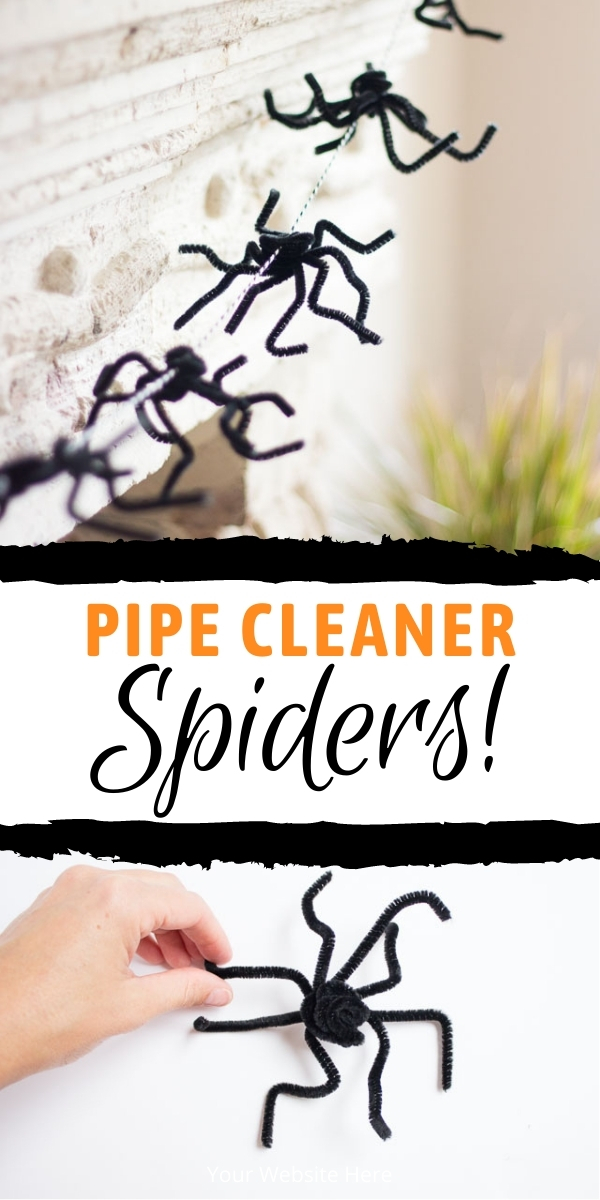
Pipe Cleaner Spider Garland
Easy Halloween Pipe Cleaner Spider Garland
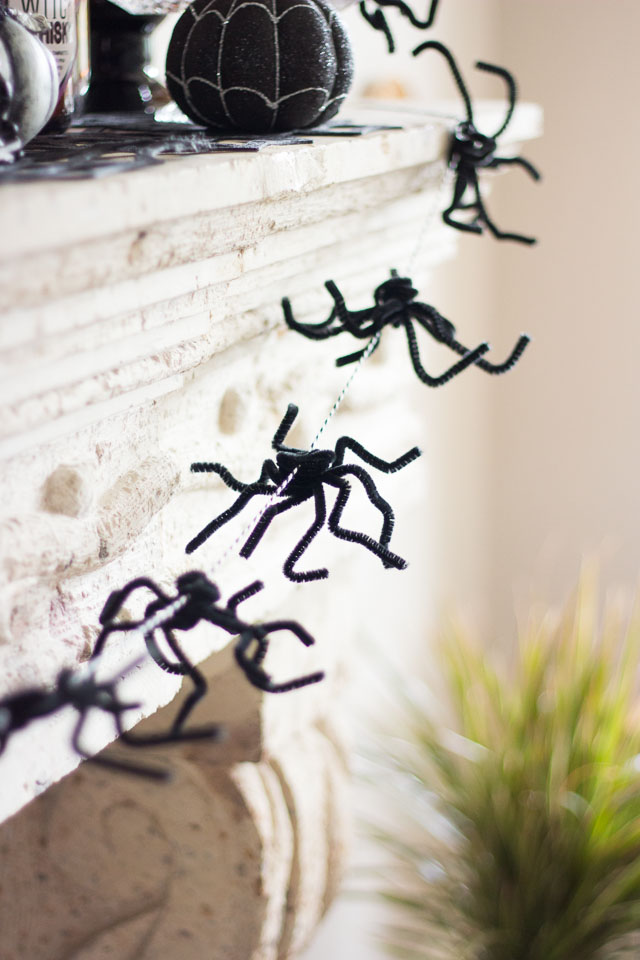
Introducing my pipe cleaner spider garland! Sometimes I laugh when I think about my favorite crafting materials… pipe cleaners, pom-poms, yarn… I’m still crafting with the same tools I loved as a kid! Having these simple supplies in my craft cabinet just makes me happy (and my girls happy too!). I love the challenge of using them in new, more sophisticated ways. This spider garland is an example of that. I think it’s just the right combination of creepy, crawly, and fun!
I think pipe cleaners were always meant to be spiders. They bend perfectly into little legs – and you can bend them in all different configurations so no two spiders look alike.
This post contains affiliate links. See our full disclosure.
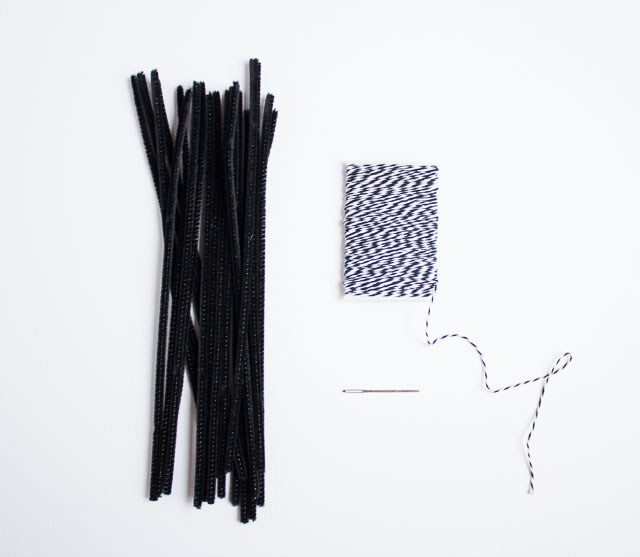
Supplies for Pipe Cleaner Spider Craft
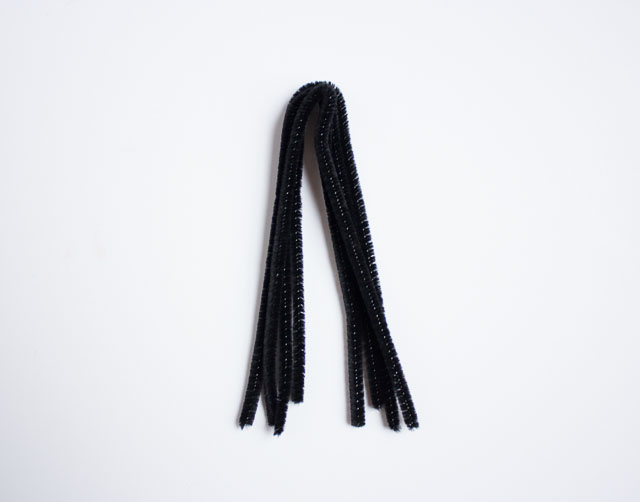
- Black pipe cleaners / chenille stems (you’ll need 4 per spider)
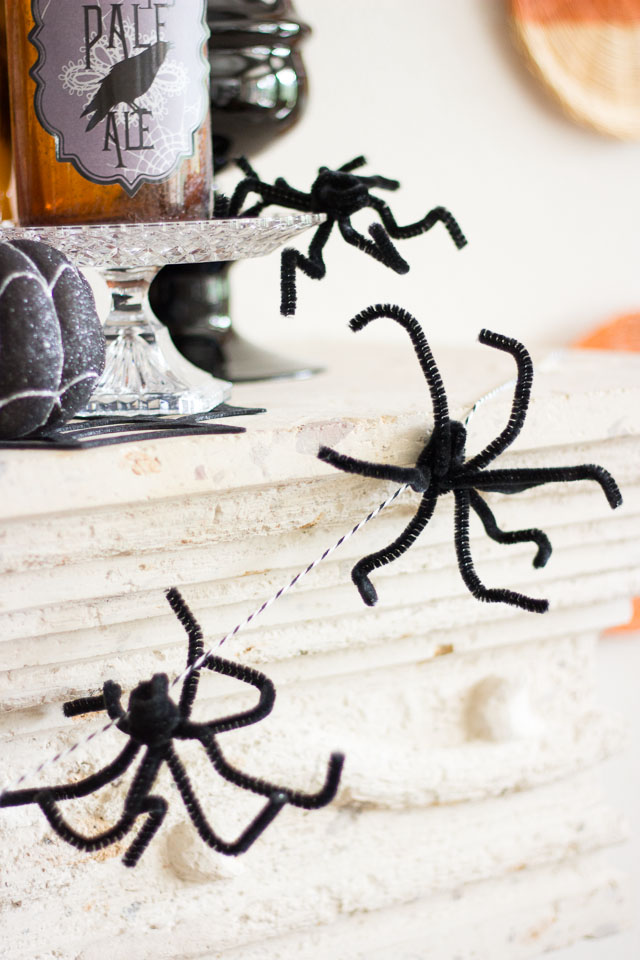
- Baker’s twine or string (I used black and white baker’s twine for a Halloween touch)
- Darning needle
How to Make Spiders out of Pipe Cleaners
Step 1. Bend pipe cleaners in half
Take four pipe cleaners, stack them up, and bend them in half.
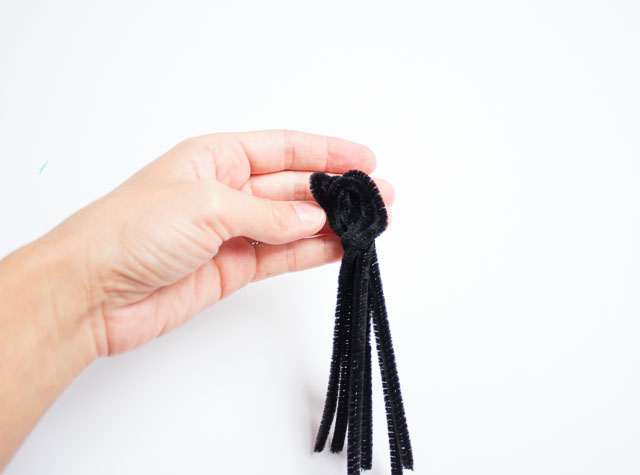
Step 2: Create spider body
Take the top of the folded pipe cleaners, bend it over about an inch and twist the pipe cleaners together. This forms the body of your spider.
Step 3: Separate legs
Start separating out the legs to form the spider.
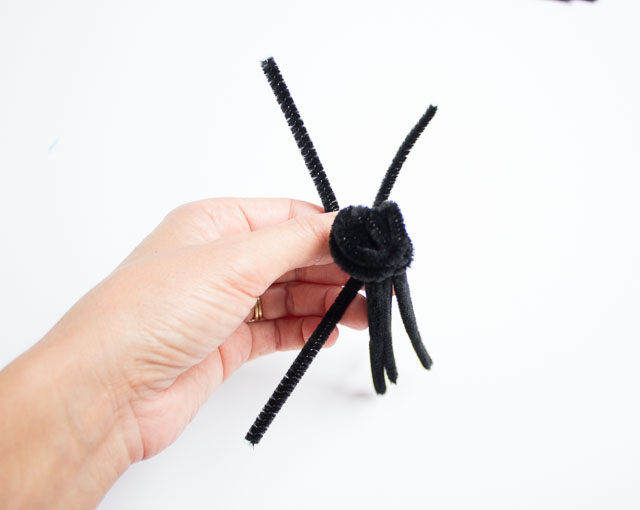
Step 4: Bend the legs
Bend the legs however you want to make it look lifelike! I put one to two bends in each leg.

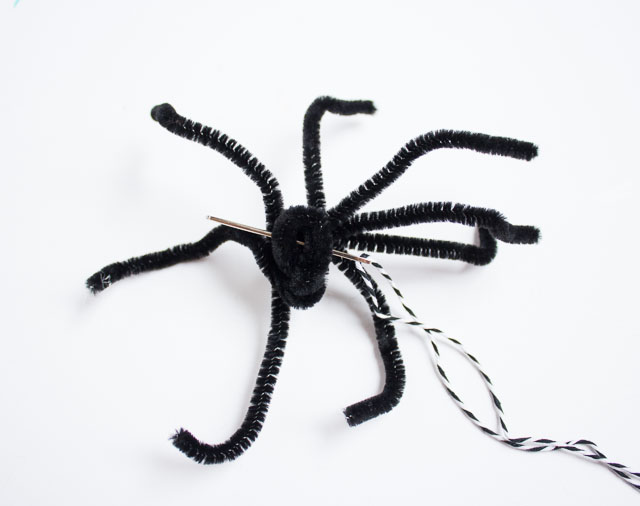
Step 5: Thread spiders onto twine
Thread your darning needle with twine or string the length you want for your garland. Push the needle through the body of the spider. Continue to string the rest of the spiders onto the garland. You can slide them around easily to space them out as you want!
You can seriously make this garland in under 15 minutes for a few dollars. My kind of project!
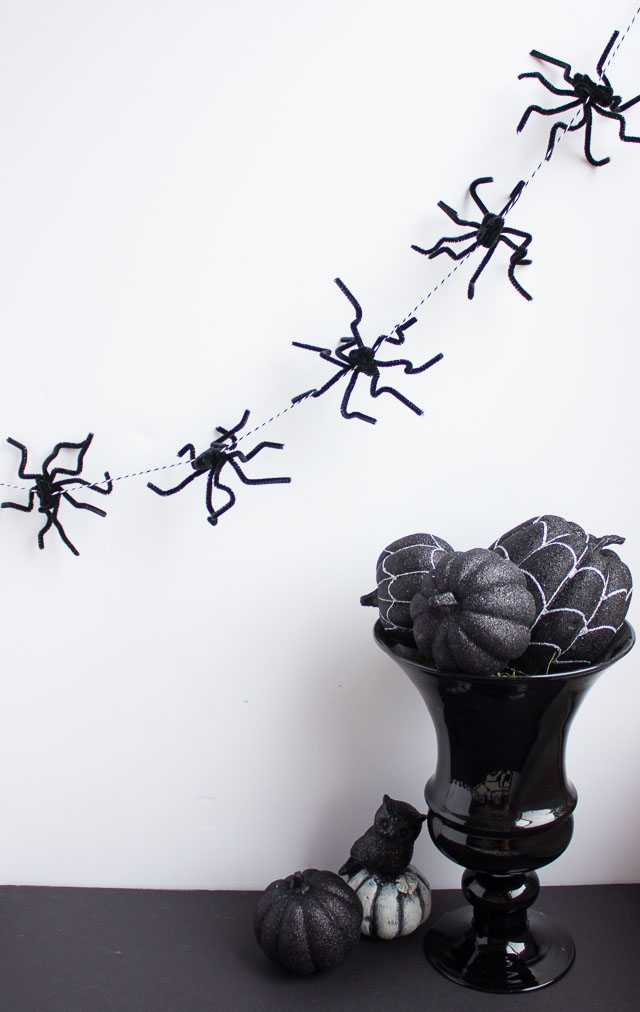
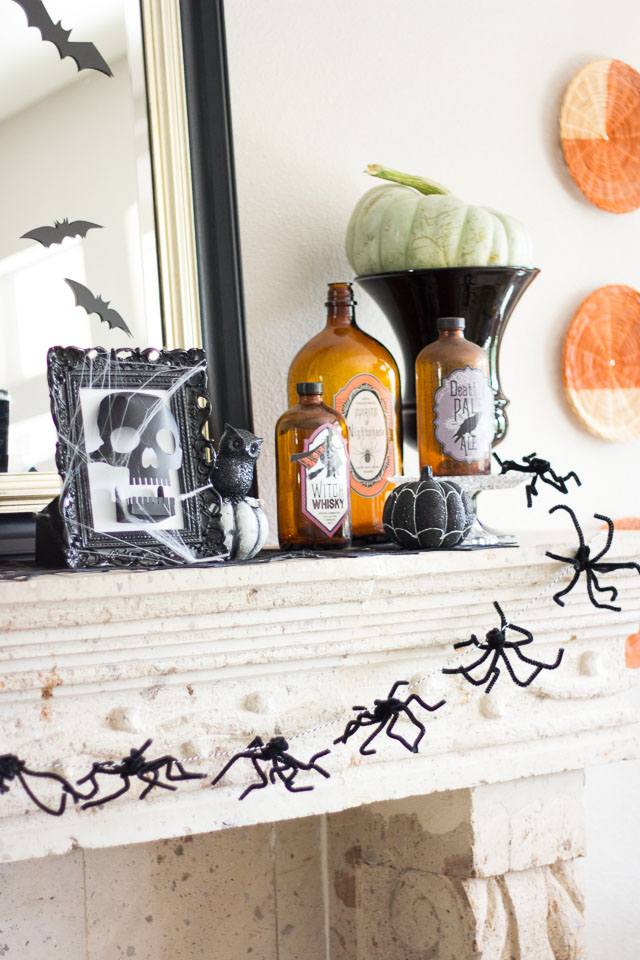
I hung my spider garland on our living room mantel – get all the details here!
Like this pipe cleaner spider garland?
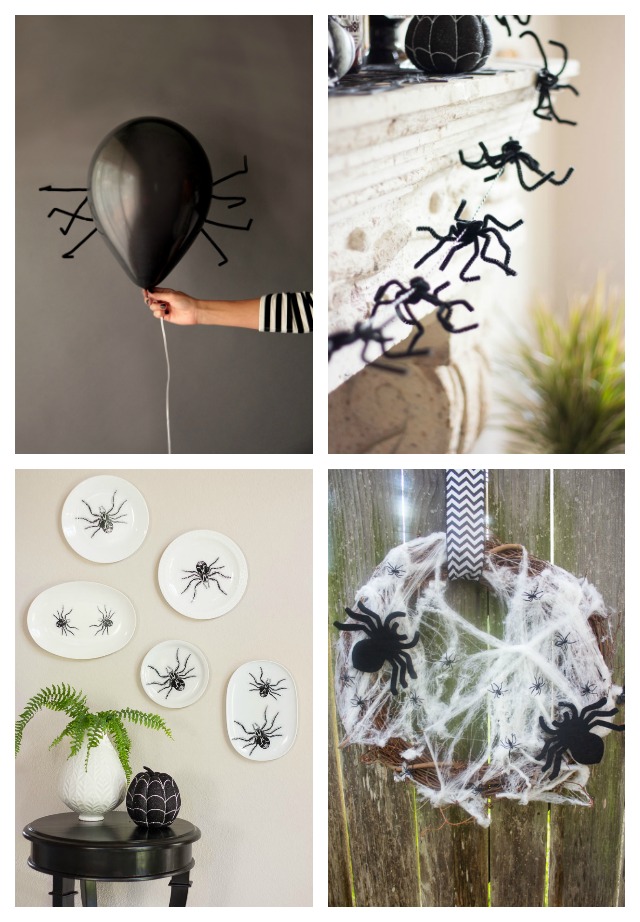
Then check out these other creepy spider crafts!


One Comment