DIY Flowering Branches from Party Streamers!
DIY Flowering Branches
Spring couldn’t come fast enough, could it?! While things are slowly starting to bloom here in Texas, I’m speeding up the process by making some flowers of my own! Last week I made flowers from encyclopedia pages, and today I’ve got a simple way for you to make flowering branches from crepe paper streamers.
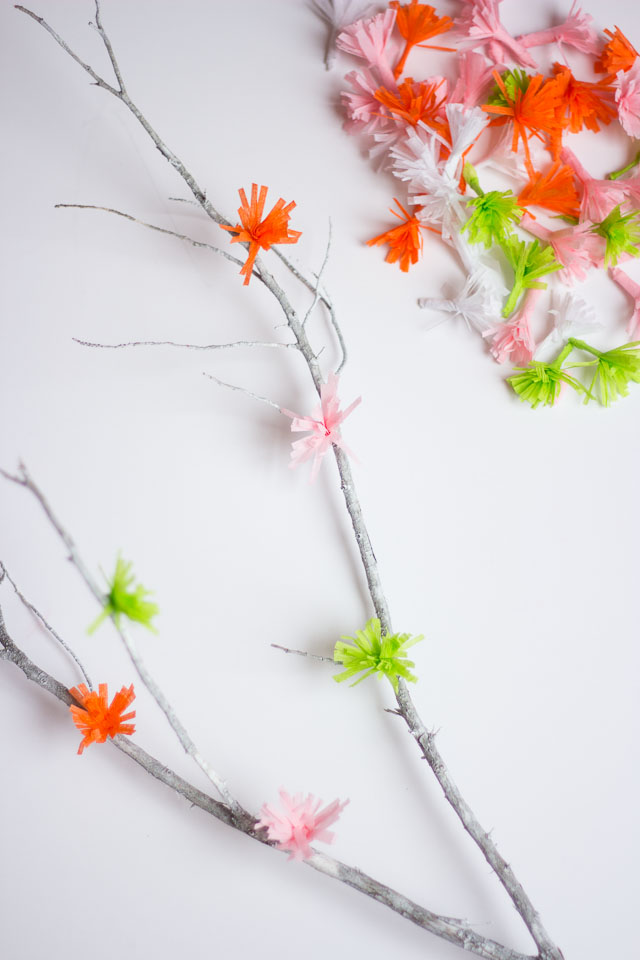
Yep, you can use party streamers from the dollar store to make these delicate flowers with the help of these nifty fringe scissors from Martha Stewart Crafts.

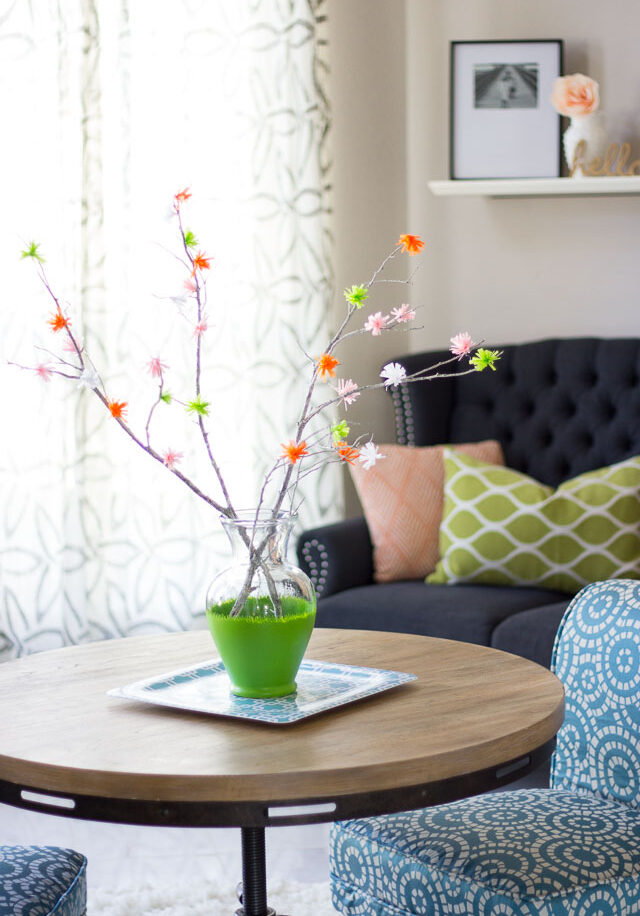
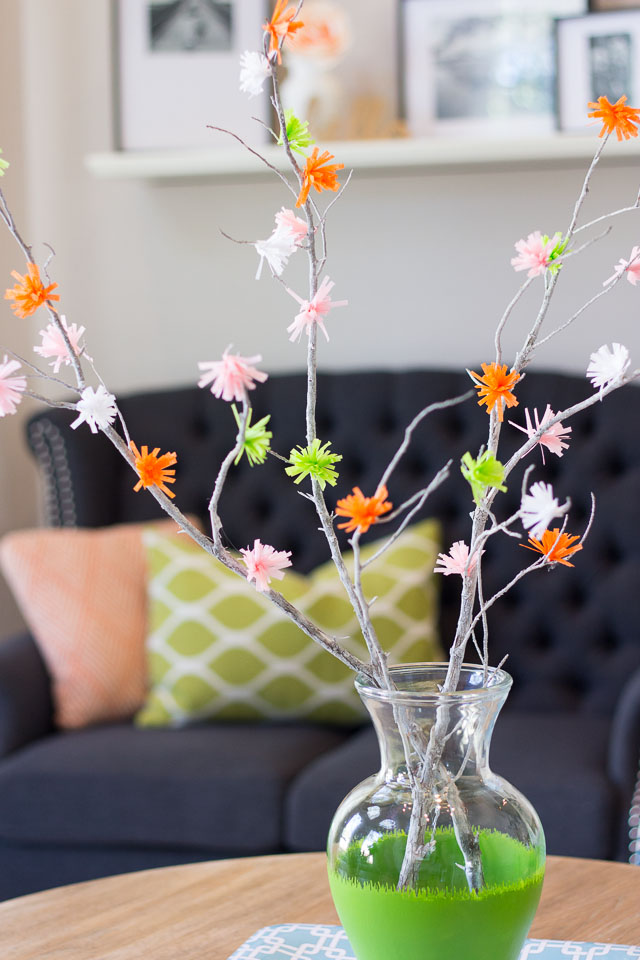
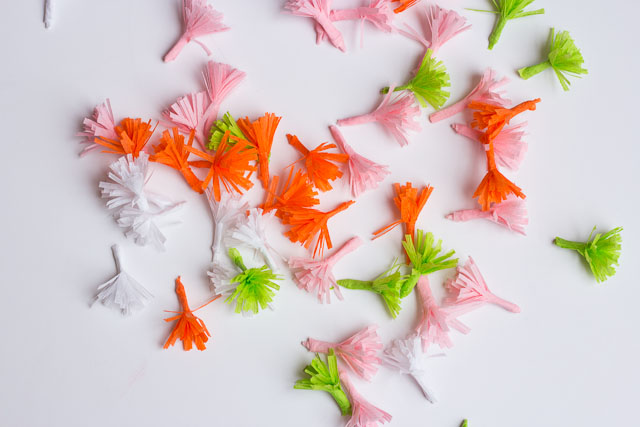
My flowering branches are blooming in orange, green, and pink. One thing nice about making them yourself is you can invent flowers and color combinations that you wouldn’t necessarily find in nature! I’ve finished them off in a Spring “grass” vase, using a Martha Stewart stencil.
This post contains affiliate links. See our full disclosure.
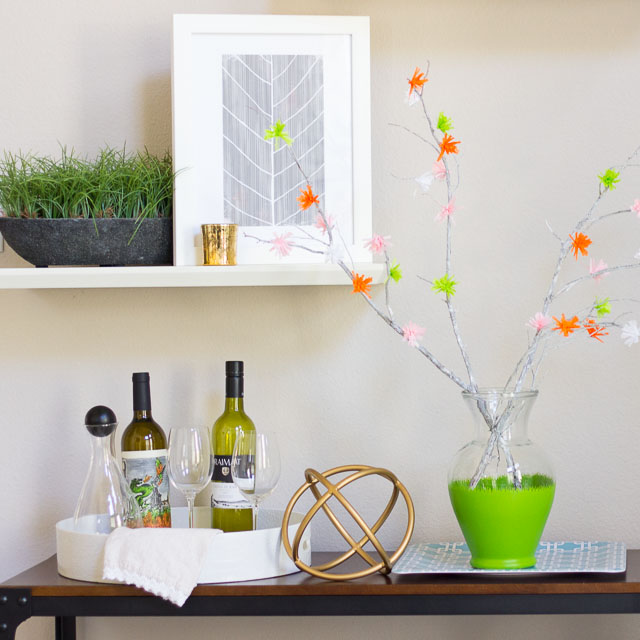
I love how the branches look like they are sprouting out of the green grass! Here’s what you’ll need to make your own set of branches and Spring vase:
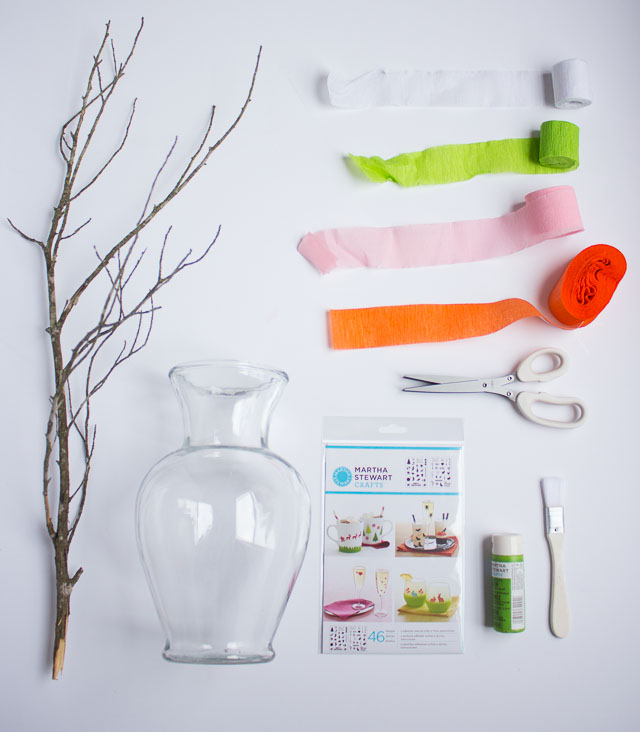
Supplies for DIY Spring Flowering Branches
- Branches (grab them from your yard!)
- Crepe paper streamers
- Fringe scissors
- Darning needle or toothpick (not shown)
- Glass vase (thrift stores are full of these for $1 each)
- Martha Stewart adhesive stencils (I used a stencil from this holiday pack)
- Martha Stewart multi-surface craft paint (I used the Green Pasture color)
- Small brush
- Hot glue
- Scissors
How to Make DIY Spring Flowering Branches
Step 1. Spray paint branches (optional)
Spray paint your branches if you want to add some more color to the arrangement. I gave mine a light coat of white spray paint, but the branches look just as great as is!
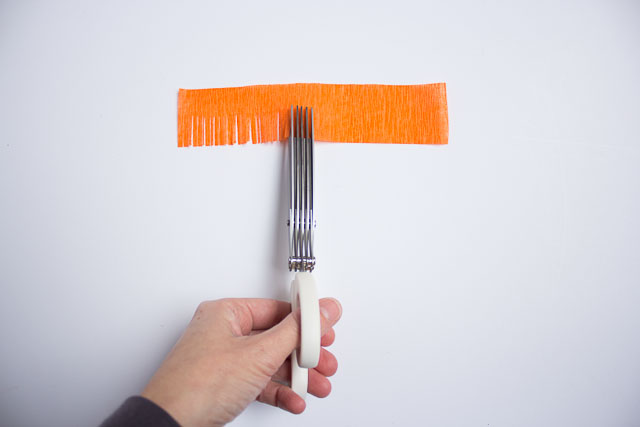
Step 2: Fringe crepe paper
Cut 6 inch strips from your crepe paper streamers (no need to measure exactly). Then use your fringe scissors to make cuts all along the streamer at around the mid point.
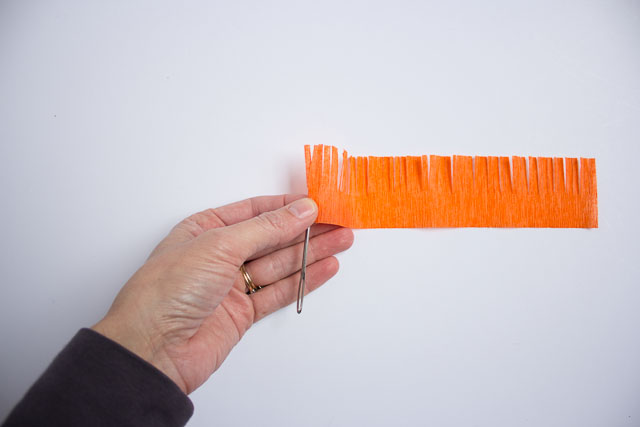
Step 3. Roll up crepe paper
Use a darning needle or a toothpick to tightly roll up the fringed strip of crepe paper.
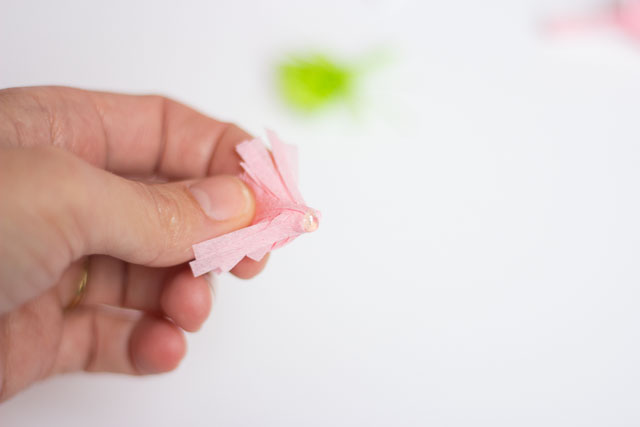
Step 4: Secure with glue
Adhere down the end with a small dab of glue (I used Elmer’s glue).
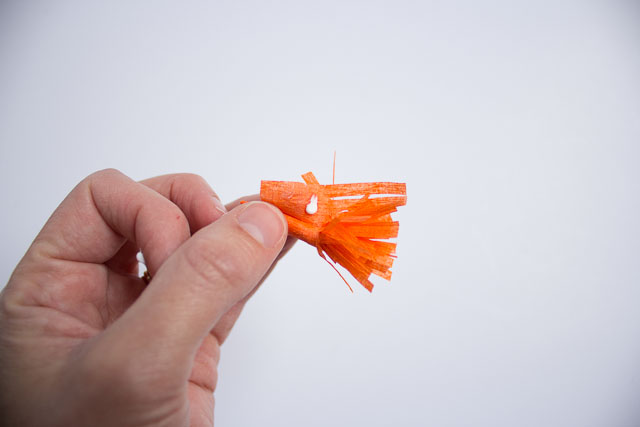
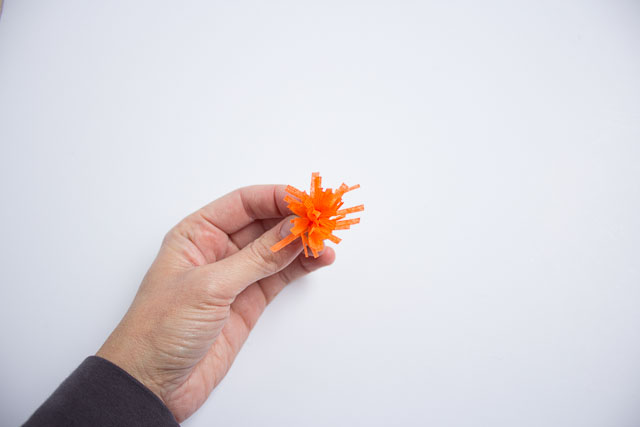
Step 5: Shape into a flower
Use your fingers to fan out the fringe into a flower shape.
Step 6. Repeat with other colors
Repeat the process to make a bunch of them. This will take a couple hours – a great craft to do in front of the TV!
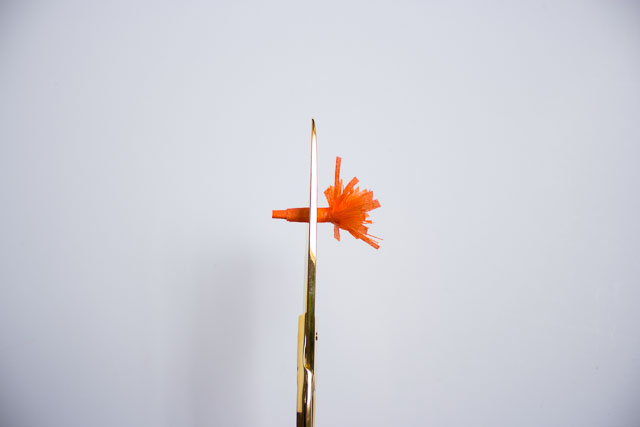
Step 7. Trim ends
Snip off the end, leaving just a small part of the flower “stem”.
Step 8. Hot glue to branch
Add a dab of hot glue to the base of the stem. Stick the flower onto the branch and repeat until you’ve covered the branch in as many flowers as you want!
How to Stencil the Vase
For the vase, I used this cute grass stencil to update a basic thrift store vase. Using a foam brush and the flexible adhesive stencil, I stenciled the grass outline all around the midpoint of the vase.
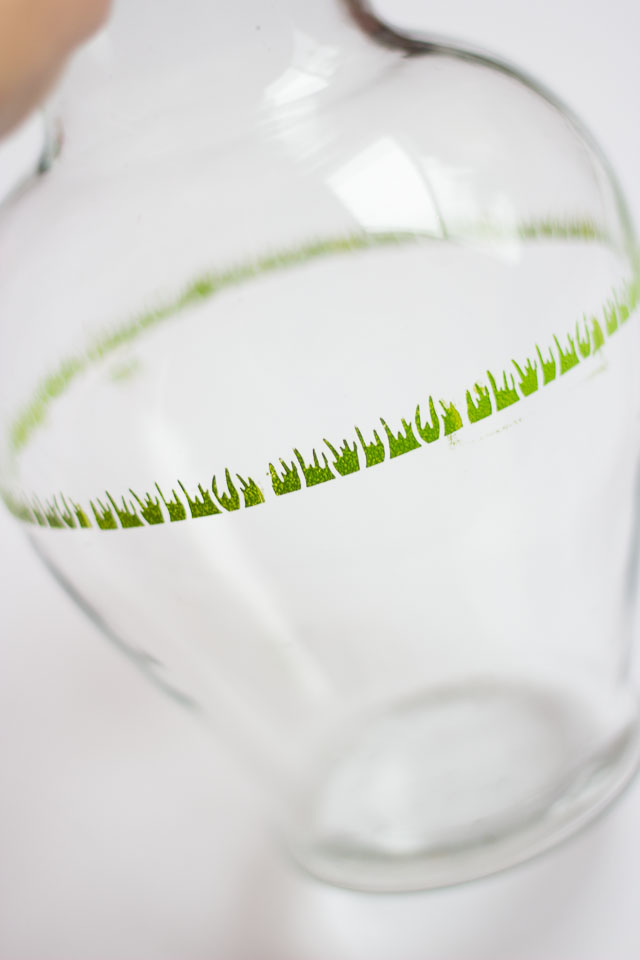
Then I filled in the bottom portion with 4-5 coats of paint so it looks like this when done.

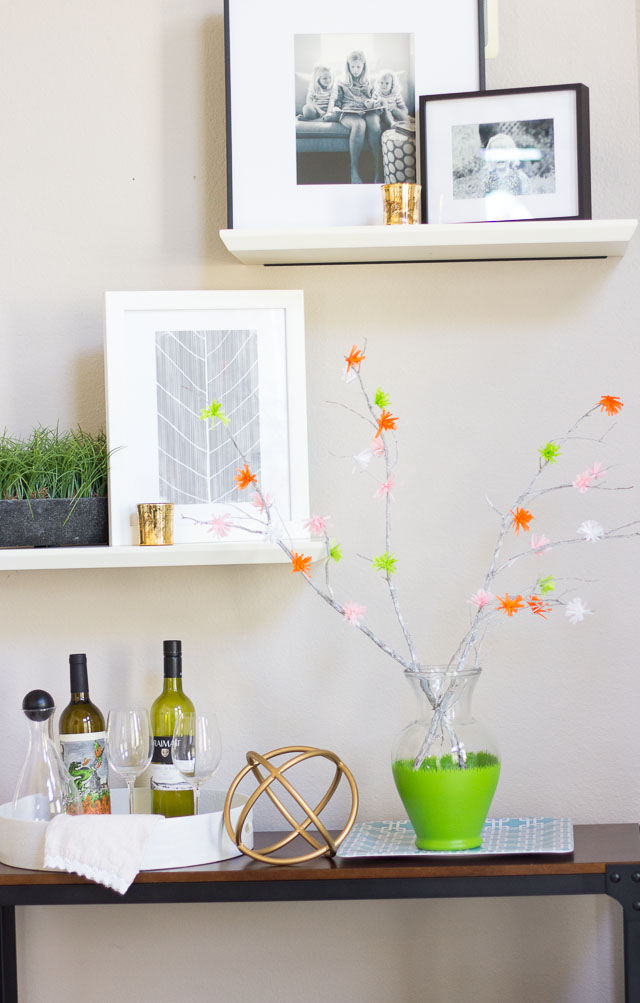
I’ve been playing around with where to put this in our front living room. It looks pretty here on the sideboard, but I also like on the game table in the middle of the room so I can see it from the kitchen! Every time I look at it I smile because it reminds me that Spring is on the way. 🙂
If you have a foot of snow on the ground, and nothing green in sight, I promise that making these branches will lift your spirits!
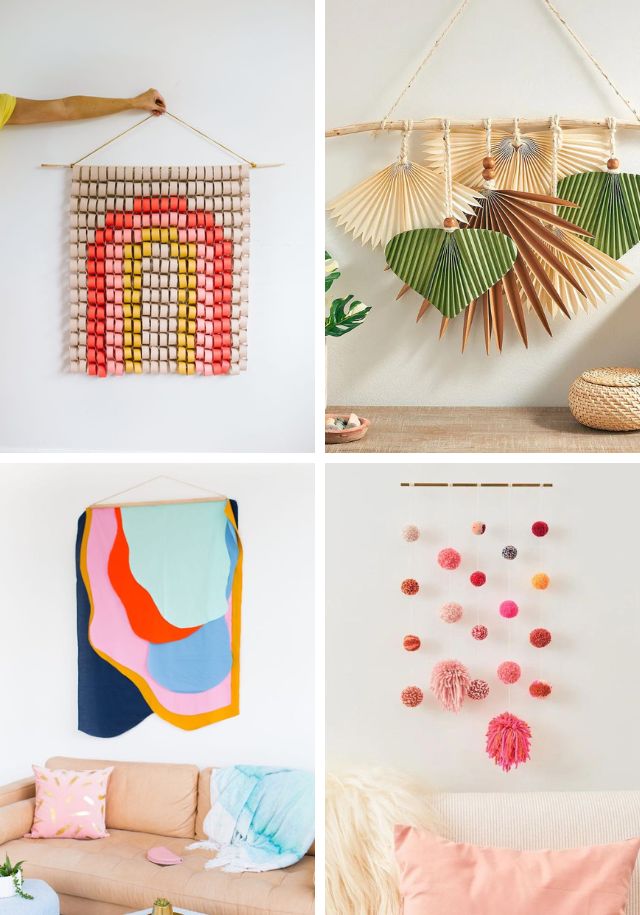
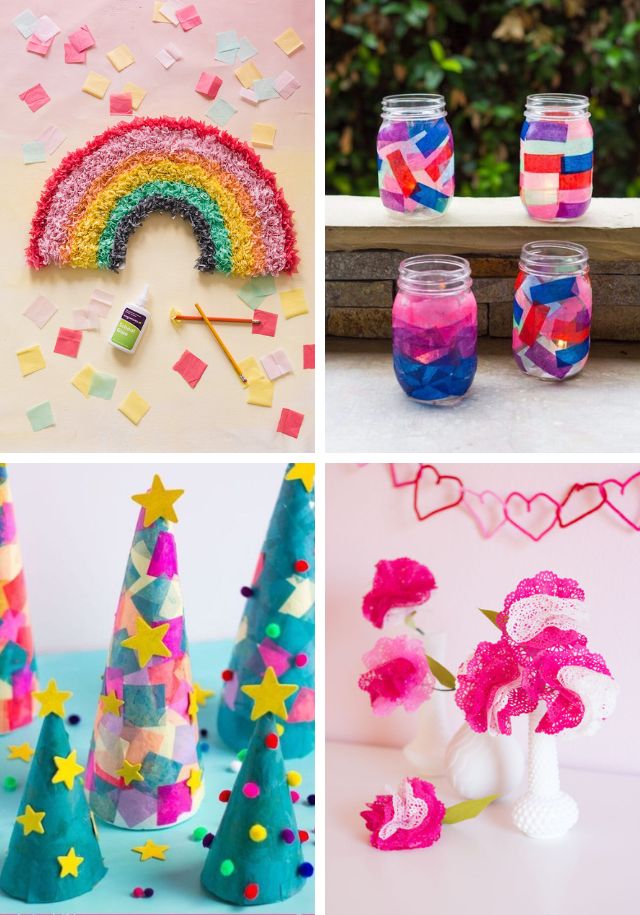
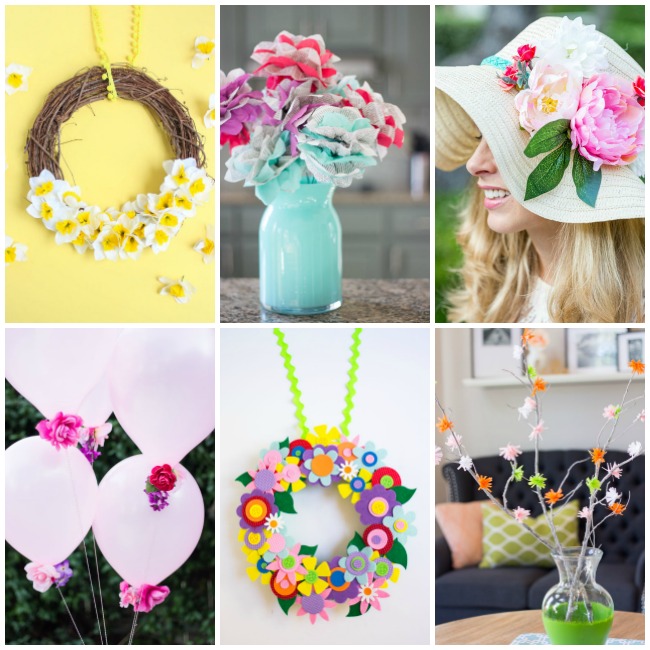
Like these DIY flowering branches?
Then don’t miss my other flower craft ideas!
This is post is sponsored by Martha Stewart Living Omnimedia as part of the #12MonthsofMartha program. All content and opinions are my own.