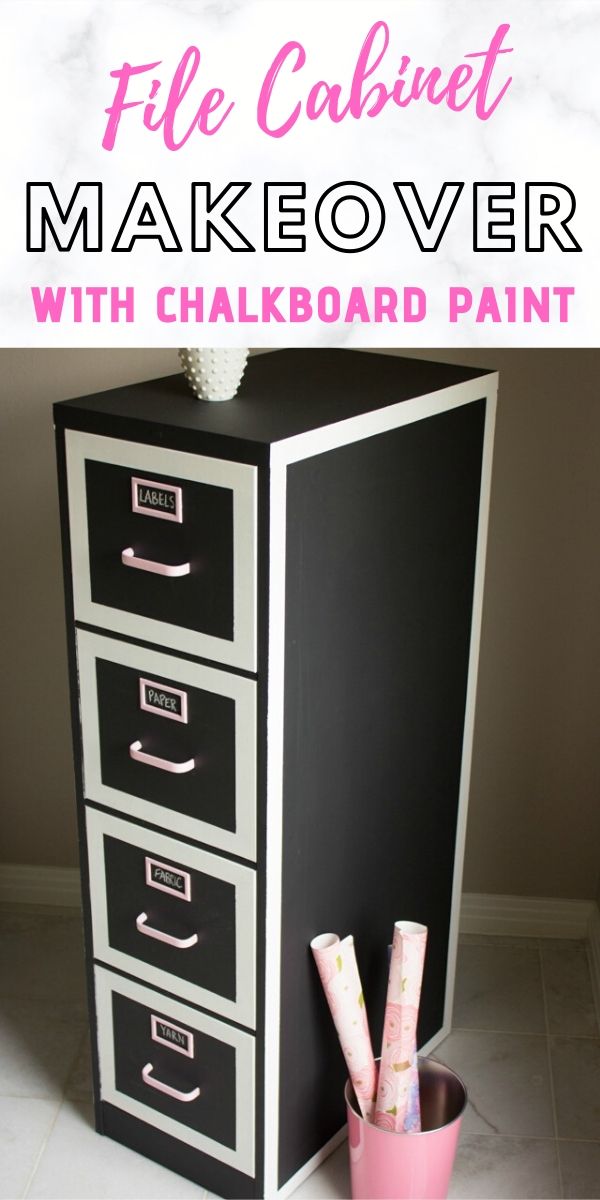
File Cabinet Makeover with Chalkboard Paint
File Cabinet Makeover with Chalkboard Paint
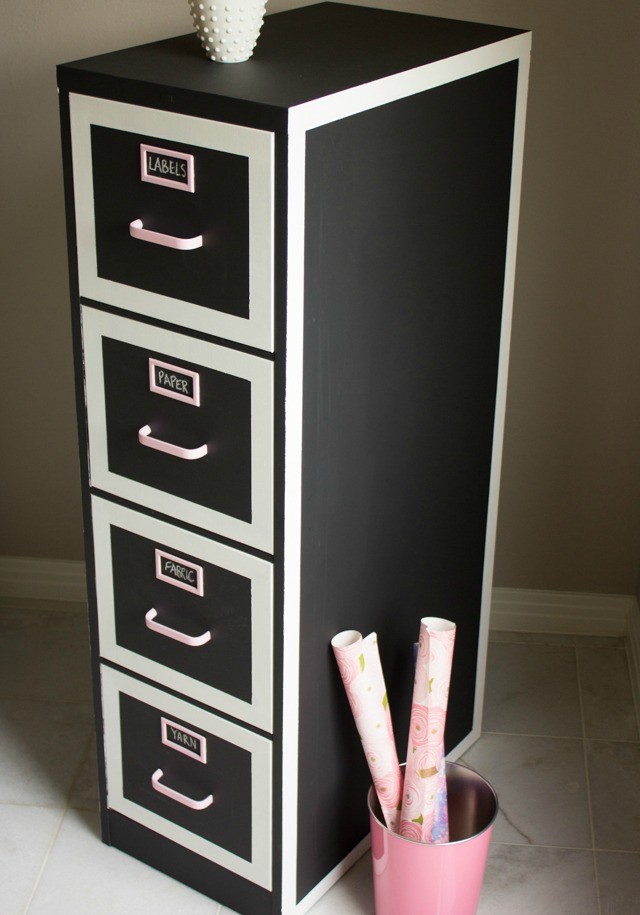
This file cabinet makeover with chalkboard paint just makes me smile! In addition to getting a paint makeover, I repurposed the metal file cabinet as craft supply storage for my craft room. For someone who specializes in quick and easy crafts, this project was one of my biggest undertakings to date. I probably spent 8 hours working on it over the course of a couple days, but I am super excited about the results.

How to Repurpose File Cabinet for Craft Storage
Yay for more storage!! The deep drawers of the file cabinet are perfect for holding larger supplies like fabric and yarn.

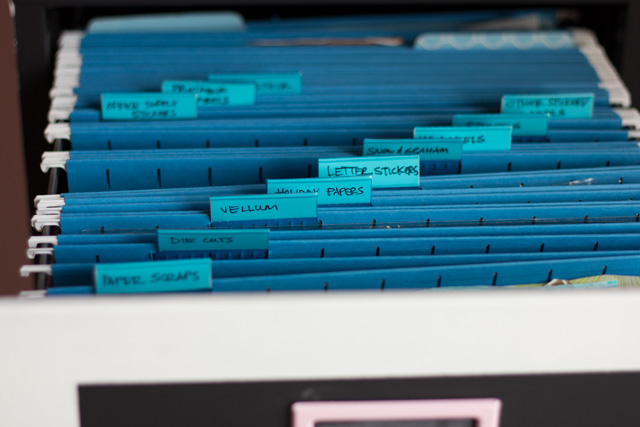
I used hanging folders to help easily find my various types of labels, stickers, and craft papers:
Oh, and did I mention it is a blog calendar too? I covered the whole thing in Rustoleum chalkboard paint.

I also painted the hardware a light pink to give it a feminine touch that works well with my pink office.

Head to Your Local Thrift Store for File Cabinets
Would you believe the file cabinet used to look like this? I found it at my local Habitat for Humanity Home Center here in San Antonio. They had several of these old file cabinets in various colors and sizes for sale for $50 each.
While no stranger to thrift stores, it was my first time in a Habitat Home Center but let me tell you it won’t be my last. The store was full of materials salvaged from homes – cabinets, doors, tile, lighting, furniture – you name it. I was amazed by the variety of materials they carried and their prices are hard to beat. The best part, all of their proceeds from the stores benefit the Habitat for Humanity. With tons of locations across the US, there is bound to be one near you too!


As I was on the lookout for more office storage, the file cabinet immediately caught my eye. See below for a step by step tutorial of how I transformed it!
Supplies for File Cabinet Makeover
- Chalkboard paint (I used Rustoleum Chalkboard paint)
- Fine grit sand paper
- Screwdriver
- Painters tape (I used 1″ thick)
- Small (4″) roller with 1/4″ nap
- Small angled brush
- Primer (I would recommend a latex-based primer)
- White paint – for borders (I used latex wall paint)
- Pink paint – for hardware (I used Martha Stewart multi-surface acrylic craft paint)
- Polyurethane sealant spray – for hardware
How to Paint a File Cabinet
Step 1. Remove hardware
You can pry off the card holders easily with a screwdriver and unscrew the pulls from the back using a socket.

Step 2. Sand the filing cabinet
Be sure to sand down any rusted areas and give the whole cabinet a light sanding to help the paint adhere better.


Step 3. Clean the file cabinet well
My cabinet was pretty dirty when I got it. Once I was done sanding I vacuumed it and then followed up with a microfiber cloth and water to remove all the dust and grime. 
Step 4. Apply a coat of primer
I chose Rustoleum’s Clean Metal Primer because it seemed like the best fit for the file cabinet. However, one thing I didn’t realize until I was in the midst of putting on the primer is that it is oil-based, while the chalkboard paint is latex-based. I would recommend choosing a latex-based primer if you plan to use a latex paint on top. However, my cabinet is holding up great so far despite the oil-based primer. (Update: I’ve been told by a few readers that it is fine to use latex paint over an oil-based primer!)


Step 5. Paint white details / tape off lines
Here’s a silly mistake I made, that I want you to avoid! I taped off the lines (where I wanted the cabinet to be white) after priming. What I should’ve done is painted white around that general area first and then taped them off and painted the rest black. That would’ve saved me a step! Instead I had to re-tape everything after painting the cabinet black in order to paint the white lines on top. Make sense?

Step 6. Apply chalkboard paint
I applied three coats just to be safe, waiting 4 hrs. between each.


Step 7. Paint and seal hardware
I had some pink multi-surface craft paint on hand, so I used it to paint my hardware. First I primed the hardware and then applied a good 6 coats of the craft paint to get the coverage I wanted. Finally I gave them a spray of polyurethane sealant to better handle wear and tear.

Step 8. Touch up any imperfections
After taking off the painters tape, some of my lines had spots where the paint had seeped a bit. I used a small paint brush to touch up those areas with chalkboard paint.
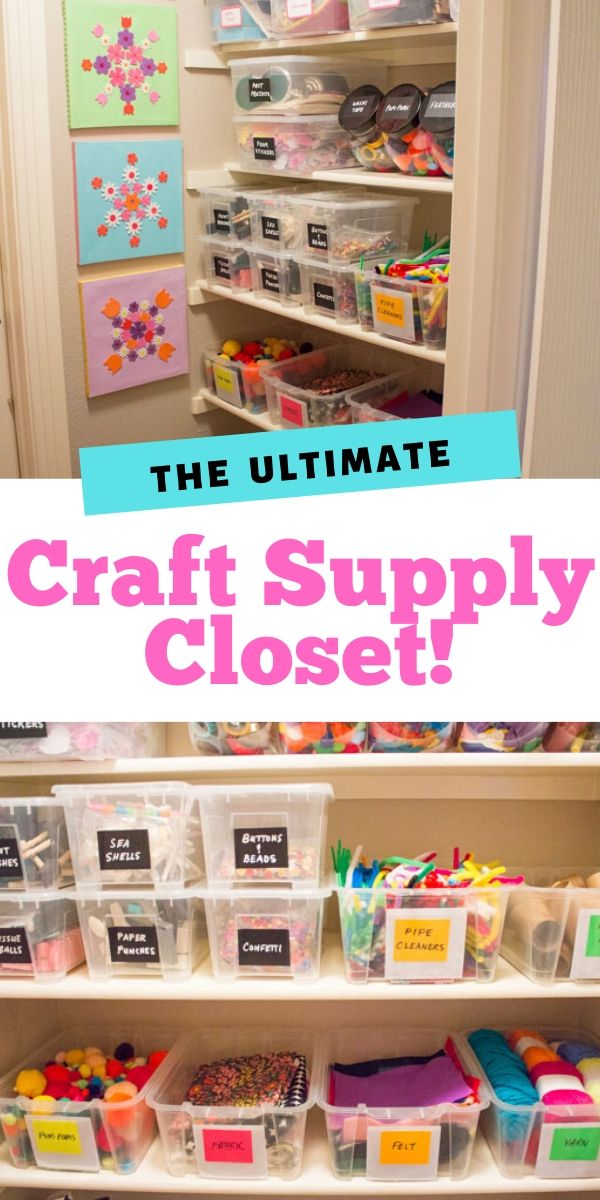
Want more craft supply storage solutions?
Check out my ultimate craft closet!

You’re so clever! I’ve dodged these kinds of filing cabinets because of their less-than-appealing looks. I’ll imagine them painted, stenciled, and with wood on when I see them in the thrift stores now! Wow! Thanks for sharing it
Cyrus
https://finewal.com
I like it, i like it.
I need a file cabinet like this except not for crafting. Doing this to it would make paperwork fun and feminine. Am going on the file cabinet hunt after lunch!!!
How fun Pam. I hope you find a file cabinet to make over! Let me know how it goes!