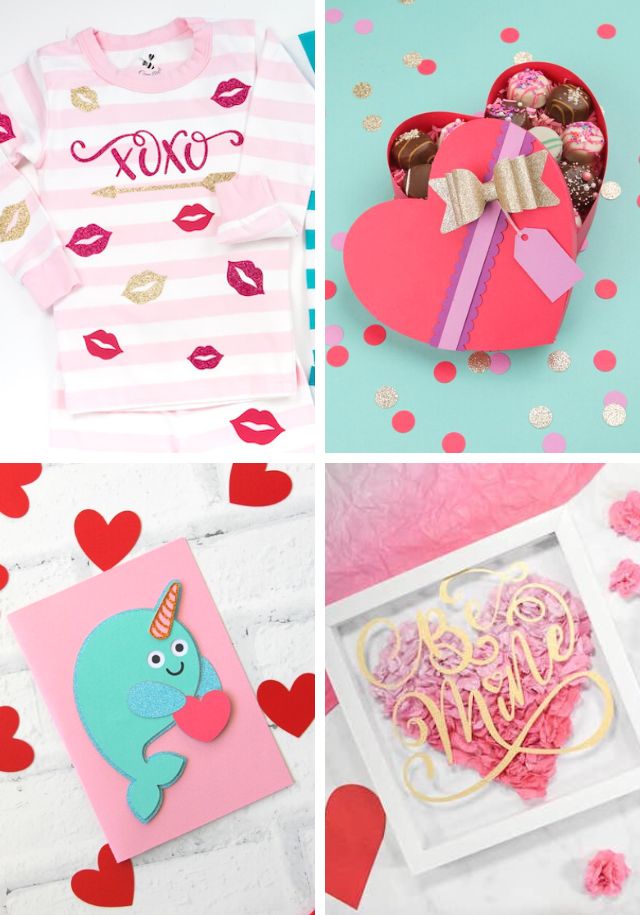
Glittered Heart Boxes
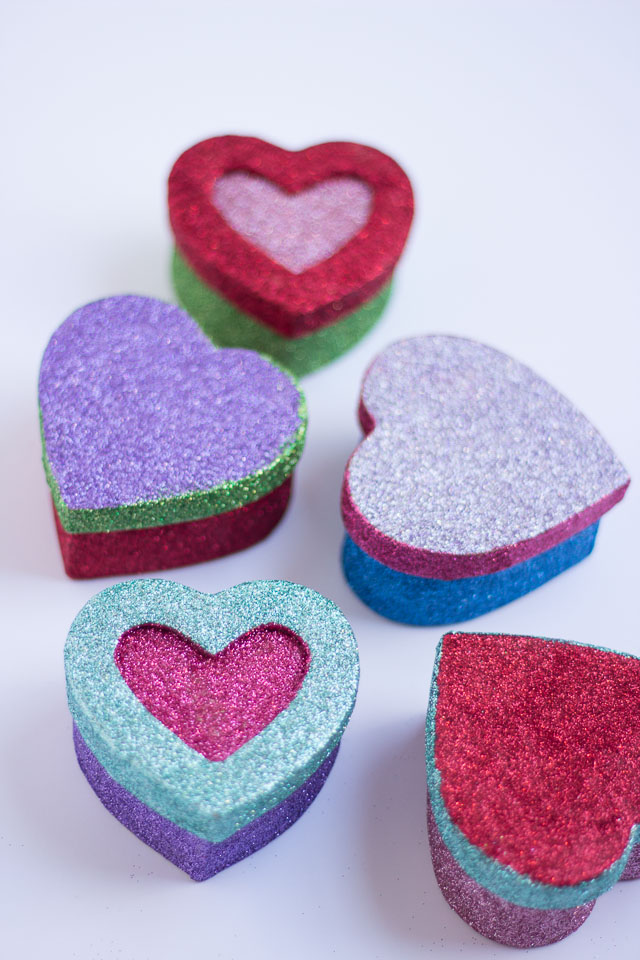


These little heart boxes can be purchased at a craft store for under $1 a piece and are the perfect size to hold a little candy (or some fine jewelry!). Here’s all you need to make them:
Supplies for Glitter Boxes (contains affiliate links)
- Martha Stewart Glitter Set
- Small paper mache heart boxes (with inset or without)
- Mod Podge
- Foam brush
- Small brush
- Paper plates
- Optional: clear acrylic sealant spray

How to Make Glitter Boxes
1. Using your brush, spread on an even coat of Mod Podge to a section of the box at a time. I used the small brush for the inset heart to make sure that I didn’t get any excess Mod Podge on the outer edge of the heart. You can use a foam brush for larger areas of coverage.

2. Sprinkle on a generous amount of glitter, covering all areas of the Mod Podge. You’ll want to work relatively fast as Mod Podge can dry quickly.

3. Shake off the excess glitter onto a paper plate or glitter tray by tapping the back side of the lid firmly. Set aside to dry.

4. Add another color to the outside of the heart in the same manner and tap off the excess. It is ok if you get glitter on your previously glittered area (like the excess red on the pink heart here), it will all shake off.

5. About 95% of the glitter you use is shaken off, so make sure you save it and put it back in the jar! You can either fold a paper plate in half and funnel it back in or…

… you can take up a notch and use these cool Martha Stewart glitter trays that have a little hole in one corner to funnel it back in, as well as a little brush to sweep up the glitter!

6. Don’t worry if there are a few bare spots showing after you’ve shaken off the glitter. Just add another thin layer of Mod Podge over those spots and shake on more glitter.

7. Be sure to shake off any additional excess glitter once they’ve dried. Since these boxes are truly covered in glitter, you will get still get a little glitter left on your fingers from touching them. If you want, you can spray them with a clear acrylic sealant to really lock in the glitter.

My girls thought they were pretty fun – especially when they realized there were chocolates inside!


Want to see what other fun crafts bloggers have made as part of the 12 Months of Martha program? Just search the hashtag #12MonthsofMartha on Instagram or Pinterest to follow along!
This is post is sponsored by Martha Stewart Living Omnimedia as part of the #12MonthsofMartha program. All content and opinions are my own.